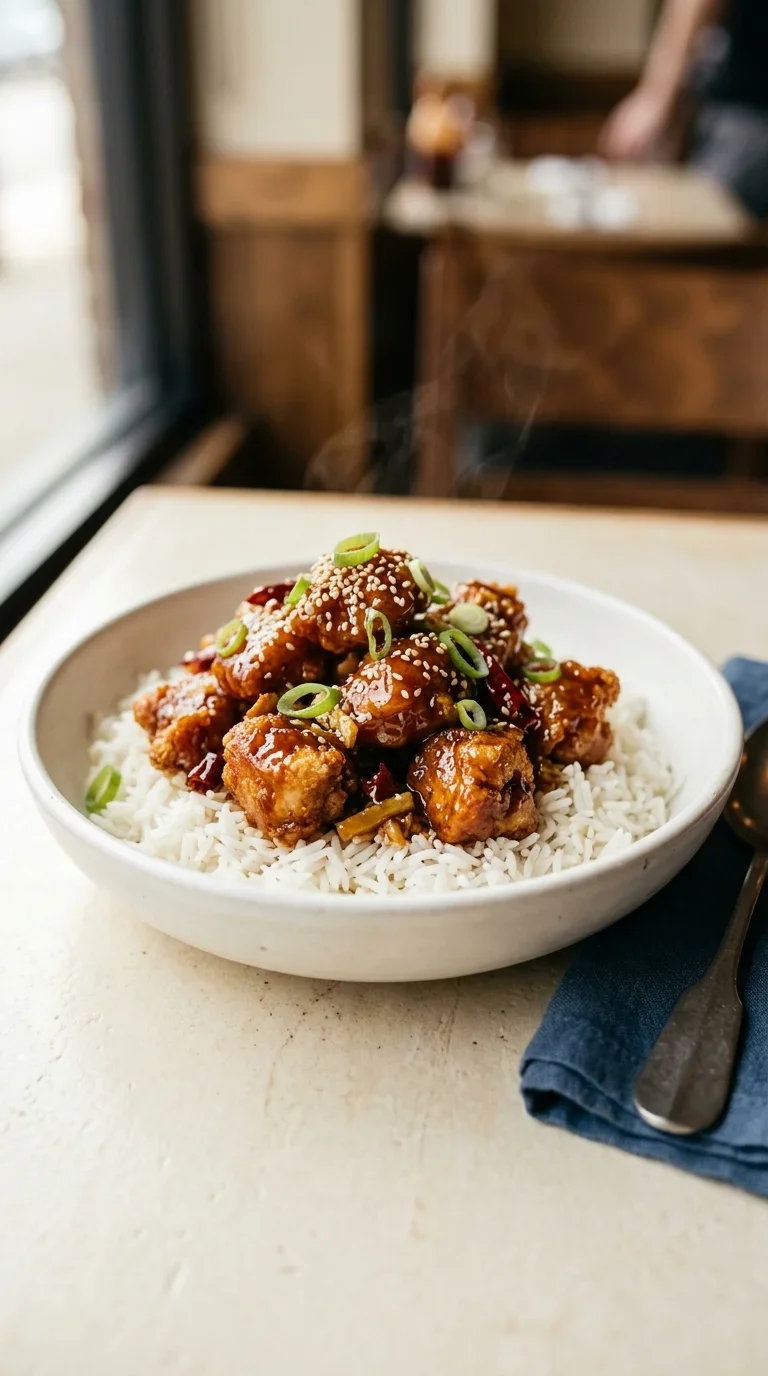
While it has become a staple of North American dining, homemade general tsos chicken is actually a beautiful example of culinary evolution. It is named after General Tso, a Qing dynasty official, though the dish as we know it today was likely refined and popularized in Taiwan and later New York City to suit a wider range of palates.
This adaptation reflects a bridge between traditional Hunan province flavors—known for their bold heat—and the preference for sweeter, stickier glazes. The marriage of soy sauce, rice vinegar, and honey creates a complex profile that is both nostalgic and exciting.
Over the decades, this dish has transitioned from a specialty item to a symbol of comfort. Its enduring popularity lies in the contrast of textures: the shatter-crisp exterior of the fried chicken meeting a lush, velvety sauce. It is more than just a meal; it is a piece of cultural history served on a platter.
Why You'll Love It
-
- Honestly, it's just that wonderful contrast of a silky, sweet glaze clinging to a really satisfying crunch. I remember how my kids used to practically dance around the table waiting for this.
-
- You get that perfect little kick from the 1 tsp sriracha or chili garlic sauce, but it's a gentle warmth, not a burn, so yeah, everyone can enjoy it.
-
- It's so much more rewarding than takeout because the 1 lb boneless skinless chicken thighs stay juicy inside while the outside gets all golden brown.
-
- Well, look, there's just something about the smell of fresh ginger and garlic sautéing in a pan that makes the whole house feel cozy and welcoming.
"I mean, wow. My husband actually forgot he had a coupon for the local spot because this was so much better!"
Essential Ingredient Guide
- 1 lb boneless skinless chicken thighs: I always prefer thighs over breasts because they don't dry out, you know? Just trim them into 1-inch cubes so they cook evenly and stay tender.
- 1/4 cup cornstarch (batter): This is the secret to that wonderful crispiness. When you mix it with the 1/4 cup all-purpose flour, it creates a little shell that holds onto the sauce just right.
- 1 tbsp ketchup (optional, for depth): Now, some folks skip this, but I find it adds a lovely, subtle richness. It just rounds out the tanginess of the vinegar, honestly.
- 1/4 tsp crushed red pepper flakes: These add those pretty little red specks and a hint of heat. I like to add them to the sauce early so the flavor really infuses into the glaze.
- 1 tbsp rice vinegar: This provides that bright, sharp note that cuts through the sweetness of the honey. It's what gives the dish that classic, authentic zing.
- 1 tbsp honey: I love using honey because it gives the sauce a beautiful, glossy shine. It's just a touch of sweetness that makes the whole dish feel like a treat.
 Family Favorites
Meat Lovers Pizza Casserole Recipe
A comforting baked dish that brings pizza night flavors together in one easy casserole.
Complete Cooking Process
-
Getting Ready:
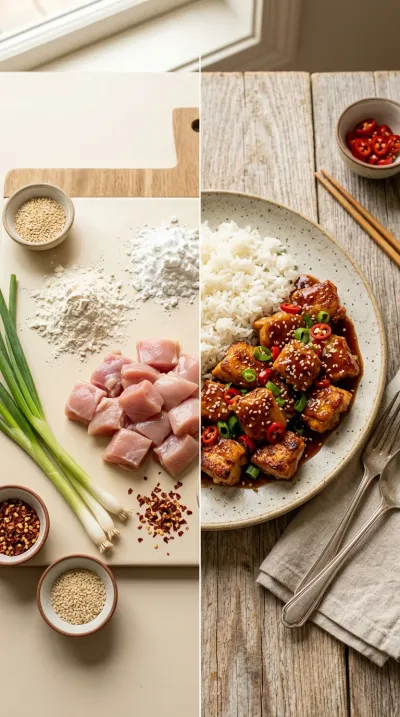
I like to have everything chopped and measured first. Whisking the chicken in the egg, flour, and soy sauce marinade for 5 minutes lets those flavors soak in before the heat hits.
-
Building the Flavor:
The magic happens when the minced garlic and 1 tsp grated fresh ginger hit the oil. That quick sauté creates a fragrant base that makes the sauce taste so much deeper.
-
Perfecting the Crunch:
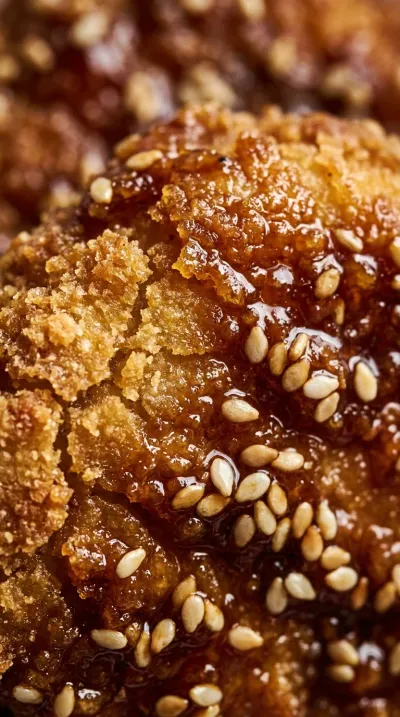
Keeping the oil at 350°F is key. If it's too cool, the chicken gets greasy, ugh, but at the right temp, it turns a gorgeous golden brown in about 4-5 minutes per side.
-
The Glossy Finish:
Adding the cornstarch slurry slowly is where the transformation happens. It turns a thin liquid into a thick, silky glaze that hugs every piece of chicken.
-
The Final Toss:
Toss the fried chicken back into the wok for just 2 more minutes. You want them coated and hot, but don't leave them too long or you'll lose that lovely crispness.
-
Keep your oil at 350°F; a drop of batter should sizzle right away so the chicken doesn't absorb too much oil.
-
Use both flour and cornstarch in your batter—the flour gives it structure while the cornstarch adds that extra crunch.
-
If your sauce gets a bit too thick after the slurry, just stir in a splash of low-fat chicken broth or water.
-
Fry your chicken in batches so you don't crowd the pan, which keeps the oil temperature steady.
Pro Tips
Just take your time and enjoy the process; it's all worth it for that first bite!
 Warm Meals
Beef Ragu Pasta Recipe in Tomato Sauce
A rich and hearty pasta dish with slow-cooked beef ragu in a savory tomato sauce.
Better For You Treats
If you're feeling a bit mindful, you can actually bake the chicken at 425°F for 15 minutes instead of frying. It's still plenty crunchy but uses far less oil, which is a nice way to keep things a bit lighter for the family.
Ways to Make it Your Own
You could try this with deep-fried tofu cubes for a vegetarian twist, or maybe add some extra sriracha if you like a bit more heat. I've even tried adding a squeeze of fresh lime at the end to brighten it up.
Serving Suggestions
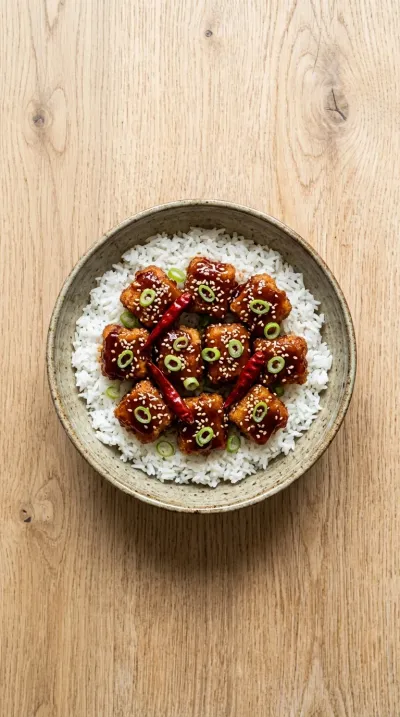
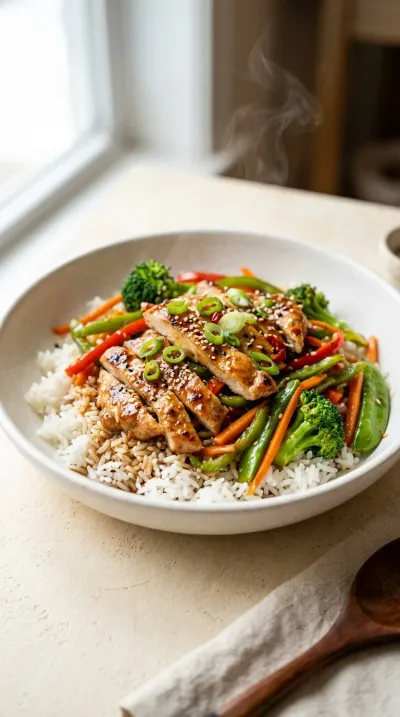
I always serve mine over a fluffy bed of steamed jasmine rice with a side of stir-fried green beans. A little sprinkle of 1 tbsp toasted sesame seeds and some fresh scallions on top makes it look just like a restaurant dish.
Frequently Asked Questions
→ Can I use chicken breasts instead of thighs?
You certainly can, but breasts can get a bit dry. If you use them, just be extra careful not to overcook them during the frying stage.
→ What if I don't have a wok?
Oh, don't worry about that! A large skillet or even a deep saucepan works just fine for frying and tossing the sauce.
→ How do I keep the chicken from getting soggy?
The trick is to toss the chicken in the sauce right before serving. If it sits in the glaze too long, the crispiness starts to fade away.
Nutrition Facts
per serving
480
Calories
38g
Protein
32g
Carbs
22g
Fat
Taste Profile
A balanced harmony of sweet honey and savory soy with a gentle spicy kick.
Ingredient Substitutions
Don't have an ingredient? Try these alternatives
Mimics the acidity and slight sweetness.
Will be slightly sweeter and less salty.
Cook slightly faster but can dry out more easily.
Recipe Variations
Try these delicious twists on the original
Low‑Fat Crispy Chicken
If you're watching the oil, just bake the battered chicken at 425°F for 15 minutes, flipping halfway. It's still quite crunchy but with about 30% fewer calories.
Vegetarian General Tso's Tofu
Swap the chicken for deep‑fried tofu cubes. Use the same batter and sauce to get that classic sweet-spicy crunch in a plant-based way.
Common Mistakes to Avoid
Learn from others' mistakes for perfect results
- Overcrowding the pan during frying, which drops the oil temperature and makes chicken oily.
- Adding the slurry too quickly without stirring, which causes lumps in the glaze.
- Skipping the oil thermometer and frying in oil that is too hot, burning the outside.
Meal Prep & Storage
Make Ahead Tips
You can prepare the sauce in advance and store it in the fridge. However, for the best experience, fry the chicken and toss it in the sauce right before serving.
Leftover Ideas
Store leftovers in an airtight container in the fridge for up to 3 days. To keep the crunch, reheat in an air fryer or oven rather than the microwave.
Perfect Pairings
Serve this with...
Cooking Timeline
Prep chicken and toss in batter for marinating.
Whisk together the sauce and prepare the cornstarch slurry.
Heat oil to 350°F and fry chicken in batches.
Sauté aromatics and simmer the sauce with the slurry.
Toss chicken in the glaze and garnish for serving.
Homemade General Tso's Chicken
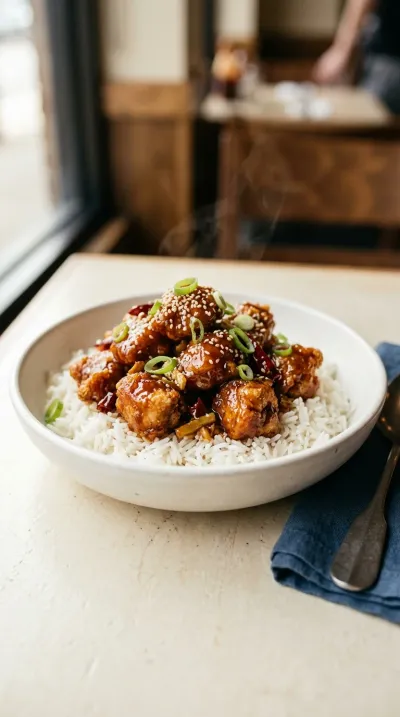
There is something so comforting about a plate of homemade general tsos chicken, with its golden-crisp edges and a glossy, sweet-spicy glaze. The scent of fresh ginger and garlic filling the kitchen makes the whole house feel warm and welcoming.
Timing
Prep Time
20 Minutes
Cook Time
15 Minutes
Total Time
35 Minutes
Recipe Details
Ingredients
Chicken and Batter
-
01
1 lb boneless skinless chicken thighs
-
02
1 tbsp soy sauce (for marinating)
-
03
1 tsp rice wine or dry sherry
-
04
1/2 tsp salt
-
05
1/4 tsp pepper
-
06
1 beaten egg
-
07
1/4 cup all‑purpose flour
-
08
1/4 cup cornstarch (batter)
-
09
Vegetable oil, 2–3 inches for frying
The Sauce
-
01
2 tbsp soy sauce (sauce)
-
02
1 tbsp hoisin sauce
-
03
1 tbsp rice vinegar
-
04
1 tbsp honey
-
05
1 tbsp ketchup (optional, for depth)
-
06
1 tsp sesame oil
-
07
1 tsp sriracha or chili garlic sauce
-
08
1/4 tsp crushed red pepper flakes
-
09
1 garlic clove, minced
-
10
1 tsp grated fresh ginger
-
11
1/2 cup low‑fat chicken broth or water
Thickener and Garnish
-
01
2 tbsp cornstarch, mixed with 2 tbsp cold water (slurry)
-
02
1 tbsp toasted sesame seeds
-
03
3 scallions, sliced into 1‑inch pieces
Instructions
Start by trimming your chicken into 1‑inch cubes. In a large bowl, whisk together the 1 tbsp soy sauce, rice wine, salt, pepper, beaten egg, flour, and cornstarch. Toss the chicken in there until it's all nicely coated, then just let it sit and marinate for about 5 minutes. Honestly, that little wait makes a difference.
While the chicken rests, let's get the sauce ready. In a separate bowl, combine 2 tbsp soy sauce, 1 tbsp hoisin, 1 tbsp rice vinegar, honey, ketchup, sesame oil, sriracha, and crushed red pepper. Give it a good whisk until it's smooth and set it aside for later.
Mix 2 tbsp cornstarch with 2 tbsp cold water until there aren't any lumps left. This is your slurry, and it's what's going to give us that beautiful, glossy thickness in the sauce.
Carefully heat 2–3 inches of vegetable oil in a deep saucepan over medium‑high heat. You'll want it to reach 350 °F (175 °C)—I always use a thermometer because, well, it's the only way to be sure.
Working in batches so you don't crowd the pan, fry the battered chicken pieces for 4–5 minutes per side. Once they're golden brown and crisp, lift them out with tongs and let them drain on a paper towel‑lined plate. Wow, the smell is already wonderful.
In a separate wok or skillet, heat a teaspoon of oil over medium heat. Toss in the minced garlic and ginger, sautéing for just 30 seconds until it smells fragrant, then add the sliced scallions for another 30 seconds.
Pour that pre‑made sauce right over the aromatics and bring it to a gentle simmer for about 2 minutes. You'll see it reduce just a bit, which really concentrates all those lovely flavors.
Slowly whisk in your cornstarch slurry, stirring continuously. I mean, don't stop stirring! The sauce will transform into a glossy glaze; just cook it for one more minute.
Add the fried chicken back into the wok. Toss everything gently to make sure every single piece is coated in that sauce. Cook for 2 more minutes so the glaze really clings to the chicken and everything is heated through.
Transfer the coated chicken to a serving platter. Drizzle over any remaining sauce, sprinkle on those toasted sesame seeds, and garnish with the rest of the scallion slices. It's just lovely served warm over steamed jasmine rice or oriental noodles.
Notes & Tips
-
1
The combination of flour and cornstarch is the secret to that specific takeout-style crunch.
-
2
If the sauce gets too thick after the slurry, a tiny splash of chicken broth will fix it right up.
-
3
Using chicken thighs instead of breasts keeps the meat juicy even after frying.
Tools You'll Need
-
Large skillet or wok for tossing
-
Deep saucepan or wok for hot oil frying
-
Small mixing bowl for the slurry
-
Large mixing bowl for battering
-
Tongs for safe frying
-
Heat‑resistant spatula
-
Measuring cups and spoons
-
Thermometer for precise oil temperature
-
Steamer or rice cooker for the side
-
Plate for serving
Must-Know Tips
-
Oil Temperature, Maintain oil at 350°F; too cool and the chicken gets greasy, too hot and it burns before it cooks.
-
The Batter Blend, Use both flour for structure and cornstarch for that extra crispness.
-
Sauce Consistency, The final glaze should be thick enough to coat the back of a spoon.
Professional Secrets
-
The 5-minute marinade allows the batter to adhere better to the chicken for a more durable crust.
-
Sautéing aromatics like ginger and garlic first creates a flavor base that tastes far more complex.
-
Adding the chicken at the very end prevents the crisp coating from becoming soggy too quickly.
What readers are saying
Community reviews from home cooks like you
This was a hit with my family. I really liked how the 1 lb boneless skinless chicken thighs and 1 tbsp soy sauce (for marinating) came together. I swapped one ingredient and it still worked. Saving this for later.
My new favorite way to make Homemade General Tso's Chicken. I really liked how the 1 lb boneless skinless chicken thighs and 1 tbsp soy sauce (for marinating) came together. I added a bit more seasoning next time. My kids even asked for seconds.
So easy and delicious. I really liked how the 1 lb boneless skinless chicken thighs and 1 tbsp soy sauce (for marinating) came together. Perfect as written.
Will definitely make this again. I really liked how the 1 lb boneless skinless chicken thighs and 1 tbsp soy sauce (for marinating) came together. Thanks for sharing this one!
I wanted to love this dish, but it didn't quite work for me. I added a bit more seasoning next time. I think with some tweaks it could be really good.
Absolutely loved this recipe! I really liked how the 1 lb boneless skinless chicken thighs and 1 tbsp soy sauce (for marinating) came together. Saving this for later.
My new favorite way to make Homemade General Tso's Chicken. I really liked how the 1 lb boneless skinless chicken thighs and 1 tbsp soy sauce (for marinating) came together. My oven needed an extra 5 minutes. My kids even asked for seconds.
Absolutely loved this recipe! I really liked how the 1 lb boneless skinless chicken thighs and 1 tbsp soy sauce (for marinating) came together. Great addition to my recipe rotation.
I wanted to love this dish, but it didn't quite work for me. My oven needed an extra 5 minutes. I think with some tweaks it could be really good.
I wanted to love this dish, but it didn't quite work for me. My oven needed an extra 5 minutes. I think with some tweaks it could be really good.
Pretty good overall. The thighs flavor was nice, but i swapped one ingredient and it still worked. I might try it again with some adjustments.
It was okay, with a few tweaks. The thighs flavor was nice, but next time i'll double the sauce. I might try it again with some adjustments.
Pretty good overall. The thighs flavor was nice, but the texture was a touch off, but the flavor saved it. I might try it again with some adjustments.
It was okay, with a few tweaks. The thighs flavor was nice, but it took slightly longer than the recipe said. I might try it again with some adjustments.
I was surprised how good this turned out. I really liked how the 1 lb boneless skinless chicken thighs and 1 tbsp soy sauce (for marinating) came together. Saving this for later.
So easy and delicious. I really liked how the 1 lb boneless skinless chicken thighs and 1 tbsp soy sauce (for marinating) came together. Highly recommend giving it a try.

Recipe by
Evelyn MaeEvelyn celebrates old-school flavors 🕰️🍽️, classic recipes 🥘✨, and timeless nostalgia 💛🕯️. She brings past traditions to modern kitchens 🏡🍳.
Get Delicious Recipes Weekly
Join 25,000+ home cooks getting our best recipes straight to their inbox.
Free forever • No spam • Unsubscribe anytime