Salted Caramel Ice Cream Recipe
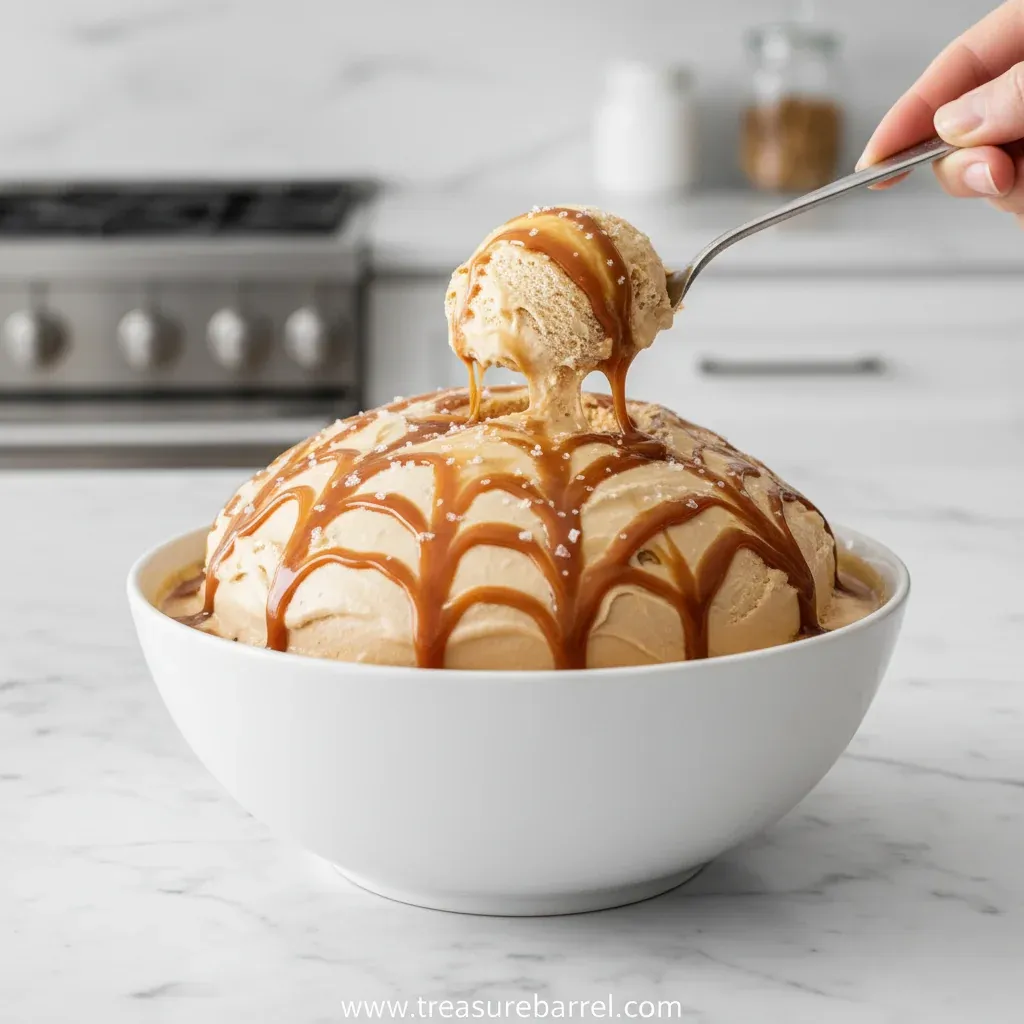
Silky salted caramel ice cream using the Ninja Creami – sweet, buttery, and perfectly salty.
- Lila Grace
- Sweet Treats
- March 11, 2026
- 2 min read
- Updated November 5, 2026
- Total time
- 35 min
- Servings
- 4 Servings
- Difficulty:
- Medium
Table of contents
Honestly, there’s nothing quite like the first scoop of a homemade salted caramel ice cream. I remember the gentle hum of the Ninja Creami on a rainy afternoon, the way the kitchen filled with buttery caramel scent. Yeah, it feels like a quiet celebration of simple pleasures.
The essence of the dish
It’s the silky smoothness of a custard blended with the deep, amber notes of caramel, brightened by a whisper of sea salt.
A fun fact or historical angle
Salted caramel became popular in France during the 1970s, where chefs began sprinkling fleur de sel over caramel desserts.
Flavor or sensory focus
You’ll notice the buttery caramel first, then the gentle crackle of salt, ending with a creamy, lingering finish.
You Must Know
- Caramel can scorch quickly—keep the heat medium low
- Sea salt should be added after cooling to preserve its crystals
- The Ninja Creami creates a custard‑like texture without churn
I remember the first time I tried this with the Creami; the texture was so velvety, it felt like a dream. The process is steady, and each step gently builds the flavor. It’s a reminder that patience in the kitchen leads to simple luxury.
The story behind it
Caramel, a confection that dates back to medieval Europe, was originally discovered when sugar was heated until it turned amber. Over centuries, cooks learned to balance its rich sweetness with a pinch of salt, creating a flavor contrast that delighted palates worldwide. This salted caramel ice cream brings that historic harmony into a modern, easy‑to‑make dessert that anyone can enjoy.
Why You'll Love It
- Creamy texture that melts gently on the tongue
- Balanced sweet‑and‑salty flavor profile
- Simple steps with the Ninja Creami
- No need for an ice‑cream maker beyond the Creami
Tips for success
- Don’t rush the caramel; low heat gives a smoother flavor.
- Chill the caramel completely to prevent curdling.
- Taste the mixture before freezing; adjust salt if needed.
Professional secrets
- Use a heavy-bottomed pan for even caramelization.
- Add butter off the heat to keep the caramel silky.
- Stir constantly during the final butter melt to avoid burning.
Common mistakes to avoid
- Stirring the sugar too much, which can cause crystallization.
- Adding cream while the caramel is too hot, leading to curdling.
- Not chilling the mixture fully before freezing, resulting in icy texture.
Substitutions
- Heavy cream: Coconut cream. Will add a subtle coconut flavor; keep the ratio the same.
- Sugar: Coconut sugar. Provides a deeper caramel note; may darken the color slightly.
Variations
- Spicy Version: Add a pinch of cayenne pepper or a swirl of chili chocolate for a gentle kick.
- Mediterranean Style: Stir in toasted pistachios and a hint of orange zest for a bright, nutty twist.
Storage
Store in an airtight container in the freezer; let sit 10 minutes before scooping for best texture.
Make ahead
You can prepare the caramel base up to 2 days ahead and store it in the refrigerator; combine with dairy just before freezing.
Leftovers
Reheat gently in a saucepan with a splash of milk for a warm caramel sauce, or simply enjoy the cold scoops.
Serving ideas
- Serve in chilled glass bowls.
- Top with toasted pecans for crunch.
- Drizzle a thin ribbon of warm caramel and a pinch of sea salt.
Allergy information
Contains dairy (milk, cream, butter).
Salted Caramel Ice Cream Recipe
Silky salted caramel ice cream using the Ninja Creami – sweet, buttery, and perfectly salty.
- Prep time
- 15 min
- Cook time
- 20 min
- Total time
- 35 min
- Difficulty
- Medium
- Cuisine
- American
- Course
- Dessert
Ingredients
Caramel Base
Ice Cream Mix
Instructions
- 1
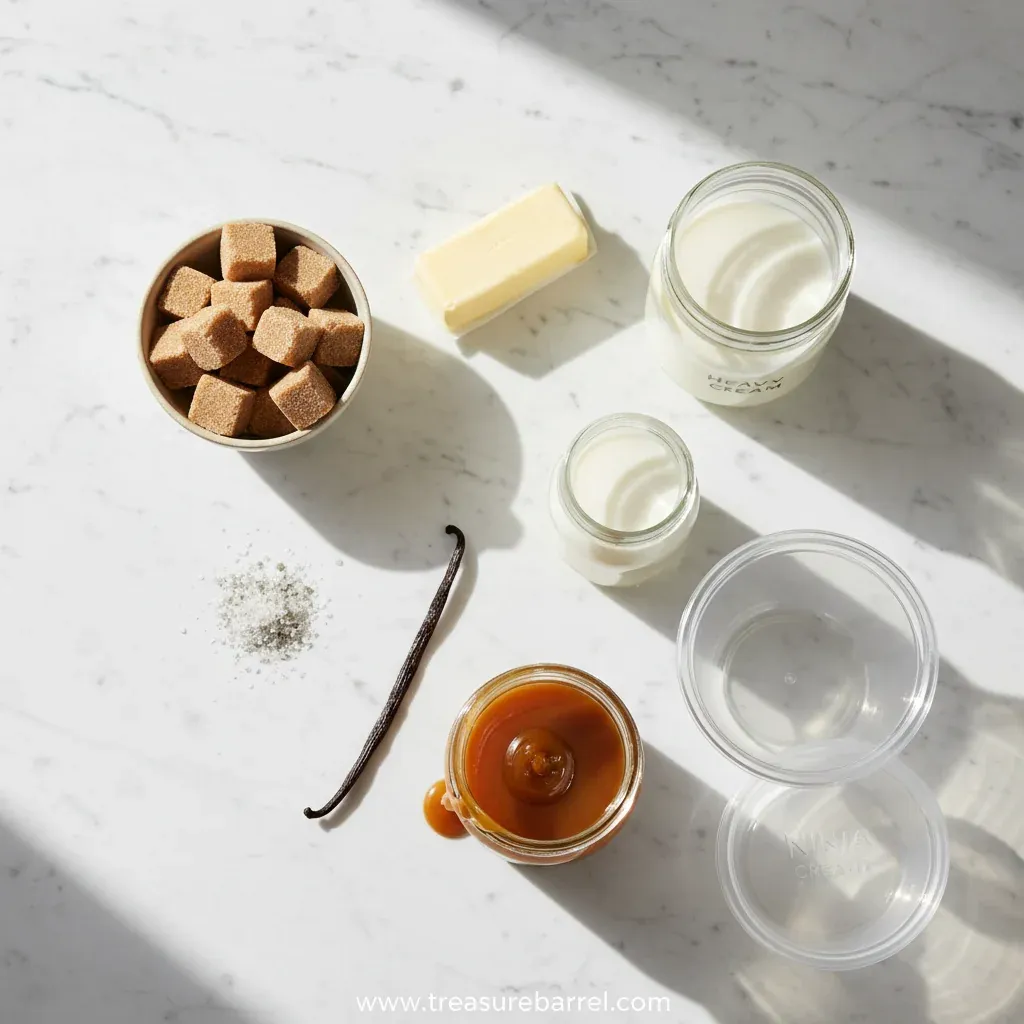
In a medium saucepan, combine sugar and water. Heat over medium, stirring until sugar dissolves, then stop stirring and let it melt into a golden amber.
- 2
Once amber, carefully add butter and stir until melted; then slowly whisk in the chilled cream. The mixture will bubble—let it simmer 1 minute.
- 3
Remove from heat, stir in sea salt and vanilla, then let the caramel cool to room temperature. caramel apple is a fun twist you might try later.
- 4
In a mixing bowl, combine milk, heavy cream, cooled caramel, and an extra pinch of salt if desired. Whisk until smooth.
- 5
Pour the mixture into the Ninja Creami pint, seal, and freeze for at least 24 hours.
- 6
Run the Creami on the “Ice Cream” setting. If the texture seems crumbly, add a spoonful of milk and spin again.
- 7
Scoop into bowls, drizzle a little leftover caramel sauce, and sprinkle a tiny pinch of sea salt on top. Enjoy!
Nutrition per serving
- 280 kcal
- Calories
- 3 g
- Protein
- 26 g
- Carbs
- 20 g
- Fat
Tips & notes
- Allow the caramel to fully cool before mixing with dairy to avoid grainy texture. - If you prefer a softer scoop, let the ice cream sit at room temperature for 5 minutes before serving. - For a festive twist, swirl in crushed candied nuts after the Creami cycle.
Frequently asked questions
Can I use low‑fat dairy?
Yes, but the ice cream will be a bit less rich. For best texture, keep the cream at least 35% butterfat.
How much salt should I add?
Start with ½ teaspoon of flaky sea salt; you can adjust after tasting the cooled mixture.
Can I make this dairy‑free?
Swap heavy cream with coconut cream and use a non‑dairy butter substitute.
Do I need to churn before using the Creami?
No, the Creami handles the churn; just ensure the mixture is fully chilled.
What’s the best way to store leftovers?
Keep in an airtight container in the freezer; let sit 10 minutes before scooping.
Can I add mix‑ins like nuts?
Absolutely—fold in toasted pecans or chocolate chips after the Creami cycle.