Soft & Moist Funfetti Cake: Easy Baking Recipe
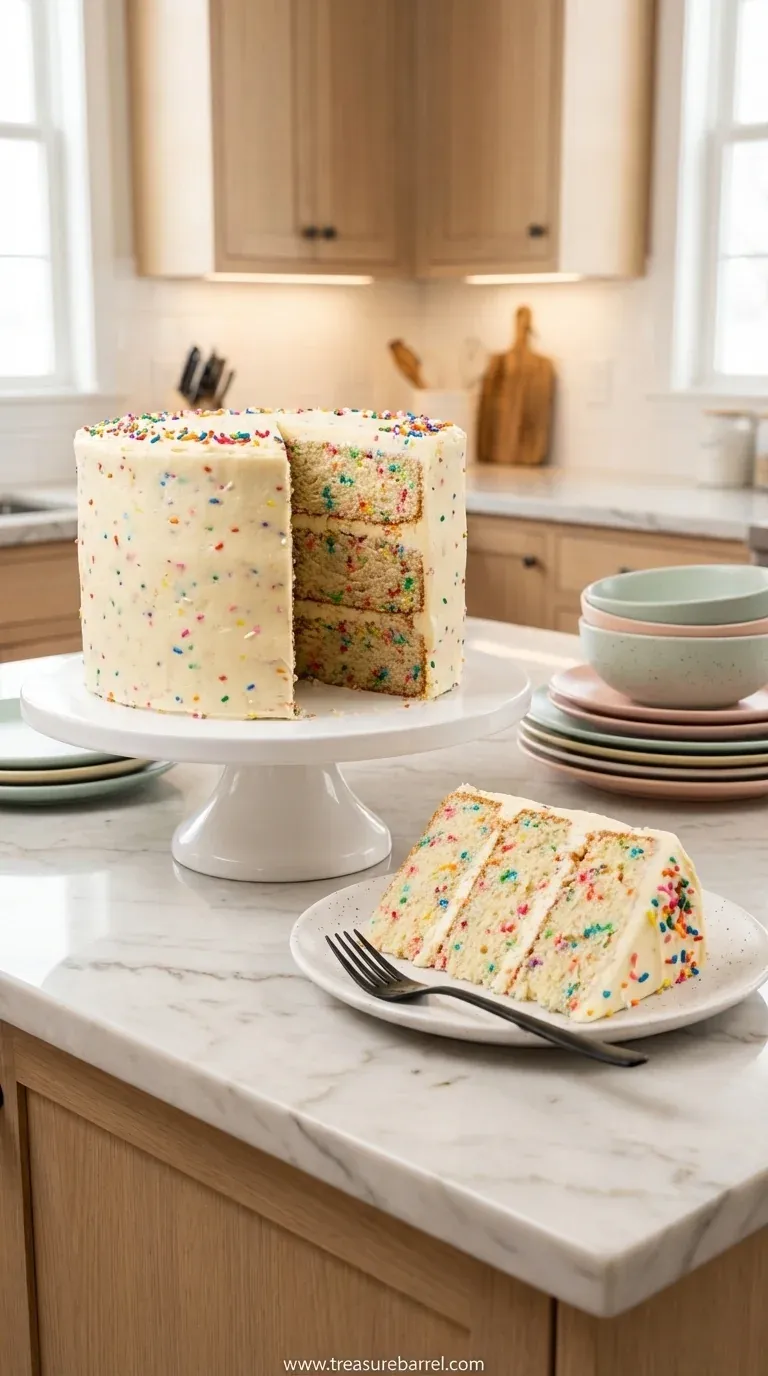
A delightful homemade funfetti cake, incredibly soft and moist with colorful sprinkles, perfect for any celebration.
- Sofia Belle
- Home Baking
- December 24, 2025
- 6 min read
- Updated November 5, 2026
- Total time
- 55 min
- Servings
- 12 Servings
- Difficulty:
- Easy
Table of contents
There's just something about a funfetti cake that feels like pure, unfiltered joy, isn't there? It’s more than just a cake; it’s a celebration in a pan. The moment you fold those tiny, colorful sprinkles into the pale, creamy batter, it's like you're mixing in little bits of happiness. This recipe is my love letter to that feeling—a cake that’s incredibly soft, wonderfully moist, and bursting with the kind of simple, sweet nostalgia that takes you right back to childhood birthdays and classroom parties. It's the cake I turn to when a day needs a little brightening, or when a special person deserves to feel truly celebrated.
The story behind it
I remember my daughter’s fifth birthday party. The theme was 'rainbows,' and all she wanted was a cake with 'stars and colors inside.' I spent days looking for the perfect recipe, and this is the one that was born from that search. The kitchen was a beautiful, chaotic mess of flour dust and stray sprinkles. When we finally cut into it, her gasp was just everything. The inside looked like a little pastel galaxy. It's a feeling I chase in my baking, whether I'm making this cake or a simple loaf of one-bowl banana bread on a quiet Sunday. It’s about creating those small, sensory moments of delight that stick with you long after the last crumb is gone. This cake isn't just about the taste; it's about the sparkle in someone's eyes when they see it.
Why You'll Love This Funfetti Cake
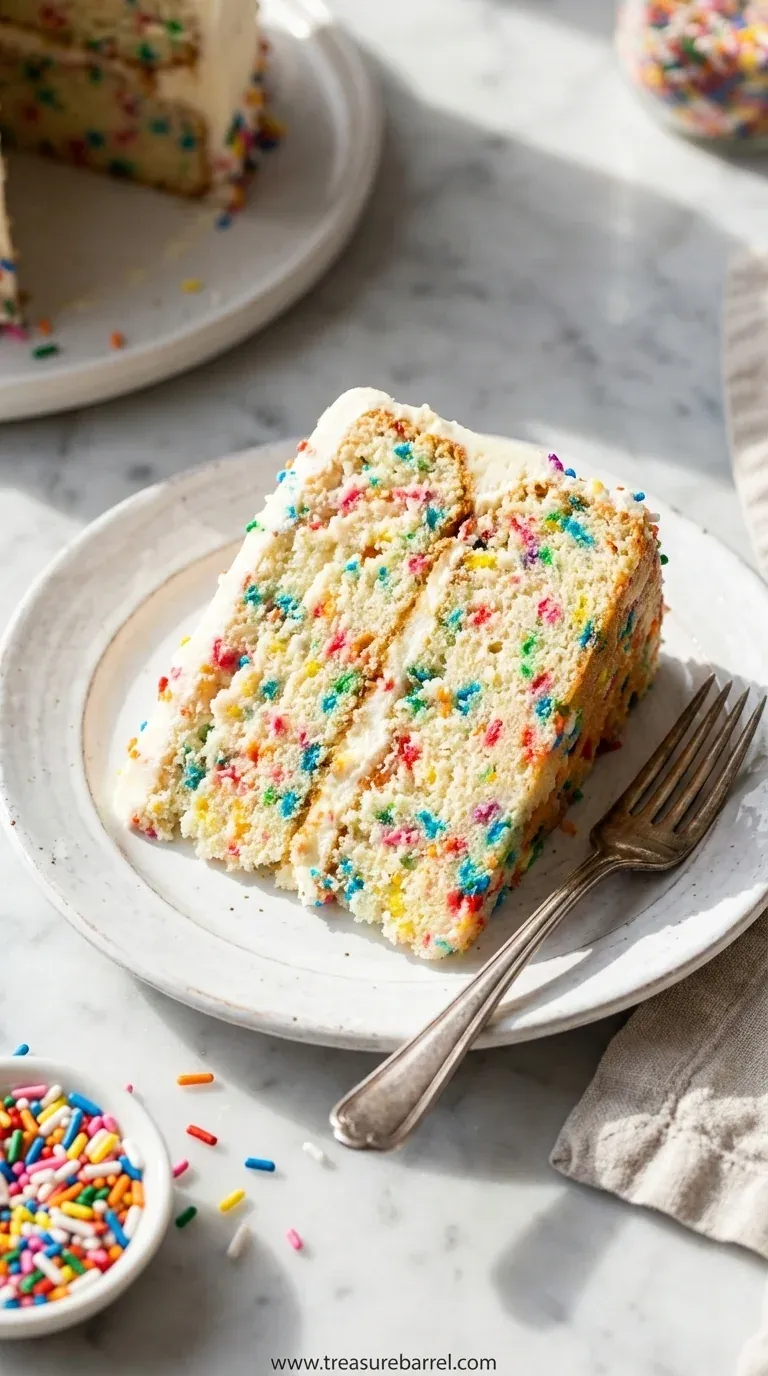
- Pillowy Soft Texture: The combination of cake flour and buttermilk creates a crumb that is just impossibly tender and light. Each bite feels like a little cloud, melting in your mouth. It's not dense or heavy at all, which makes it feel so special and delicate.
- A Visual Delight: Let's be honest, we eat with our eyes first! The confetti of colorful sprinkles suspended in the pale cake is just pure happiness. It’s a cake that smiles back at you, making it the perfect centerpiece for birthdays and celebrations.
- Classic, Nostalgic Flavor: The subtle hints of both vanilla and almond extract give this cake a classic, almost nostalgic bakery flavor that’s hard to resist. It reminds me of childhood birthday parties and simple, sweet moments that feel so warm and fuzzy.
- Surprisingly Simple: Despite looking so festive and impressive, the process is incredibly straightforward. It's a recipe that feels grounding and satisfying to make, much like my favorite chocolate chip banana bread, proving that beautiful results don't always require complicated steps.
Tips for success
- Sift Your Dry Ingredients: Sifting the cake flour, baking powder, and salt removes lumps and aerates the mixture, contributing to a lighter, fluffier cake.
- Scrape The Bowl Often: To ensure a homogenous batter, stop the mixer periodically and scrape down the sides and bottom of the bowl. This prevents pockets of unmixed butter or flour.
- Don't Open The Oven Door: Resist the urge to peek while the cakes are baking, especially during the first 20 minutes. The rush of cold air can cause your beautiful cakes to sink in the middle.
Professional secrets
- A Touch of Almond Extract: The small amount of almond extract alongside the vanilla is what gives this cake that distinct, nostalgic 'bakery' flavor. It's subtle but it makes a huge difference.
- Room Temperature is Key: I know it's mentioned a lot, but having every ingredient at the same, neutral temperature is what allows them to bond together perfectly into a smooth, stable emulsion.
- A 'Crumb Coat' for Perfection: For a perfectly smooth, professional-looking finish, apply a very thin layer of frosting all over the cake and then chill it for 20-30 minutes. This traps all the loose crumbs, so your final layer of frosting will be pristine.
Common mistakes to avoid
- Overmixing the batter after adding flour, which develops gluten and makes the cake tough.
- Using cold ingredients straight from the fridge, which can result in a dense, curdled-looking batter.
- Opening the oven door too early, causing the cakes to collapse in the middle.
- Trying to frost a warm cake, which will cause the buttercream to melt into a soupy mess.
- Using nonpareils (the little balls) instead of jimmies (the long sprinkles), which can bleed their color into the batter.
Substitutions
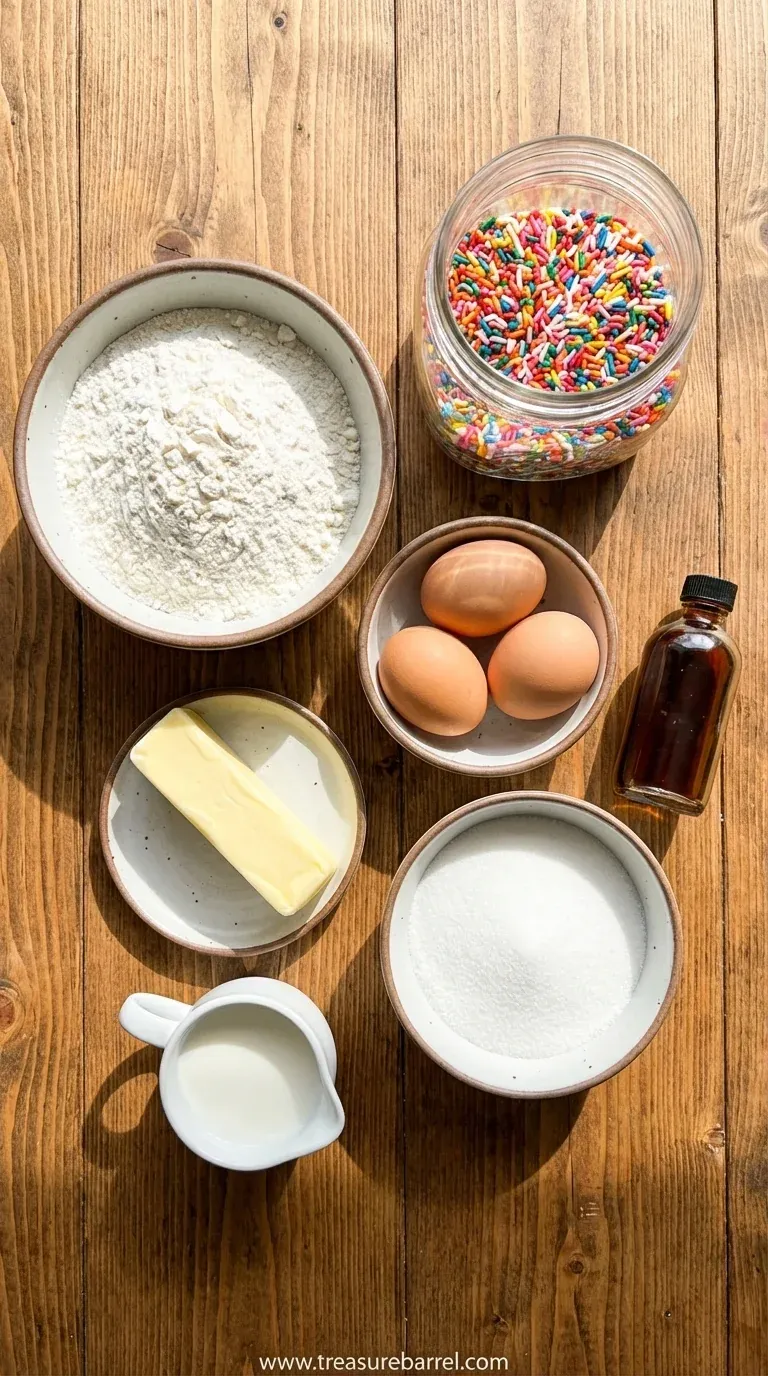
- Buttermilk: DIY Buttermilk. If you don't have buttermilk, you can make your own! Just add 1 tablespoon of white vinegar or lemon juice to 1 cup of regular milk, give it a stir, and let it sit for 5-10 minutes until it looks slightly curdled. It works perfectly.
- Egg Whites: Whole Eggs. You can use 2 whole eggs instead of 4 egg whites. Just be aware that this will give the cake a slightly richer, denser texture and a more yellowish color, which means the sprinkles won't 'pop' as much visually.
Variations
- Lemon Funfetti Cake: Add the zest of one large lemon to the sugar and butter when creaming them together. This adds a beautiful, bright citrus note that cuts through the sweetness wonderfully.
- Chocolate Chip Funfetti Cake: For a different kind of fun, substitute the rainbow sprinkles with 1/2 cup of mini chocolate chips. Fold them in gently just as you would with the sprinkles for a delicious chocolate-studded cake.
Storage
If you have any leftover cake (which is a rare occasion in my house!), you can store it in an airtight cake container at room temperature for up to 3 days. I find the frosting actually helps to keep the cake layers moist. If your kitchen is particularly warm, you might want to store it in the refrigerator. Just be sure to let it sit out at room temperature for about 30 minutes before serving, as cake tastes much better and has a softer texture when it’s not chilled. Unlike my favorite cinnamon swirl banana bread, I wouldn't recommend freezing the frosted cake as it can affect the texture of the frosting upon thawing.
Make ahead
This is a great cake to prep in advance! The unfrosted cake layers can be baked, cooled completely, and then wrapped tightly in plastic wrap. They can be stored at room temperature for one day or in the freezer for up to a month. The buttercream can be made up to a week in advance and stored in an airtight container in the refrigerator. Just let it come to room temperature and re-whip it until fluffy before using.
Leftovers
Leftover funfetti cake is a true delight. Store slices in an airtight container at room temperature for up to 3 days. I find it's even more moist the next day! For a fun treat, you can crumble up leftover cake and layer it in a glass with whipped cream and berries for a quick and pretty trifle. It's also delicious slightly warmed for a few seconds in the microwave to soften the frosting just a bit.
Serving ideas
- Serve each slice with a generous dollop of whipped cream and a sprinkle of extra rainbow jimmies.
- Pair with a side of fresh fruit salad to provide a light and refreshing contrast to the sweet cake.
- For a birthday party, serve alongside colorful macarons or sugar cookies for a truly festive dessert table.
- Create a fun 'cake and ice cream' bar where guests can top their slice with different flavors of ice cream and sauces.
Allergy information
This recipe contains wheat (gluten), eggs, and dairy. It also includes almond extract, so it is not suitable for those with nut allergies. Always double-check the labels of your ingredients, especially the sprinkles, as some brands may have cross-contamination warnings for various allergens. For a nut-free version, you can simply omit the almond extract and use a bit more vanilla extract instead. Please be mindful of any specific dietary needs or allergies when preparing and serving this cake to others.
Soft & Moist Funfetti Cake: Easy Baking Recipe
A delightful homemade funfetti cake, incredibly soft and moist with colorful sprinkles, perfect for any celebration.
- Prep time
- 20 min
- Cook time
- 35 min
- Total time
- 55 min
- Difficulty
- Easy
- Cuisine
- American
- Course
- Dessert
Ingredients
For the Funfetti Cake
For the Vanilla Buttercream
Instructions
- 1
First things first, let’s get our space ready. It’s like setting a stage for a tiny, sweet performance. Preheat your oven to 350°F (175°C) and gently grease and flour two 8-inch round cake pans. I like to trace the bottom of the pan on parchment paper, cut it out, and lay it inside for extra insurance—no one wants a beautiful cake to stick, right? In a medium bowl, whisk together your dry ingredients: the cake flour, baking powder, and salt. Just give them a gentle stir to get them acquainted. This step feels so foundational, so full of possibility, much like prepping the pan for moist banana bread.
- 2
Now for the magic. In the bowl of your stand mixer, or with a hand mixer if that's your tool of choice, cream the softened butter and sugar together until it's light, fluffy, and a pale, buttery yellow. This can take a good 3-4 minutes, so be patient with it; you’re whipping air into the very soul of the cake. Scrape down the sides of the bowl once or twice. Next, add the egg whites one at a time, letting each one fully incorporate before adding the next. Then, pour in the vanilla and almond extracts. The whole kitchen will start to smell like a candy shop, honestly, it’s just dreamy.
- 3
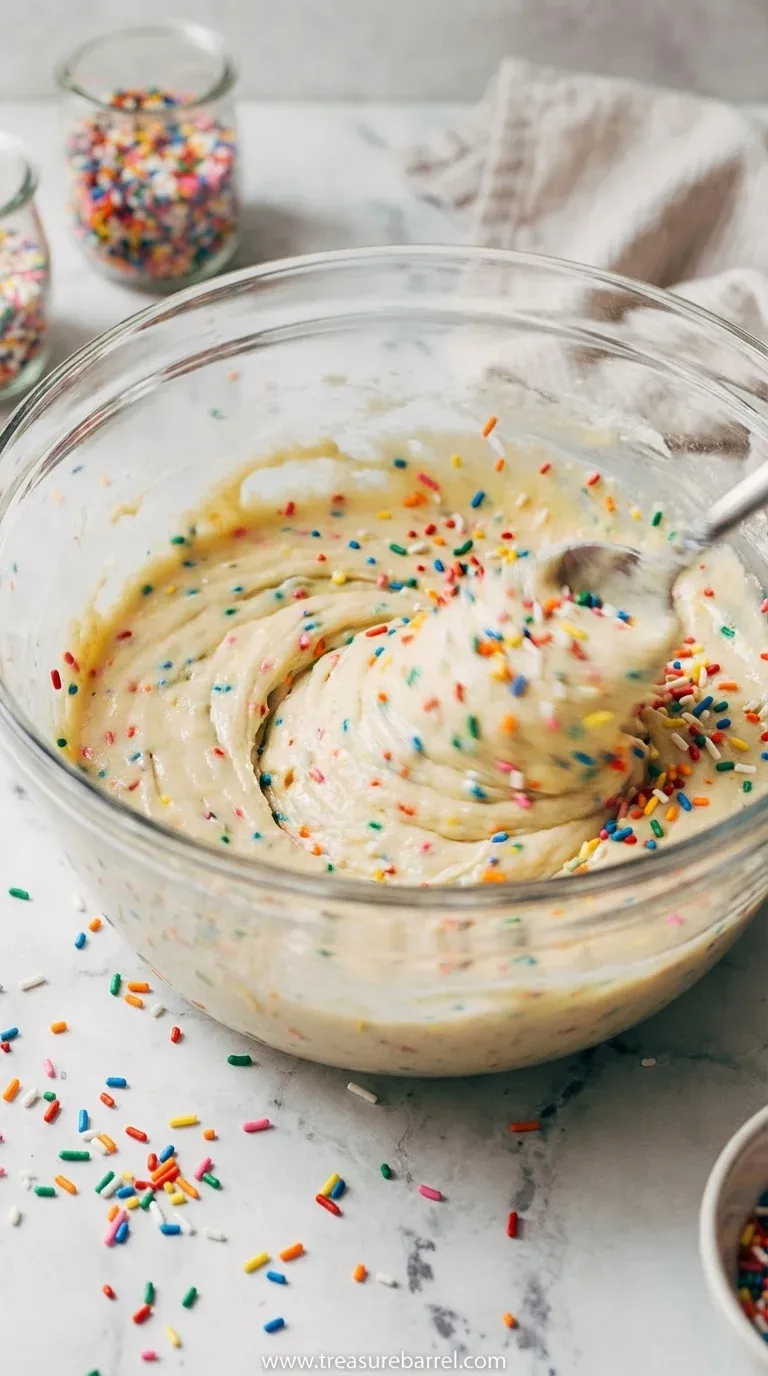
This next part is a bit of a dance. You'll be alternating between adding the dry ingredients and the buttermilk to the creamed butter mixture. Start and end with the dry ingredients—I usually do it in three additions of flour and two of buttermilk. Mix on low speed *just* until the batter comes together. Ugh, please don't overmix! It’s the number one secret to a tender crumb, a lesson I learned the hard way when perfecting my best moist banana bread. Finally, with a spatula, gently, gently fold in those gorgeous sprinkles. You want to distribute them evenly without stirring so much that their colors start to bleed into the batter.
- 4
Okay, time to bake. Divide the batter evenly between your prepared pans and smooth the tops with your spatula. Pop them into the preheated oven and bake for about 30-35 minutes. You'll know they're done when a wooden skewer inserted into the center comes out with just a few moist crumbs attached. Let them cool in the pans for about 10 minutes before you carefully turn them out onto a wire rack to cool completely. And I mean *completely*—frosting a warm cake is a recipe for a soupy, sliding disaster. While they cool, you can whip up the buttercream frosting. Once the cakes are cool, frost and decorate your heart out!
Nutrition per serving
- 480 kcal
- Calories
- 4 g
- Protein
- 60 g
- Carbs
- 25 g
- Fat
Tips & notes
- Room temperature ingredients are non-negotiable for this recipe. They emulsify so much better, which results in a smoother batter and a more uniform, tender crumb. So, please, take the time to set your butter, egg whites, and buttermilk out on the counter for at least 30-60 minutes before you begin. It's a small step that makes a huge difference, I promise. - Be very gentle when you fold in the sprinkles. The goal is to distribute them with as few strokes as possible. If you stir too vigorously, their colors can streak and bleed into the batter, which can make the cake look a bit muddy instead of bright and confetti-like. Think gentle, sweeping motions from the bottom of the bowl up to the top. - Don't be afraid to really whip your buttercream. After all the ingredients are combined, turn the mixer up to medium-high and let it go for a full 5 minutes. This makes the frosting incredibly light, fluffy, and easier to spread. It also helps to lighten the color and mellow out the sweetness. This technique is as crucial here as it is for a foolproof banana bread recipe.
Frequently asked questions
Can I make this cake in a 9x13 inch pan?
Absolutely! A 9x13 inch pan works beautifully for this recipe. The baking time will be similar, maybe a little longer, around 35-40 minutes. Just keep an eye on it and use the skewer test to check for doneness. It turns it into a lovely sheet cake, which is honestly so much easier to frost and serve for a big crowd. It's a great, low-stress option for parties and gatherings.
How do I prevent my sprinkles from sinking to the bottom?
This is a great question! The key is a properly thickened batter and a gentle hand. First, make sure your batter isn't too thin. Following the recipe with cake flour should give you the right consistency. Second, sometimes tossing the sprinkles in a tablespoon of the dry flour mixture before folding them in can help suspend them. But the most important thing is to fold them in right at the very end and not overmix.
Can I prepare this cake in advance?
Yes, you can, and it's a great way to make party day less stressful. The cake layers can be baked a day ahead. Once they are completely cool, wrap them tightly in plastic wrap and store them at room temperature. The frosting can also be made ahead and stored in an airtight container in the refrigerator for up to a week. Just let it come to room temperature and give it a good whip with your mixer to make it fluffy again before frosting the cake.
My frosting seems too sweet. Is there a way to balance it?
I totally get that. American buttercream is known for its sweetness. To cut the sweetness, you can add a generous pinch of salt—more than you think you need, it really makes a difference. A tiny splash of lemon juice or even a tablespoon of cream cheese can also help balance it out. Another trick is to whip it for a very long time, an extra 5-7 minutes on high speed. This incorporates more air and makes it taste lighter and less intensely sweet.
What's the difference between funfetti and confetti cake?
Honestly, there isn't much of a difference! 'Funfetti' was originally a brand name from Pillsbury for their cake mix with sprinkles baked in. The name just stuck because it's so wonderfully catchy! 'Confetti cake' is the more generic term for any white or yellow cake with sprinkles folded into the batter. So, you can call it either one, but 'funfetti' just sounds a little more like a party, don't you think?
Can I use all-purpose flour instead of cake flour?
You can, but the texture will be noticeably different. The cake will be a bit denser and not as delicately tender as it would be with cake flour. If you must use all-purpose flour, I recommend sifting it a few times to aerate it. You can also try the DIY cake flour trick: for every cup of all-purpose flour, remove 2 tablespoons and replace them with 2 tablespoons of cornstarch, then sift it all together. It's a good substitute in a pinch, just like when I experiment with gluten-free banana bread.
Why does this recipe use only egg whites?
Using only egg whites is the secret to a bright, white cake crumb that really makes the colorful sprinkles pop. The yolks would give the cake a more yellow, traditional vanilla cake color and a slightly denser, richer texture. By omitting them, we get a lighter, fluffier cake that serves as the perfect crisp, white canvas for our rainbow confetti. It's a small detail that makes a big visual impact when you slice into the finished cake.
Any tips for getting perfectly flat cake layers for stacking?
Ugh, the dreaded cake dome! It happens to all of us. To help prevent this, you can try using bake-even strips, which are fabric strips you soak in water and wrap around the outside of your pans. They insulate the pan, forcing the cake to bake more evenly from the edges to the center. If you still get a dome, no worries at all! Just let the cake cool completely and then use a long serrated knife to gently level the top before you start the frosting process.