Strawberry Cheesecake Dump Cake Recipe
Effortless layers of buttery goodness and fresh fruit. A dessert that looks fancy but takes very little work. Pure, creamy bliss in every bite.
- Lila Grace
- Sweet Treats
- October 2, 2026
- 4 min read
- Updated November 5, 2026
- Total time
- 50 min
- Servings
- 12 Servings
- Difficulty:
- Easy
Table of contents
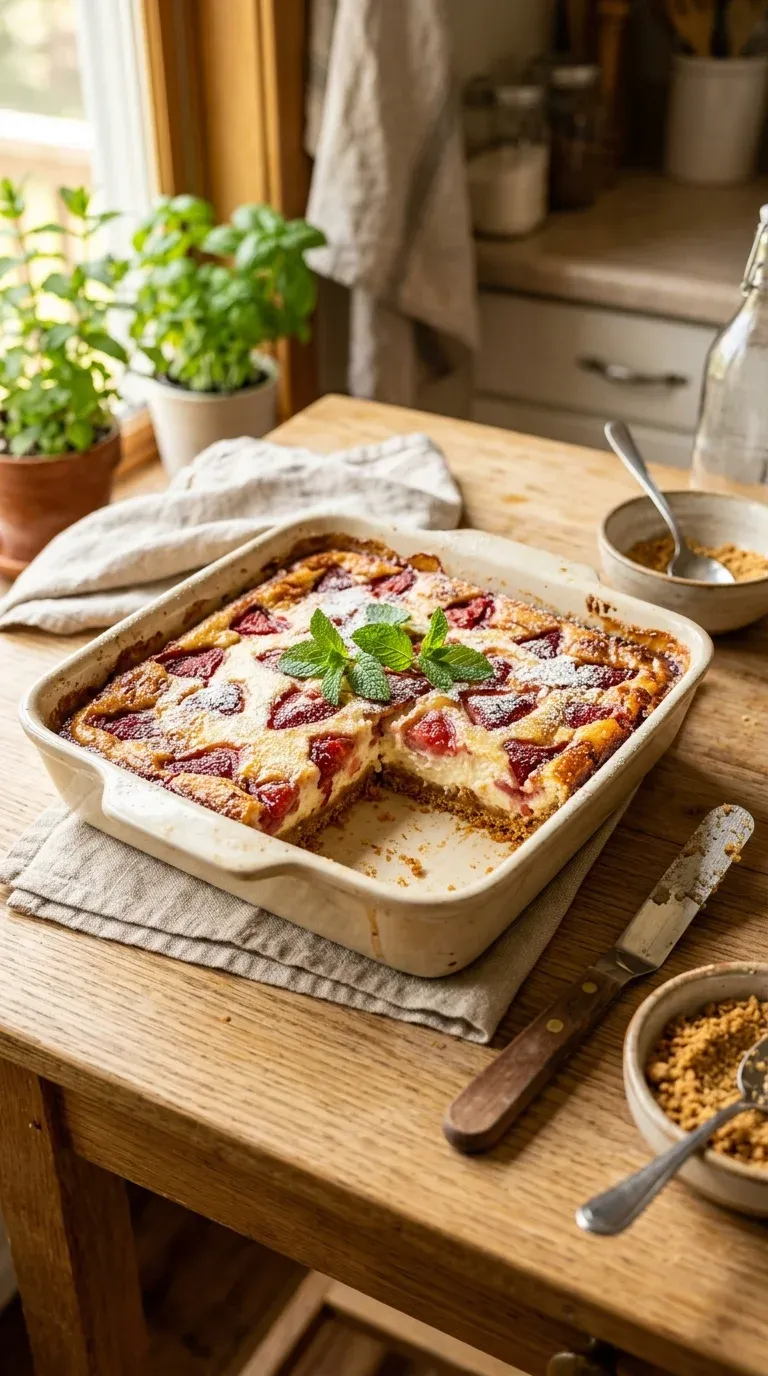
Well, look, there is something just so soothing about a dessert that doesn't ask too much of you. I remember when I first started making these kinds of treats; I was always so worried about the cake sinking or the crust being too hard. But this strawberry cheesecake dump cake... honestly, it just works. It has that lovely, buttery scent that fills the whole kitchen while it bakes, making everything feel just a little bit softer.
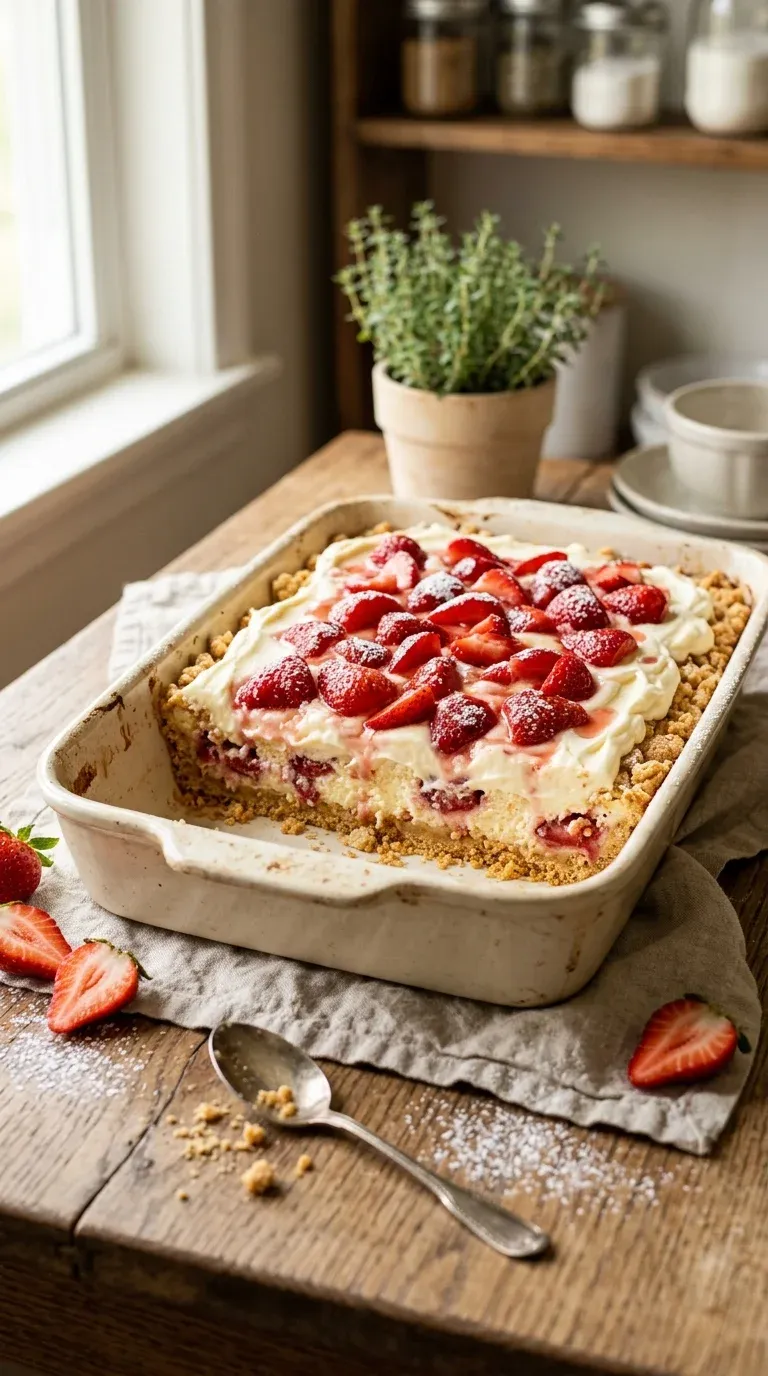
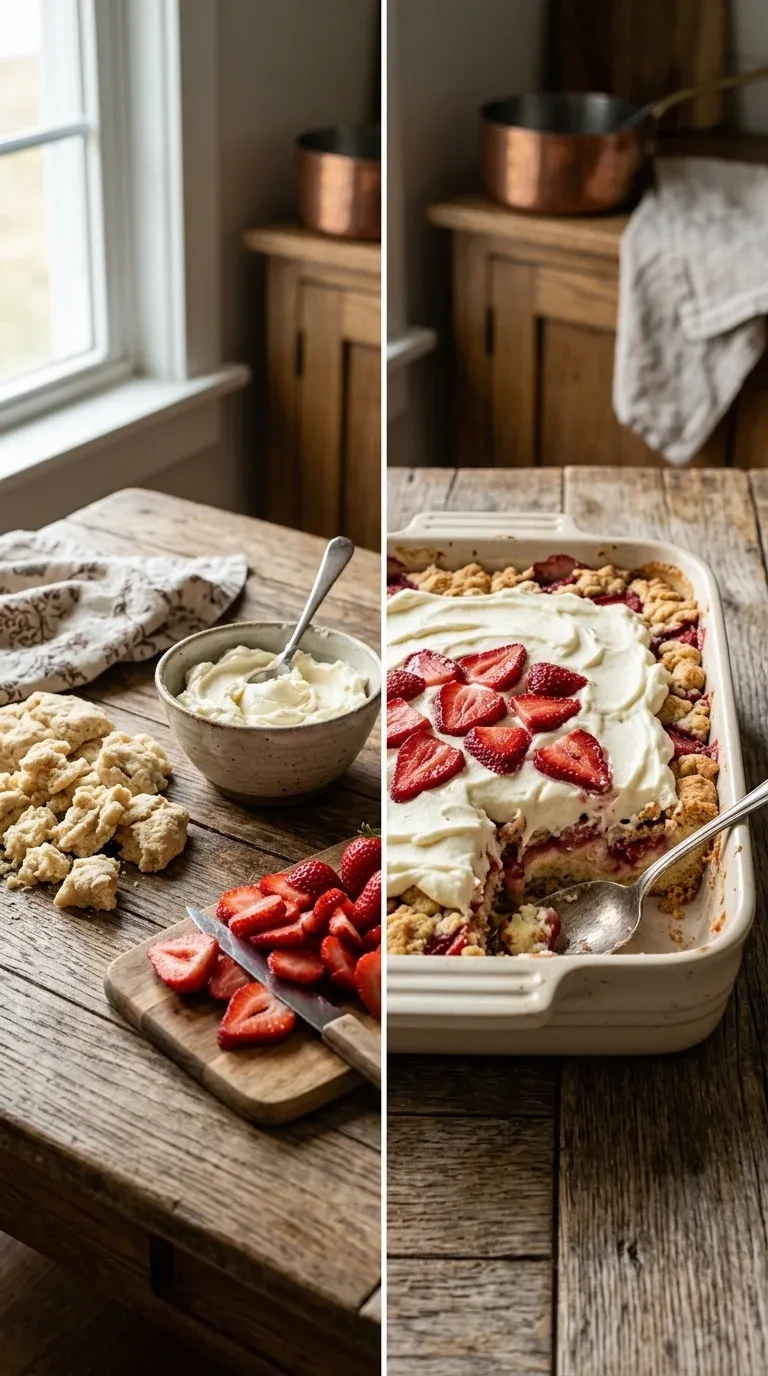
So, you've got your 8 refrigerated biscuits, crumbled and tossed in 3 tablespoons unsalted butter, melted, creating this wonderful, rustic base. Then comes the heart of it—a velvety mix of 8 ounces cream cheese, softened, with 1/4 cup unsalted butter, softened, 1/2 cup powdered sugar, sifted, and 1 tablespoon vanilla extract. It's just so creamy, yeah?
And the berries... oh, the 4 cups fresh strawberries, sliced are just the finishing touch. When they bubble up against that cream cheese layer, it's just... wow. It's the kind of dish that makes people linger at the table a little longer, and that's exactly why I love it.
The story behind it
The concept of the 'dump cake' emerged from the American mid-century desire for simplicity, where the goal was to combine ingredients in a single pan without the fuss of traditional baking. These cakes represent a cultural shift toward convenience, blending the comfort of a home-baked cobbler with the ease of pre-made components.
By evolving into a strawberry cheesecake dump cake, this tradition marries the rustic American dump cake with the timeless elegance of the New York-style cheesecake. The use of a biscuit base provides a hearty, buttery foundation that supports the heavier, creamier elements of the dessert.
In many households, these types of recipes became staples for community gatherings and family potlucks. They are designed to be shared, offering a generous slice of sweetness that appeals to both children and adults, bridging the gap between a casual snack and a celebratory treat.
Why You'll Love It
- Honestly, it's just so effortless; you get that fancy cheesecake feel without the stress of a water bath or a cracked top.
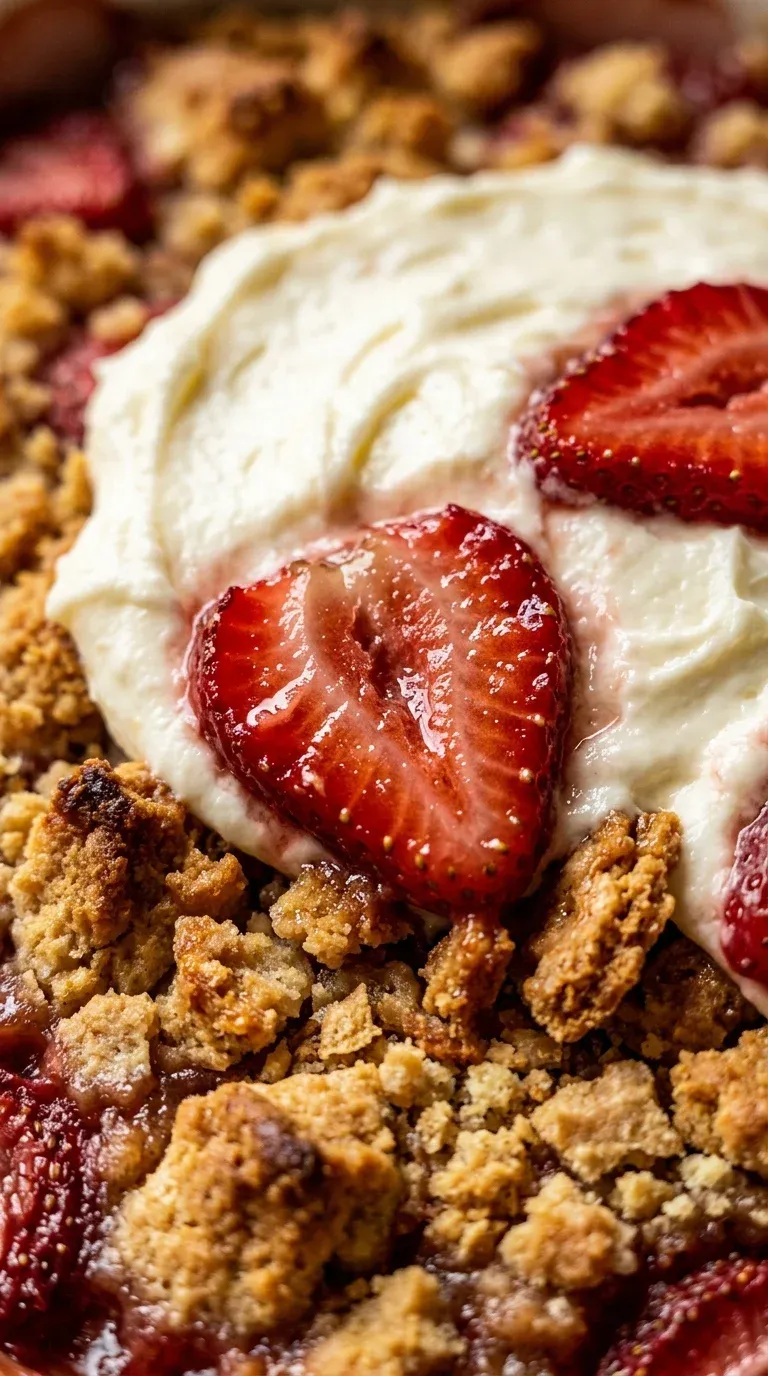
- I love how the buttery biscuit crumbs get all crisp and golden underneath that silky cream cheese frosting, it's just wonderful.
- Those fresh strawberries bring such a bright, juicy pop of color that makes it feel like a little slice of summer on a plate.
- Well, it's a real crowd-pleaser, and I remember how my face lit up the first time I saw these layers come together—so simple yet so luscious.
Tips for success
- Pat strawberries dry, to keep the strawberries from slipping into the frosting
- Use foil, elevate the edges with foil after the first 20 minutes to avoid over-browning
- Sift your sugar, ensure the powdered sugar is sifted to avoid lumps in the cream cheese
Professional secrets
- For a rustic feel, use pan-size egg-white foam with extra butter and crushed baked cookies in the biscuit layer
- To lighten the richness, whisk in 1 cup of plain Greek yogurt into the cream-cheese mix
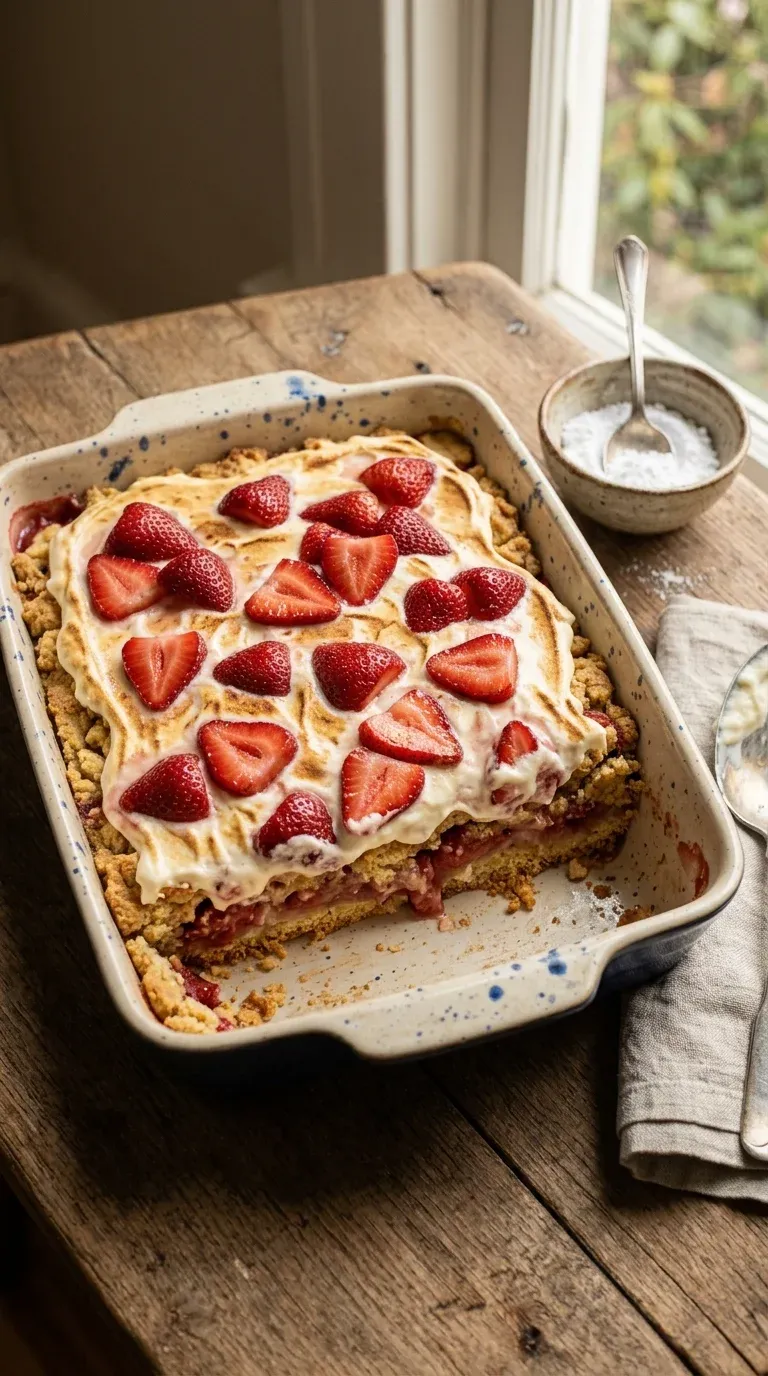
- Caramelize the top by using a broiler for 1-2 minutes on individual portions for a restaurant finish
Common mistakes to avoid
- Not draining frozen strawberries, which can make the cake too wet
- Over-browning the edges by not using foil after 20 minutes
- Skipping the cooling time, which leads to the cake falling apart when sliced
Substitutions
- fresh strawberries: frozen strawberries. Ensure they are thawed and well-drained so the cake doesn't get too soggy.
- refrigerated biscuits: gluten-free biscuits. Use a brand that holds its structure well when crumbled.
- unsalted butter: salted butter. Just reduce any additional salt if the recipe called for it.
Variations
- Frozen Strawberry Pancake Layer: Swap fresh strawberries for a 12-oz bag of frozen strawberries that are thawed, drained, and pre-cooked over medium heat with 1 tablespoon sugar for a caramelized finish.
- Orange-Zest Cream Cheese Slaw: Add 1 teaspoon orange zest to the cream cheese batter and top the cake with orange-sliced strawberries to pair citrus with the sweet fruit.
Storage
Store in the refrigerator for up to 3 days or freeze for 2 weeks.
Make ahead
You can prepare the layers and keep it chilled, but it's best baked fresh. It can be frozen for up to 2 weeks and thawed in the fridge overnight.
Leftovers
Store in an airtight container in the refrigerator for up to 3 days. Reheat individual slices in a toaster oven for a bit of that original crispness.
Serving ideas
- Top with a dollop of freshly whipped topping for extra creaminess
- Drizzle with a balsamic reduction for an elegant, sophisticated flair
- Dust with powdered sugar or lemon zest to brighten the visual and taste
- Add a scoop of strawberry cheesecake ice cream and a mint sprig for a dessert-cocktail feel
Allergy information
Contains dairy (butter, cream cheese) and gluten (biscuits).
Strawberry Cheesecake Dump Cake Recipe
Effortless layers of buttery goodness and fresh fruit. A dessert that looks fancy but takes very little work. Pure, creamy bliss in every bite.
- Prep time
- 15 min
- Cook time
- 35 min
- Total time
- 50 min
- Difficulty
- Easy
- Cuisine
- American
Ingredients
The Base
Creamy Layer
Fruit Layer
Instructions
- 1
First things first, go ahead and preheat your oven to 350°F (175°C). It's always nice to have that heat ready before you start mixing.
- 2
Now, just grease your 9x13 pan with a bit of butter, or if you're like me and hate scrubbing pans, just line it with parchment paper.
- 3
Spread those crumbled biscuits evenly across the bottom of the pan. Drizzle the melted butter over the crumbs and toss them gently—you just want them well coated. Then, sprinkle a thin layer of those fresh strawberries right on top.
- 4
In a mixing bowl, beat together your softened cream cheese, softened butter, sifted powdered sugar, and vanilla extract. Keep going for about 2 minutes until it's all smooth and creamy. Honestly, it's such a lovely scent.
- 5
Spoon that rich cream cheese mixture over your biscuit layer and spread it out evenly with a spatula. Finally, top the whole thing with the rest of your strawberries.
- 6
Pop it in the oven for 30-35 minutes. You're looking for golden brown edges and a center that's set but still a little jiggly. Well, if the edges start browning too fast, just tent them with some foil after the first 20 minutes.
- 7
Take it out and let it cool in the pan for about 10 minutes. Then, move it to a wire rack to cool completely to room temperature for another 30 minutes. Patience is key here, believe me.
- 8
Now, this part is optional, but if you want a little something extra, you can toast individual scooped portions in a toaster oven or under a broiler for 1-2 minutes just to caramelize the top. Wow, it's delicious.
- 9
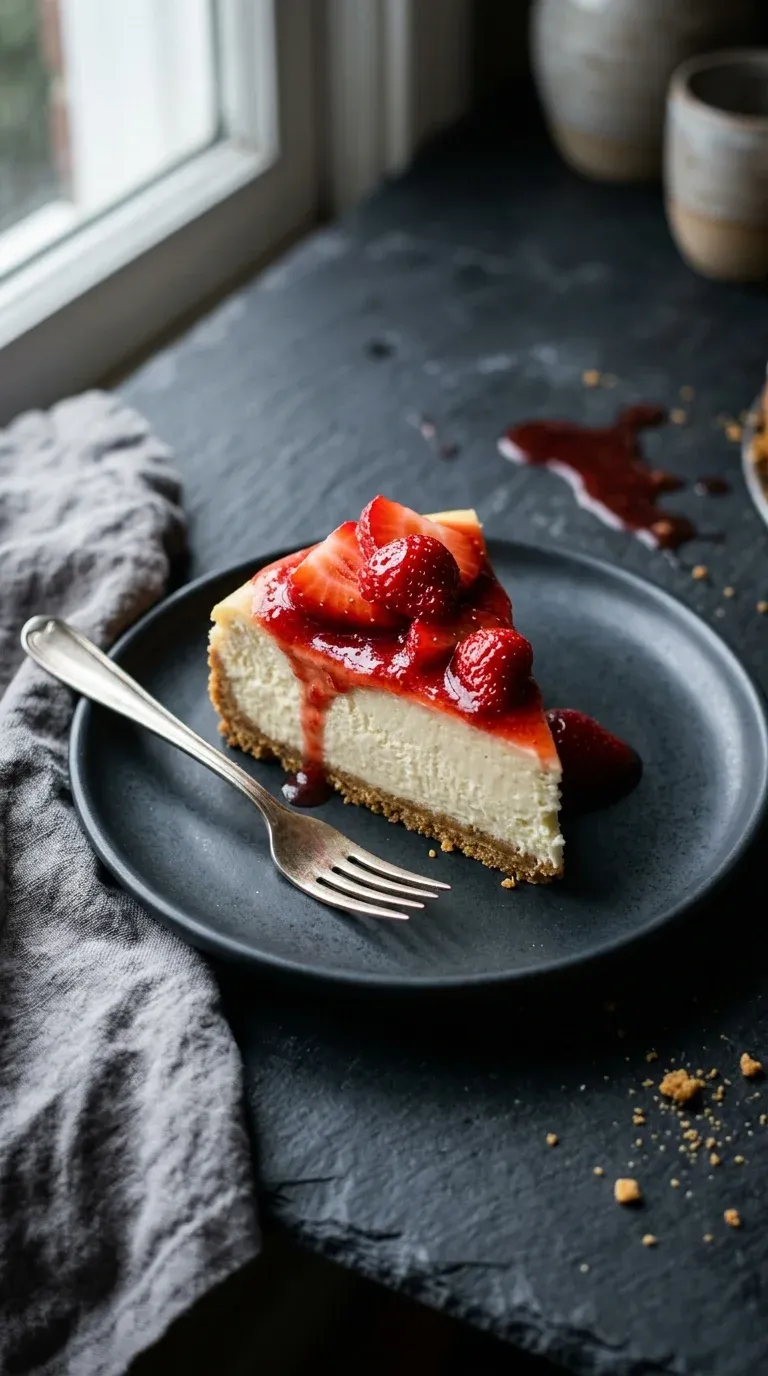
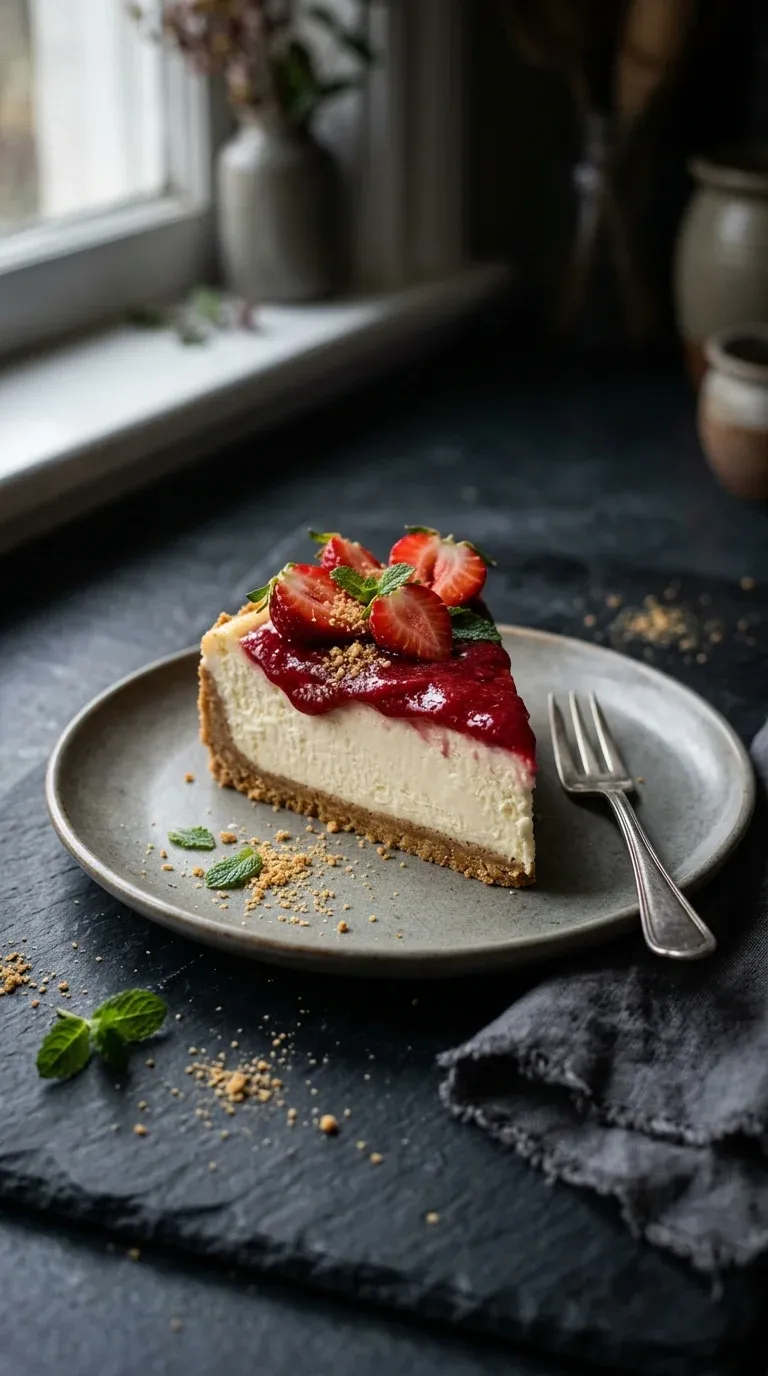
Cut into slices and serve it warm or at room temperature. It's just so moist and creamy with that lovely crisp bottom.
- 10
If you have leftovers, just pop them in an airtight container in the fridge for up to 3 days. Or, wrap it tight and freeze it for up to 2 weeks; just thaw it in the fridge overnight before you eat it.
Nutrition per serving
- 410 kcal
- Calories
- 6 g
- Protein
- 38 g
- Carbs
- 24 g
- Fat
Tips & notes
- The cake stays fresh at room temperature for 2 days when sealed in an airtight container. - Using parchment paper makes the cleanup so much easier. - Letting the cake cool completely helps the slices hold their shape better.
Frequently asked questions
Can I use frozen strawberries if I don't have fresh ones?
Yes, you certainly can! Just use one 12-oz bag frozen strawberries, thawed and drained well so the cake doesn't get too soggy.
How do I store leftovers so they stay tasty?
Keep them in an airtight container in the fridge for up to 3 days. If you're tucking them away for longer, the freezer works for about 2 weeks.
What if my cream cheese is too cold to mix?
Oh, don't worry! Just pop it in the microwave for a few short bursts—just be careful not to melt it, we just want it soft.