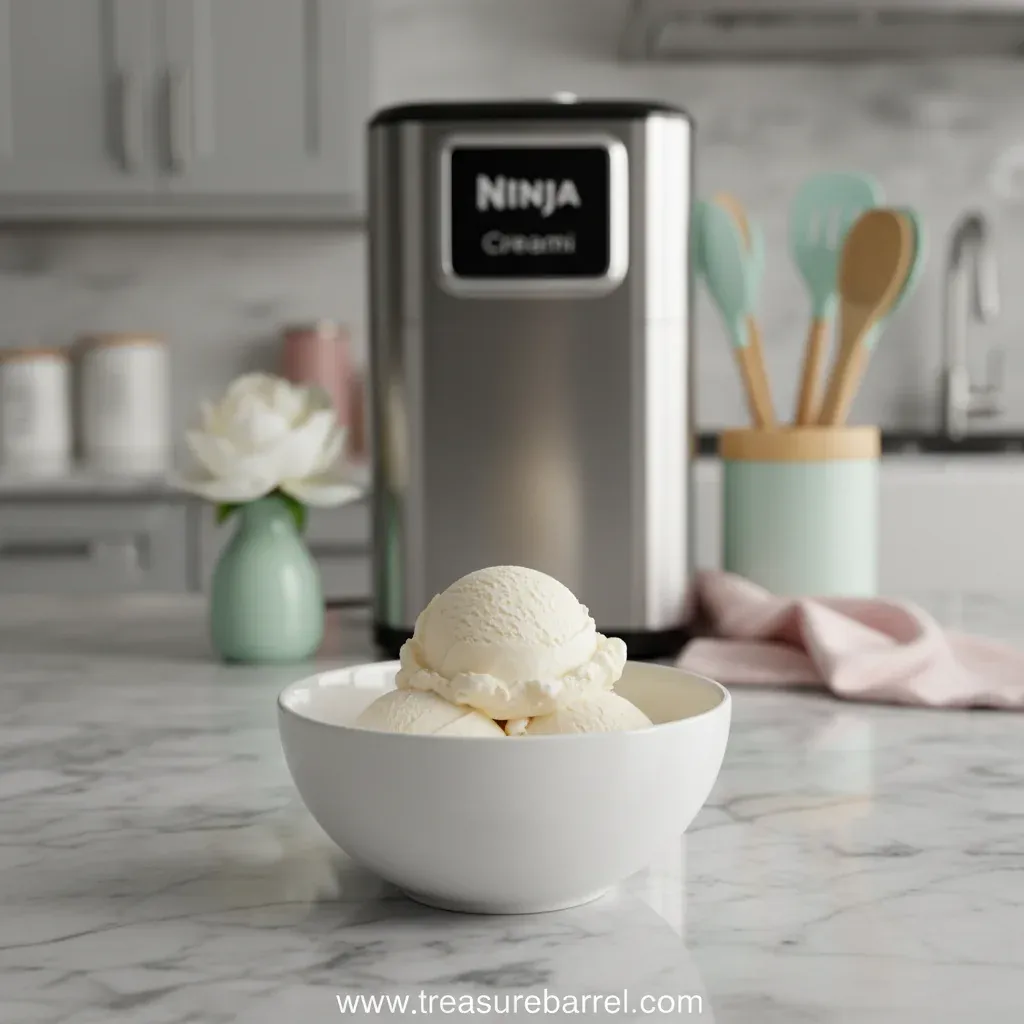
Vanilla Ice Cream – Best Ninja Creami Recipe
Silky vanilla ice cream using the Ninja Creami – simple, sweet, and perfectly creamy.
- Lila Grace
- Sweet Treats
- March 9, 2026
- 2 min read
- Updated November 5, 2026
- Total time
- 15 min
- Servings
- 4 Servings
- Difficulty:
- Easy
Table of contents
Honestly, there’s something soothing about watching cream swirl into snow‑like softness. I remember the first time I coaxed the Ninja Creami to churn a batch of vanilla – the kitchen filled with a gentle vanilla scent, and the anticipation was as sweet as the finished treat. Let’s take a calm walk through the steps, shall we?
The essence of the dish
It’s all about the balance of creamy dairy and aromatic vanilla, a gentle sweetness that lingers like a soft sigh.
A fun fact or historical angle
The first recorded vanilla ice cream was served to French aristocracy in the 1700s, using ice harvested from Alpine glaciers.
Flavor or sensory focus
Expect a buttery mouthfeel, a faint perfume of vanilla bean, and a cool, velvety glide across the palate.
You Must Know
- Use whole milk, not skim, for richness
- Freeze the base for a full 24 hours
- Select the correct Ninja Creami setting
Ugh, I’ve seen people skip the full freeze and end up with an icy mess. Take a moment, let it solidify completely, and the Creami will work its magic. It’s a simple patience that rewards you with that perfect, scoop‑ready texture.
The story behind it
Vanilla ice cream traces its roots back to the 18th‑century French courts, where it was prized as a luxurious dessert for royalty. Over time, the humble bean traveled across continents, becoming a staple in homes worldwide. Today, the Ninja Creami brings that historic indulgence into modern kitchens, letting anyone craft bakery‑worthy vanilla ice cream without an ice‑cream maker’s churn. This recipe honors that lineage with a straightforward, no‑fuss method that lets the vanilla shine.
Why You'll Love It
- Effortless preparation, just pour and freeze
- Pure vanilla flavor without artificial additives
- Creamy texture that rivals store‑bought
- Perfect base for endless toppings
Tips for success
- Don’t overfill the pint; leave headspace to avoid overflow.
- Use a deep freezer for a solid freeze – it prevents ice crystals.
- Taste the base before freezing; adjust sugar or vanilla as needed.
Professional secrets
- Room‑temperature dairy ingredients churn more evenly.
- A brief pause after the first spin lets air incorporate fully.
- Masking the pint with a damp cloth reduces frost buildup.
Common mistakes to avoid
- Skipping the full 24‑hour freeze leads to grainy texture.
- Overfilling the pint causes overflow during churn.
- Adding mix‑ins before the first spin creates clumps.
Substitutions
- Heavy cream: Coconut cream. Provides similar richness; the flavor will be slightly coconutty.
- Granulated sugar: Maple syrup. Use ⅓ cup maple syrup; reduce a teaspoon of milk to keep consistency.
Variations
- Spicy Version: Add a pinch of ground cinnamon and a dash of cayenne for a warm, subtle heat.
- Mediterranean Style: Fold in crushed pistachios and a drizzle of honey after churning for a nutty twist.
Storage
Keep the ice cream in an airtight container in the freezer; it will stay creamy for up to two weeks.
Make ahead
You can whisk the base and freeze it up to 48 hours ahead; the Creami will still churn a perfect texture.
Leftovers
Store in a sealed container; gently warm in the microwave for 15 seconds before scooping if too firm.
Serving ideas
- Scoop into chilled bowls and garnish with a vanilla bean slice.
- Serve alongside warm apple crumble for a comforting dessert.
- Top with fresh mint leaves for a subtle aromatic lift.
Allergy information
Contains dairy (milk, cream). May contain traces of nuts if mix‑ins are added.
Vanilla Ice Cream – Best Ninja Creami Recipe
Silky vanilla ice cream using the Ninja Creami – simple, sweet, and perfectly creamy.
- Prep time
- 15 min
- Total time
- 15 min
- Difficulty
- Easy
- Cuisine
- American
- Course
- Dessert
Ingredients
Base
Optional Mix‑ins
Instructions
- 1
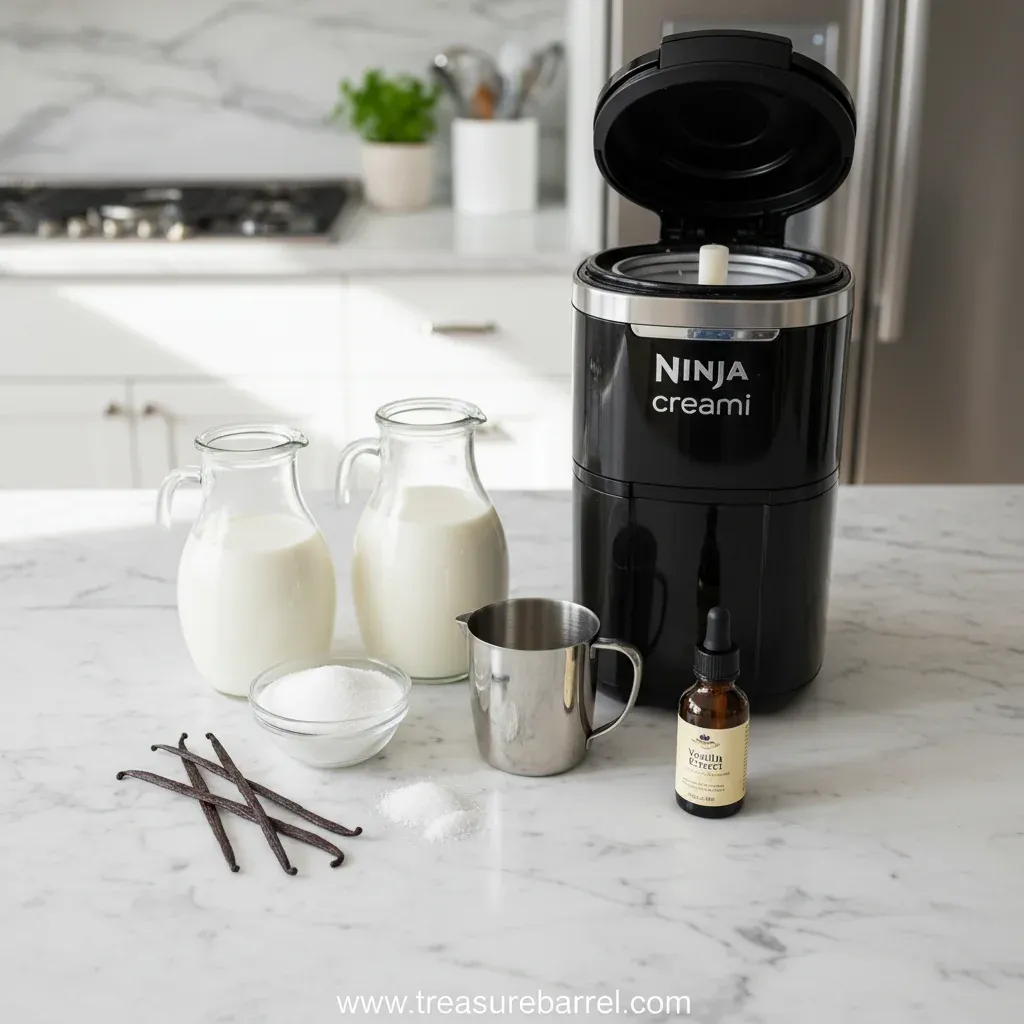
In a medium bowl, whisk together milk, heavy cream, sugar, vanilla, and salt until the sugar dissolves completely.
- 2
Cover the bowl and let the mixture rest for 5‑10 minutes so the vanilla scent deepens.
- 3
Pour the blend into the Ninja Creami pint container, leaving a small gap at the top, then seal with the lid.
- 4
Place the pint in the freezer for at least 24 hours until solid.
- 5
Insert the frozen pint into the Creami, select the "Ice Cream" function, and let it churn until smooth. If desired, fold in optional mix‑ins and run a quick re‑spin.
Nutrition per serving
- 210 kcal
- Calories
- 3 g
- Protein
- 22 g
- Carbs
- 12 g
- Fat
Tips & notes
- For an even richer flavor, toast the vanilla bean seeds briefly in a dry pan before adding. - If the ice cream seems a bit firm after chilling, let it sit at room temperature for a few minutes before scooping. - A second churn can help eliminate any occasional graininess.
Frequently asked questions
Can I use plant‑based milk?
Yes, almond or oat milk works well, but you may need to add a touch more fat, like coconut cream, for the same silkiness.
Do I need to chill the mixture before freezing?
A quick chill speeds up freezing, but the essential step is a solid 24‑hour freeze in the pint container.
How long does the ice cream keep?
Store in the freezer, sealed, for up to two weeks. Stir gently before serving if it hardens.
Can I add mix‑ins?
Fold in chocolate chips, fruit, or nuts after the first churn, then run a quick re‑spin.
Is it okay to use vanilla extract instead of a bean?
Absolutely; the extract offers strong flavor, though the bean gives a deeper, more complex aroma.
What if the ice cream is too icy?
Run a second "re‑spin" cycle and add a splash of milk to smooth it out.