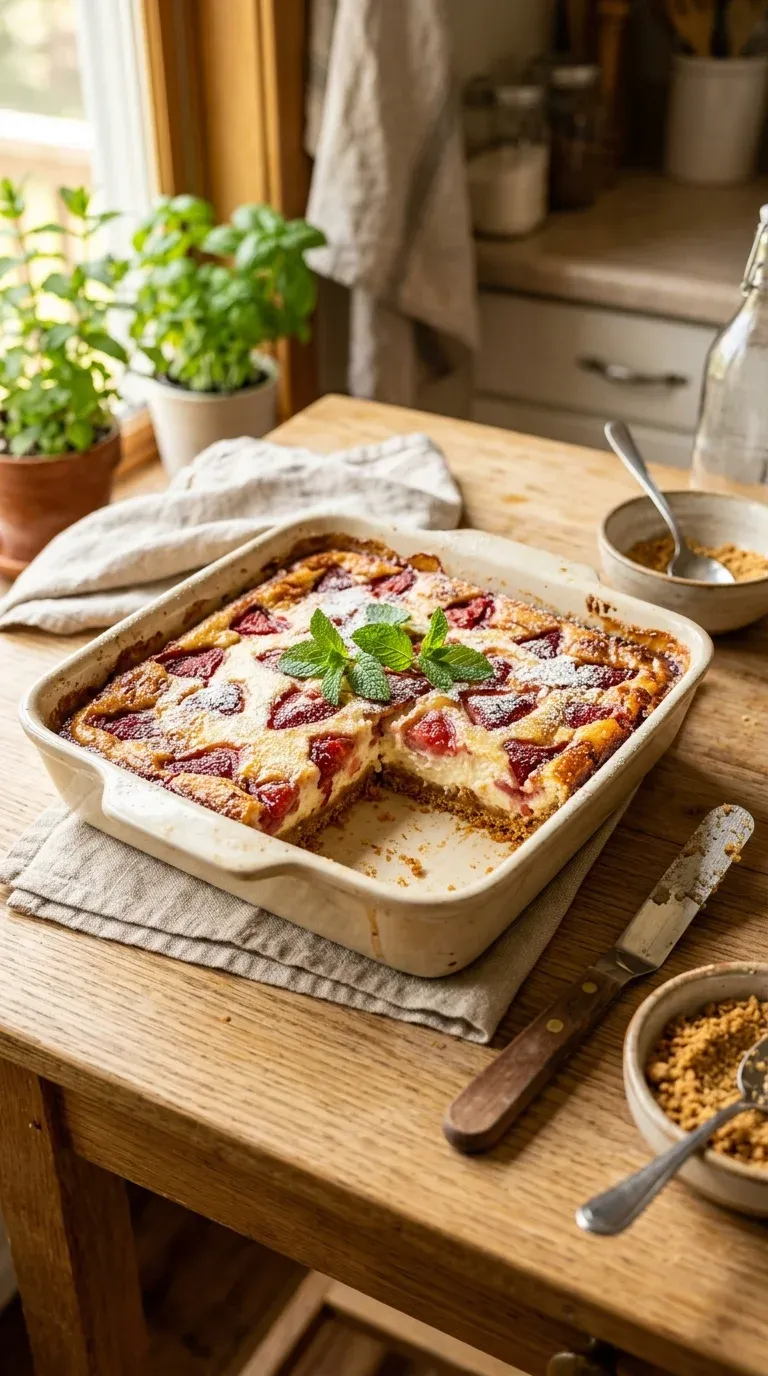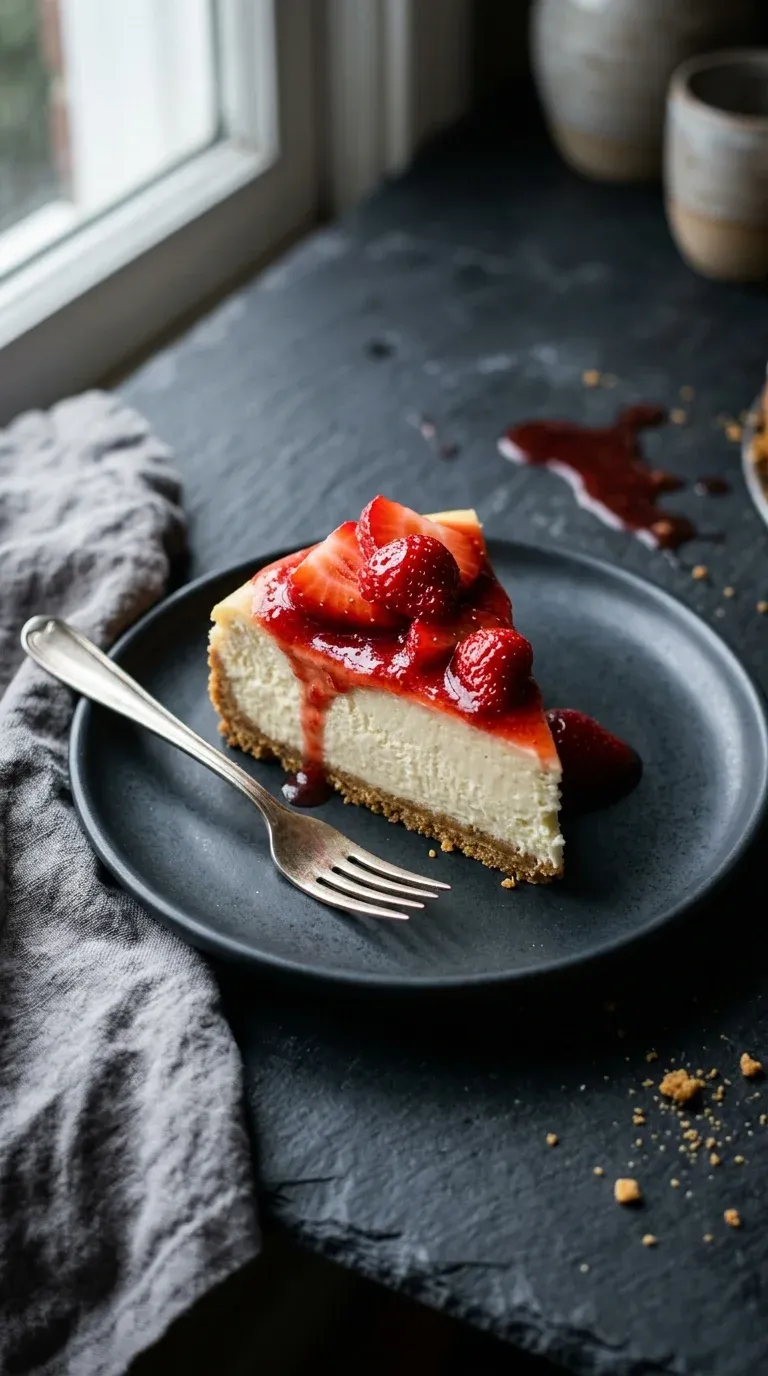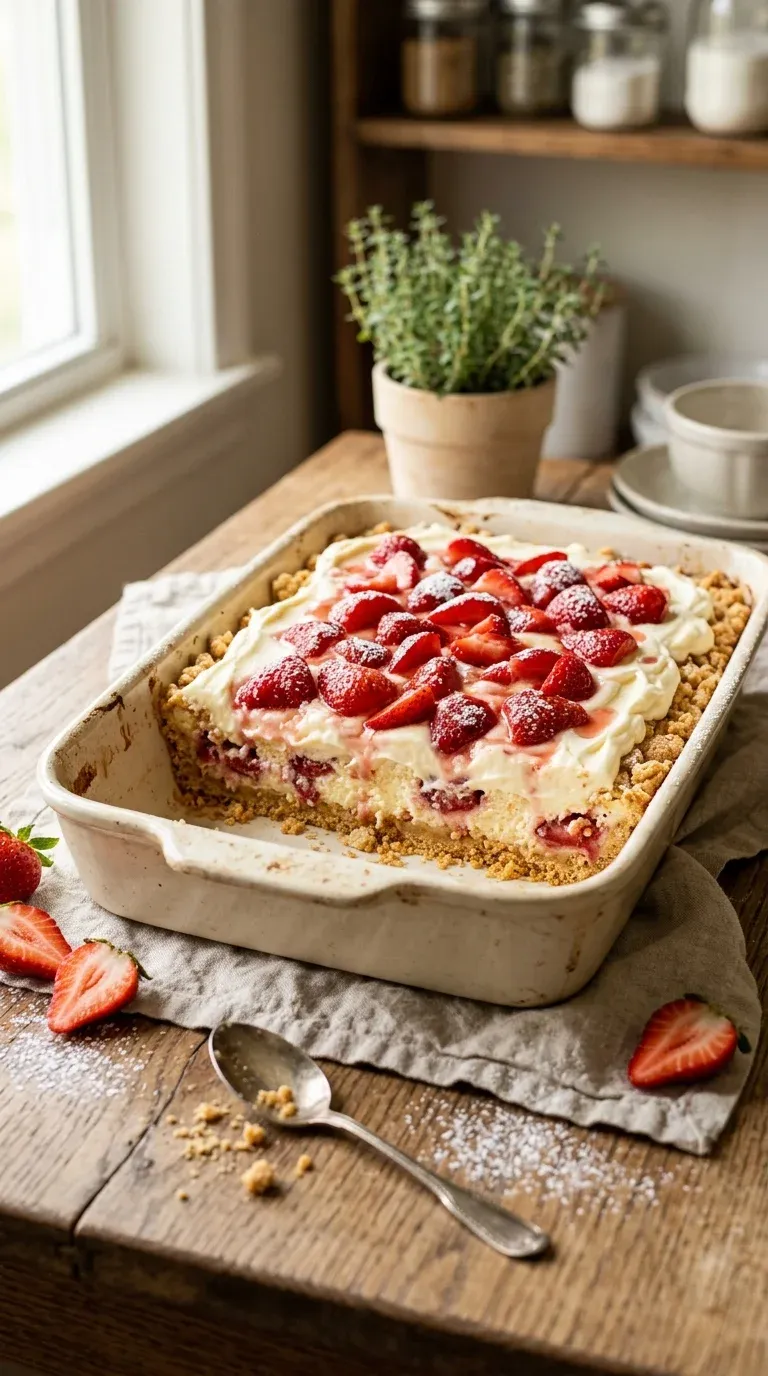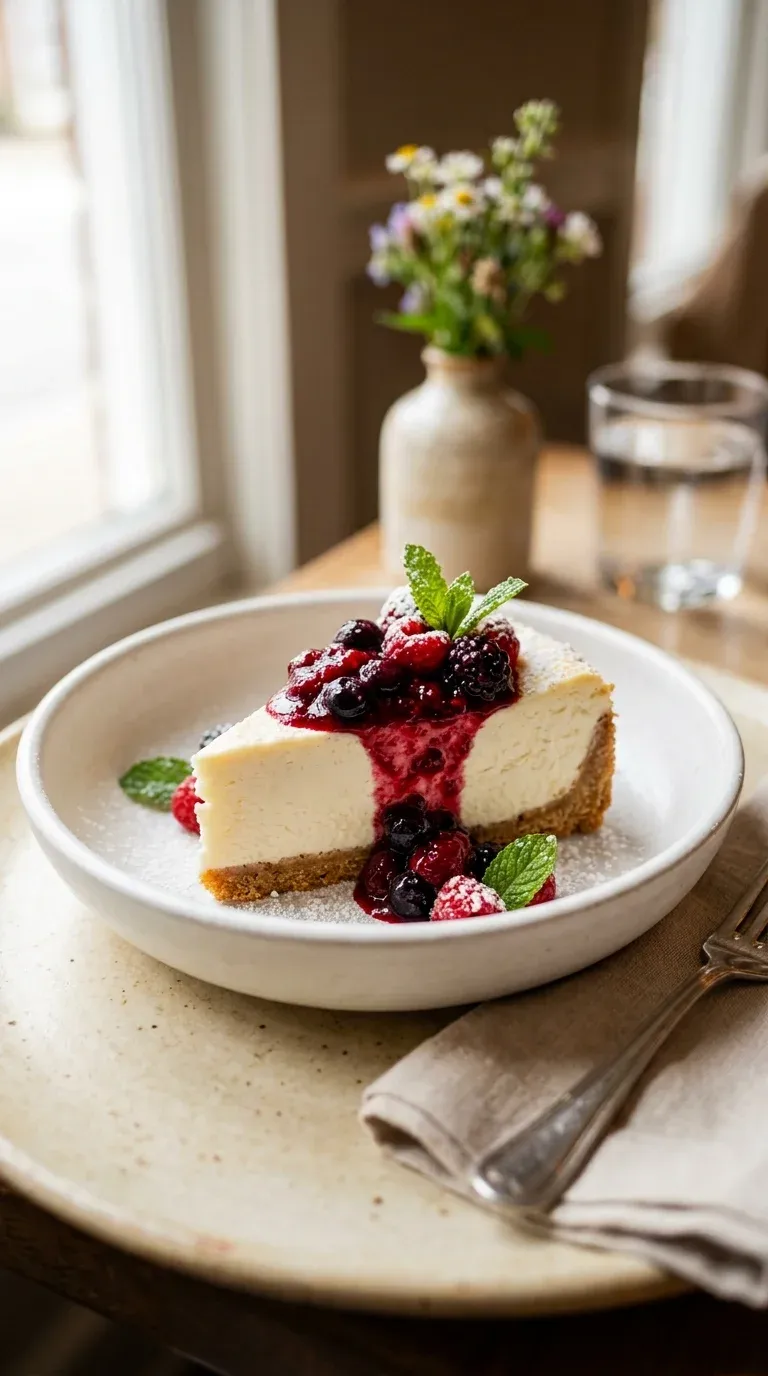
Classic Creamy Cheesecake – Easy & Delicious
A dreamily smooth dessert that feels like a celebration in every bite. Simple ingredients create a professional-grade finish. Your family will beg for seconds.
- Lila Grace
- Sweet Treats
- September 18, 2026
- 3 min read
- Updated November 5, 2026
- Total time
- 1 h 5 min
- Servings
- 12 Servings
- Difficulty:
- Easy
Table of contents
Well, there is just something about the way a kitchen smells when you are beating 32 ounces cream cheese and 1 cup granulated sugar together. It feels... I don't know, steady. I remember when I first tried making these; I was so nervous about the center cracking, but honestly, a little patience and a water bath make all the difference.
So, look, you don't need to be a professional pastry chef to get that perfect, silky texture. Once you stir in the 1/3 cup sour cream, 1 cup heavy cream, and 2 teaspoons pure vanilla extract, it all just comes together in this beautiful, pale batter. It's a slow process, and that's the part I love most—the quiet anticipation while it chills in the fridge.
Yeah, it takes a bit of waiting, but wow, that first slice of a classic creamy cheesecake is worth every single minute. It's just a simple, grounded kind of joy, really.
The story behind it
The origins of the creamy cheesecake we recognize today are a far cry from the ancient Greek cakes made with open-faced cheese and honey. While those early versions were more like savory tarts, the modern American evolution happened when cream cheese was invented in New York in the late 19th century. This shift transformed the dessert into the dense, velvety masterpiece known globally as the classic creamy cheesecake.
Culturally, this dessert has become a symbol of celebration and indulgence. From the bustling delis of Manhattan to family Sunday dinners in the suburbs, the combination of a crumbly crust and a rich, cheese-based filling has remained a constant. It is a dish that bridges the gap between rustic home cooking and fine dining.
Over the decades, the technique of the water bath became the gold standard for home bakers, ensuring the cake cooks evenly without the stress of high heat. This patient approach reflects a wider culinary tradition of valuing texture and temperature over speed, turning a few simple ingredients into a lasting legacy of sweetness.
Why You'll Love It
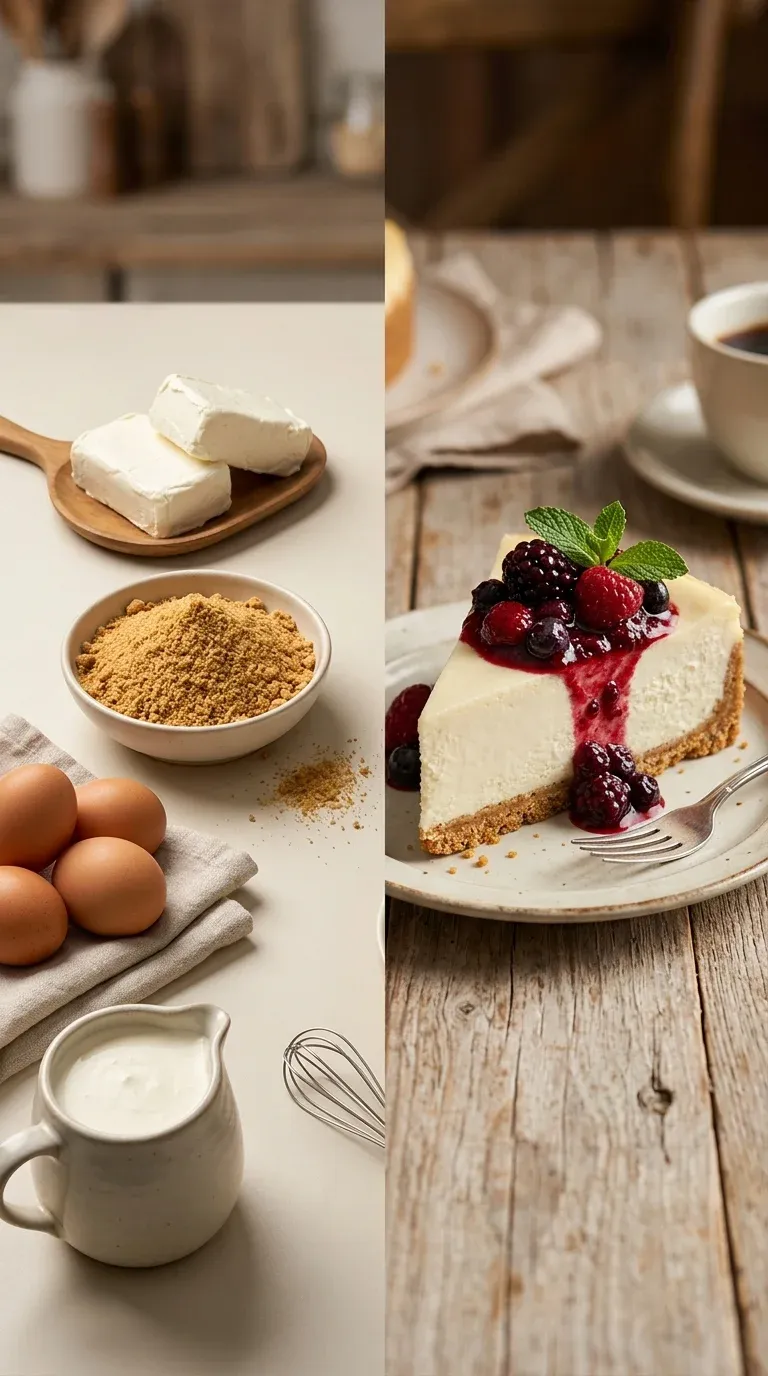
- Honestly, it's just so wonderfully smooth. That combination of 32 ounces cream cheese and 1 cup heavy cream creates a richness that just feels like a hug in dessert form.
- I love how the graham cracker crumbs and melted butter create that nostalgic, buttery crunch that balances out the creamy filling perfectly.
- Well, it's surprisingly simple to put together. You don't need to be a professional baker to get that silky, professional finish we all crave.
- Look, there's something so peaceful about waiting for it to set overnight. It's a little lesson in patience that pays off with a slice that's just... wow.
Tips for success
- Egg Temperature, Let the eggs come to room temperature before mixing to prevent curdling.
- Filling Texture, Sift the flour or use cornstarch for an even smoother finish.
- Surface Care, Refrigerate for at least 6 hours or overnight to avoid surface cracks.
Professional secrets
- The oven-rest method: Leaving the cake in the turned-off oven prevents a sudden temp drop.
- Slow incorporation: Adding eggs one by one ensures the emulsion doesn't break.
- The knife trick: A warm, slotted knife creates a clean, professional-looking slice.
Common mistakes to avoid
- Overmixing the eggs, which can cause the cake to puff up and then crack.
- Using cold cream cheese, which leaves tiny lumps in the filling.
- Overbaking the center; remember, it should still jiggle slightly.
Substitutions
- graham cracker crumbs: digestive biscuits. Works beautifully for a slightly more hearty crust.
- all-purpose flour: cornstarch. A tablespoon of cornstarch can make the filling feel even smoother.
Variations
- Lemon Zest Creamy Cheesecake: For a bright, citrusy twist, just add the zest of one fresh lemon and 2 tablespoons of lemon juice to the filling.
- Caramel Swirl Cheesecake: Create a sweet effect by stirring caramel sauce into the batter just before you pour it into the crust.
Storage
Store leftovers uncovered in the refrigerator for up to 3 days.
Make ahead
This cake actually needs to be made ahead! It requires at least 4 hours, but ideally overnight, in the fridge to set properly.
Leftovers
Keep them uncovered in the fridge for up to 3 days. If you freeze them, wrap them tight in plastic and foil for up to 5 days, then thaw in the fridge.
Serving ideas
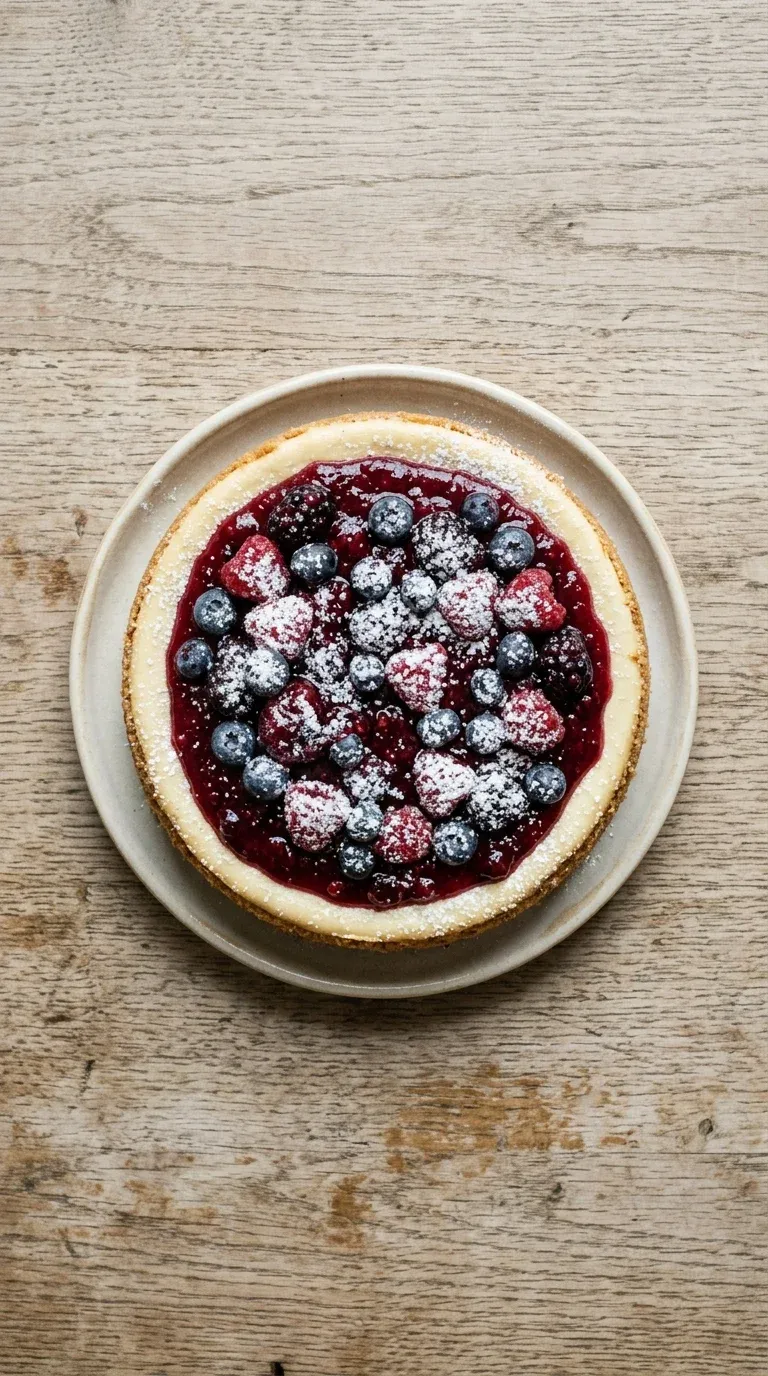
- Top with a homemade berry compote and a dusting of powdered sugar for a festive look.
- Serve with a light drizzle of caramel sauce and a dollop of whipped cream.
- Garnish with a few fresh mint leaves and sliced strawberries.
- Drizzle with melted chocolate ganache for a decadent treat.
Allergy information
Contains dairy, eggs, and gluten (graham crackers, flour).
Classic Creamy Cheesecake – Easy & Delicious
A dreamily smooth dessert that feels like a celebration in every bite. Simple ingredients create a professional-grade finish. Your family will beg for seconds.
- Prep time
- 20 min
- Cook time
- 45 min
- Total time
- 1 h 5 min
- Difficulty
- Easy
- Cuisine
- American
Ingredients
For the Crust
For the Cheesecake Filling
Instructions
- 1
First things first, go ahead and preheat your oven to 325°F (160°C). Now, here is a little trick: line the bottom of a 12-inch baking dish with a double layer of aluminum foil. Pop that on the lower rack; it's going to hold our water bath, which keeps the cake from cracking.
- 2
In a large bowl, just whisk together the graham cracker crumbs, 1/3 cup white sugar, and that melted butter until everything is evenly moistened. Press it firmly into the bottom and about 1–2 inches up the sides of your chilled springform pan. Let it take a little nap in the refrigerator for 10 minutes.
- 3
Using your electric mixer, beat the softened cream cheese in a separate large bowl. You want it to be completely smooth and creamy—honestly, give it about 2 minutes.
- 4
Gradually add the 1 cup granulated sugar to the cream cheese. Keep beating it until the mixture looks light and fluffy, which usually takes around 3 minutes.
- 5
Now, add the eggs one at a time. Make sure you fully incorporate each one before adding the next; we don't want the batter curdling, ugh.
- 6
Gently stir in the sour cream, heavy cream, pure vanilla extract, all-purpose flour, and a pinch of salt. Stir until the batter is just silky and well-combined.
- 7
Carefully pour that beautiful filling over your chilled crust in the springform pan. Use a rubber spatula to smooth the top so it's nice and even.
- 8
Place the springform pan into the water bath we prepared. Bake for 50–55 minutes. You're looking for the edges to be set, but the center should still have a gentle jiggle. Look, avoid overbaking—a slightly raw center is normal and will firm up as it chills.
- 9
Turn the oven off, but leave the cheesecake inside for 10 minutes to cool slowly. Then, carefully remove the pan and let it sit on a wire rack for 30 minutes. After that, refrigerate it uncovered for at least 4 hours, though honestly, overnight is better.
- 10
When you're ready, release the cheesecake from the pan. I like to use a warm, slotted knife for those perfectly clean cuts. You can serve it as is or dress it up with fresh fruit, berry compote, or a little chocolate ganache.
Nutrition per serving
- 620 kcal
- Calories
- 8 g
- Protein
- 38 g
- Carbs
- 45 g
- Fat
Tips & notes
- The water bath is essential for a smooth, crack-free surface. - Using room temperature ingredients helps prevent lumps in the batter. - A slightly jiggling center is the key to a creamy texture.
Frequently asked questions
Why did my cheesecake crack on top?
Oh, don't worry, it happens to the best of us! It's usually from overbaking or cooling too fast, so just be sure to let it chill overnight.
Can I make this without a springform pan?
It's a bit tricky, yeah, but you can line a regular pan with parchment paper. Just be careful when lifting it out so you don't lose those beautiful edges.
Do I really need the water bath?
Honestly, yes. It keeps the oven moisture high and the heat gentle, which is the only way to get that truly creamy, crack-free top.