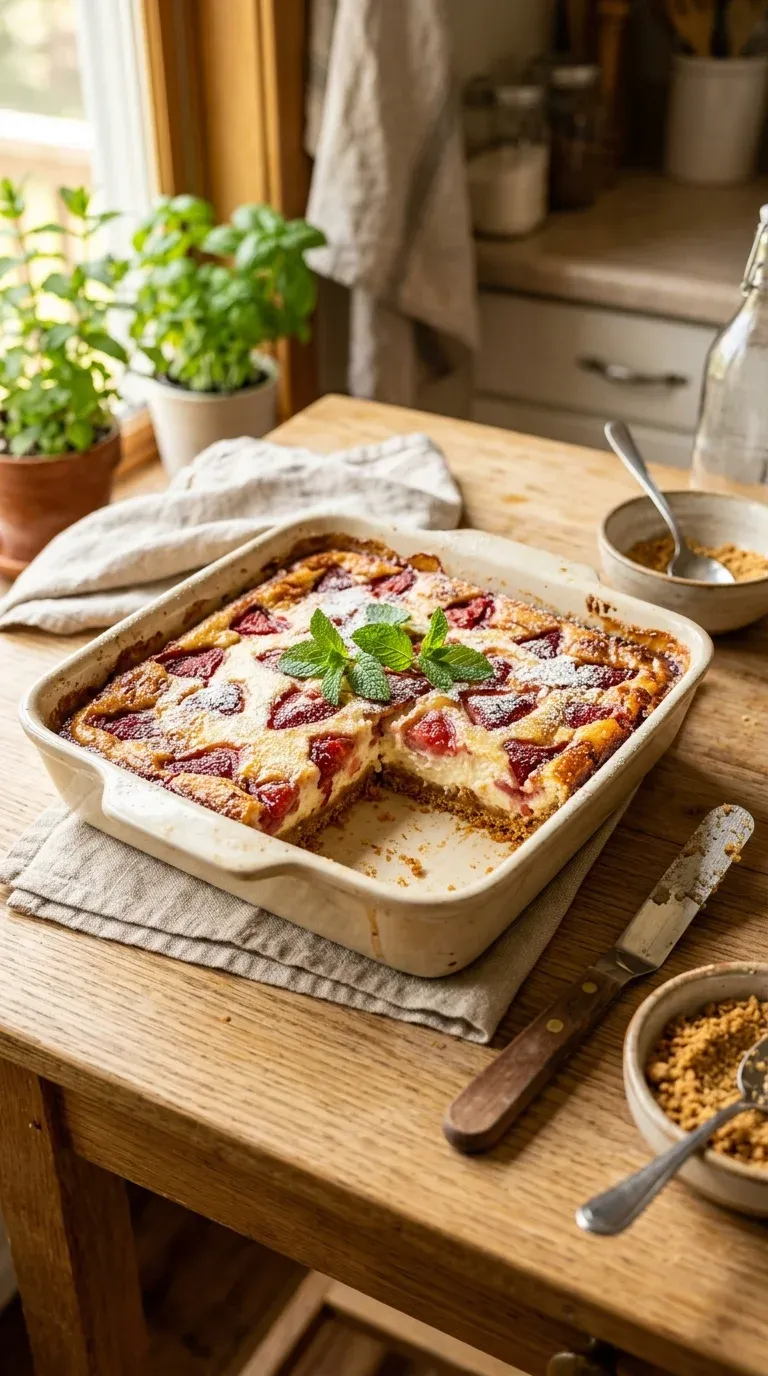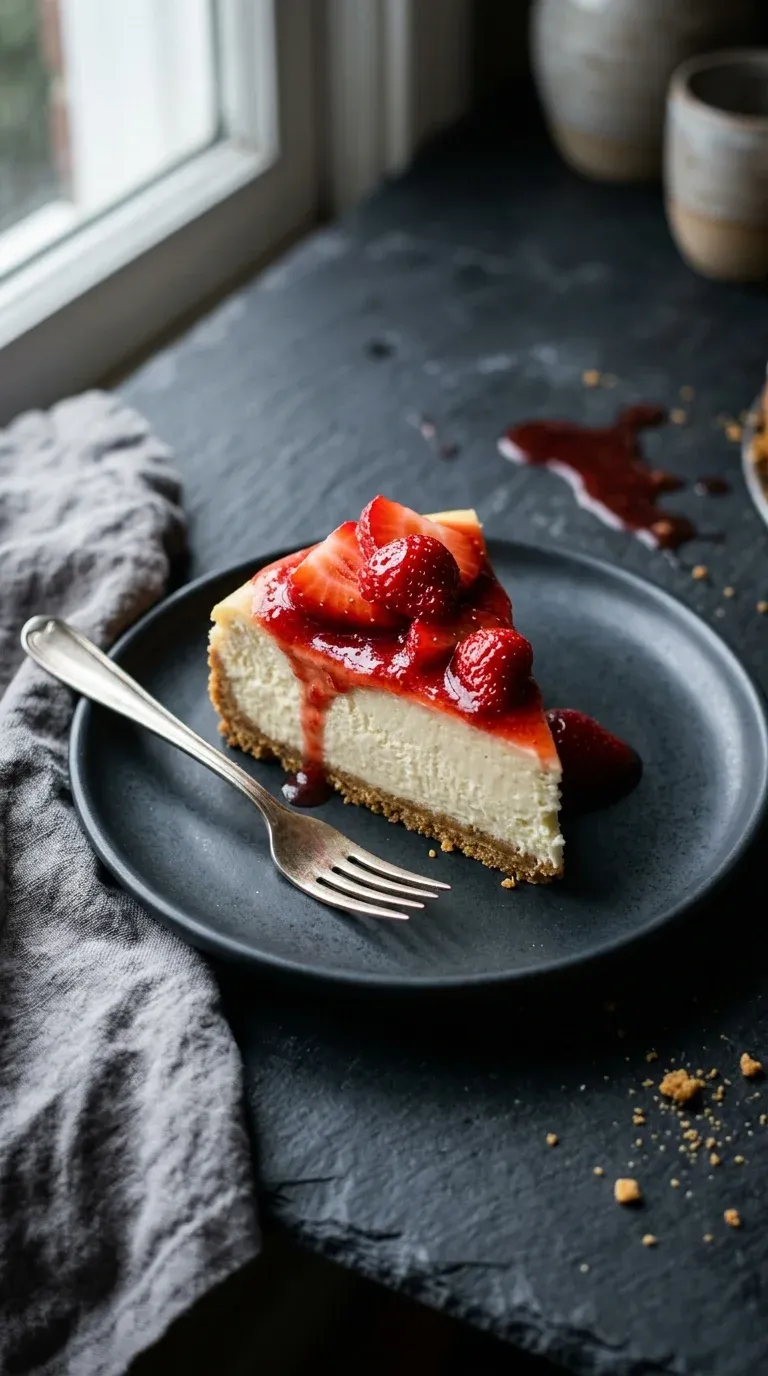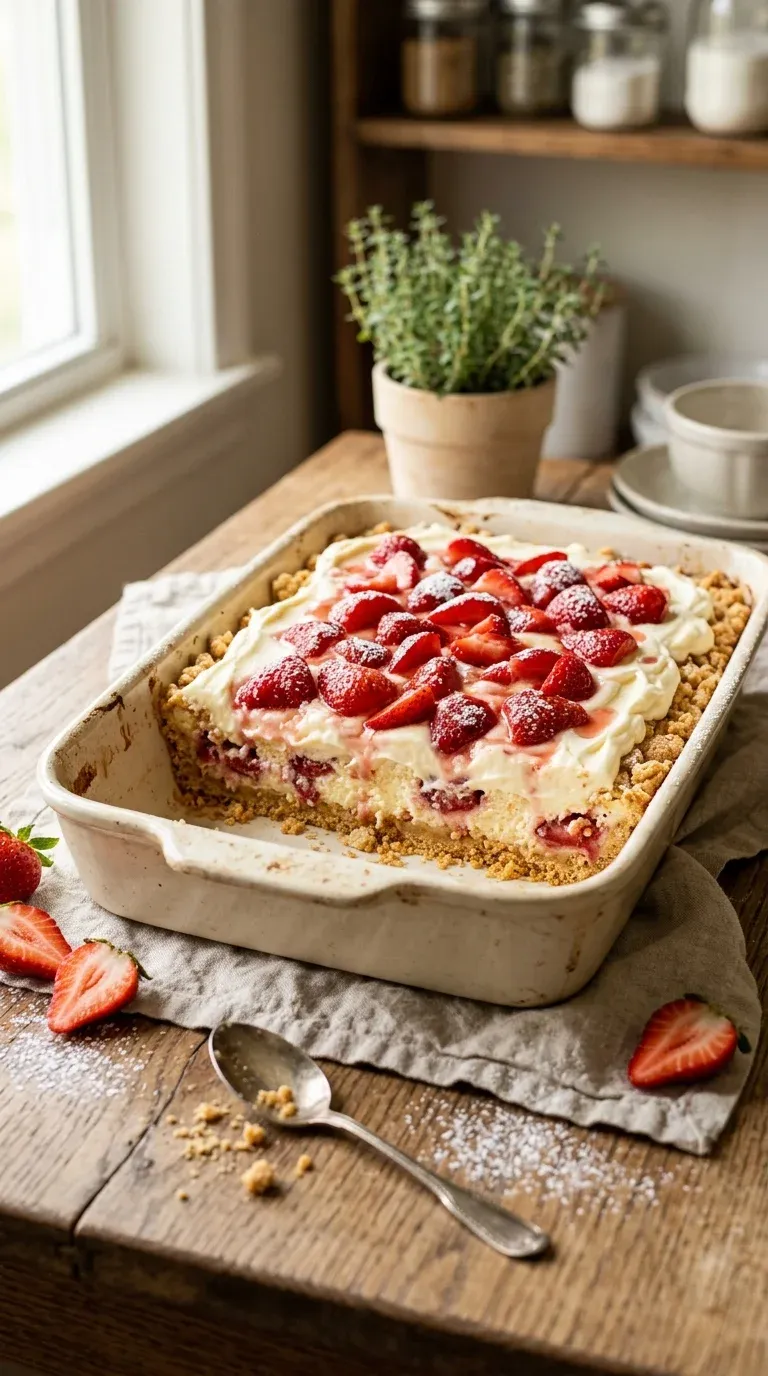
Creamy New York Style Cheesecake
Classic, opulent, and perfectly smooth. This dessert is the gold standard for celebrations. Your guests won't believe it's homemade.
- Lila Grace
- Sweet Treats
- September 14, 2026
- 4 min read
- Updated November 5, 2026
- Total time
- 1 h 20 min
- Servings
- 12 Servings
- Difficulty:
- Medium
Table of contents
Well, look, there is just something about a cheesecake that makes a day feel special, isn't there? I remember when I first tried making one; I was so nervous about it cracking that I practically held my breath while it baked. But once you get the hang of it, there is nothing quite like the scent of vanilla extract and softened cream cheese filling your kitchen.
Honestly, the secret is just patience. You've got to let it chill, just wait for it, and that first slice of creamy New York style cheesecake is always worth the wait. It's not just a dessert; it's a little moment of quiet luxury in a busy week.
So, whether you're celebrating a big birthday or just a Tuesday where you need a treat, this is the one. Just a pinch of salt and some heavy whipping cream, and you've got something truly timeless. Yeah, it's a bit of a process, but wow, the texture is just heavenly.
The story behind it
The legacy of the creamy New York style cheesecake is a testament to the melting pot of culinary influences in the United States. While the concept of a cheese tart dates back to ancient Greece, the dense, rich version we recognize today was perfected in the cafes and diners of New York City during the early 20th century. It differs from its lighter counterparts by utilizing a heavier concentration of cream cheese and often adding sour cream for a subtle tang.
Culturally, this dessert became a symbol of urban sophistication and indulgence. It represents a shift from the airy mousses of Europe to something more substantial and grounding, reflecting the hardworking spirit of the city it is named after. The addition of a graham cracker crumbs crust provided a rustic, sweet contrast to the opulent filling.
Over decades, the recipe evolved into a staple of American celebrations. The technique of the water bath became the gold standard for home bakers seeking that elusive, crack-free surface. Today, it remains a cherished classic, evoking memories of celebratory family gatherings and the timeless charm of a New York deli.
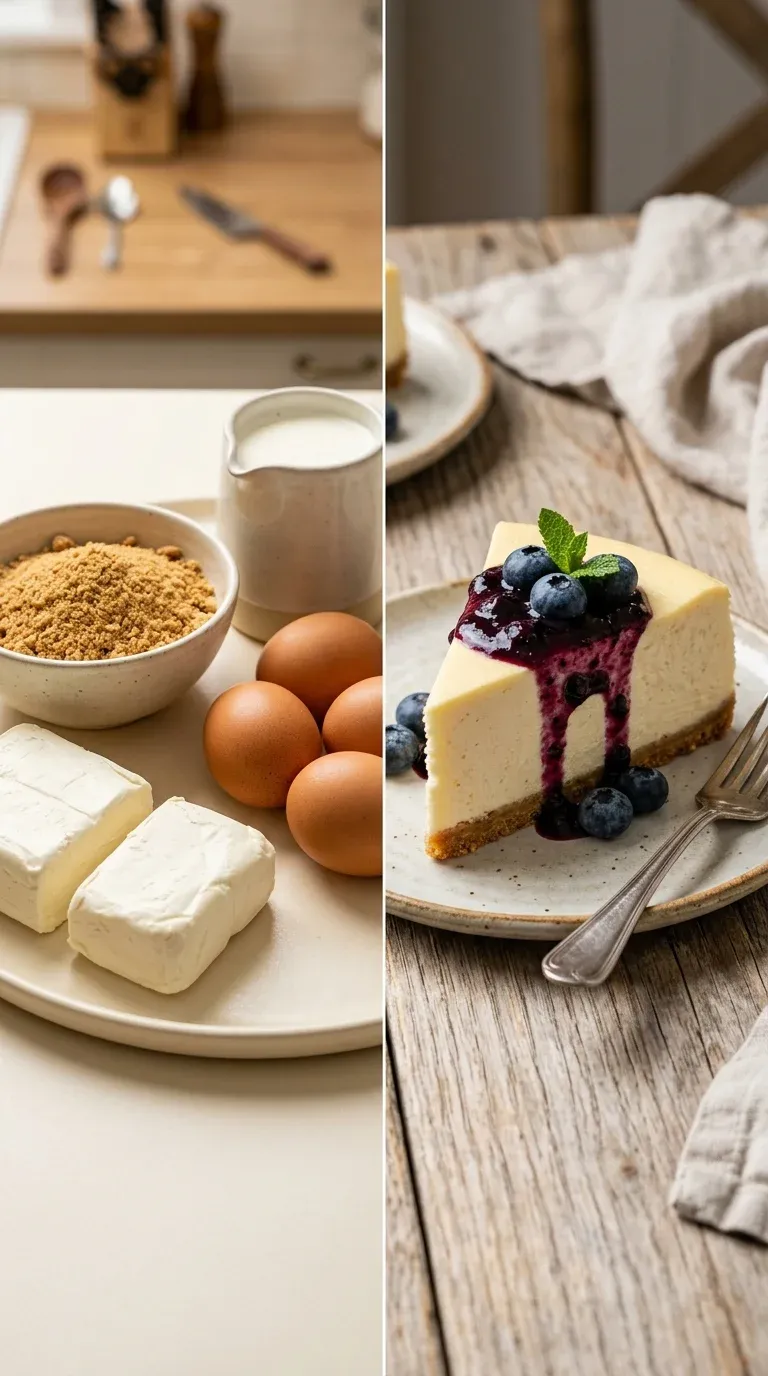
Why You'll Love It
- Honestly, there is nothing like that first bite of a rich, velvety cake that just melts away. It's got that classic, dense feel that makes you feel like you're in a little New York cafe.
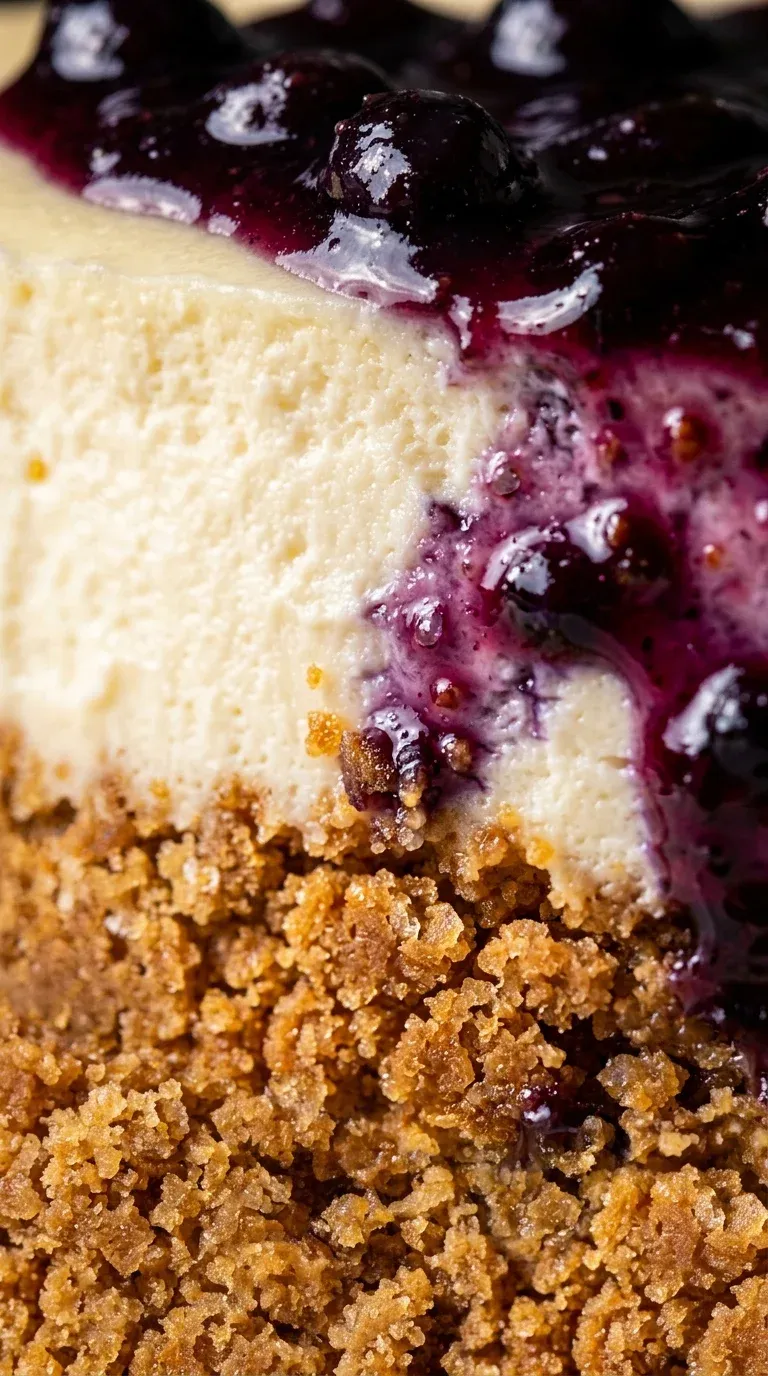
- I mean, the texture is just so silky, and when you pair it with that buttery graham cracker crust, it's just... wow, pure comfort on a plate.
- It's the kind of dessert that makes a birthday or anniversary feel a bit more special, you know? It leaves such a lasting impression without being too fussy.
- Well, look, it's a bit of a labor of love with the cooling time, but dang, the result is a professional-looking treat that feels like a warm hug.
Tips for success
- Room temperature ingredients, prevents lumps and ensures the batter smooths beautifully.
- Chilled water bath, keeps heat consistent to prevent cracks and creates a luxurious texture.
- Egg wash finish, brush with 1 egg yolk and 1 tbsp water before the last 5 minutes for a glossy top.
Professional secrets
- Avoid overmixing after adding eggs to prevent incorporating too much air, which causes cracks.
- Use a water bath to insulate the cake from the direct heat of the oven walls.
- The 'oven-door-ajar' cooling method prevents a sudden temperature drop that shocks the cake.
Common mistakes to avoid
- Overmixing the batter after adding eggs, which causes the cake to crack.
- Using cold cream cheese, which leads to a lumpy batter.
- Opening the oven door too often, which lets out the steady heat.
Substitutions
- heavy whipping cream: Greek yogurt. Creates a slightly lighter, tangier version.
- reduced-fat cream cheese: full-fat cream cheese. Full-fat is recommended for the most authentic, creamy texture.
Variations
- Lemon‑Zest New York Cheesecake: Give the filling a bright, citrusy lift by incorporating 1 tablespoon lemon zest and 1 teaspoon fresh lemon juice.
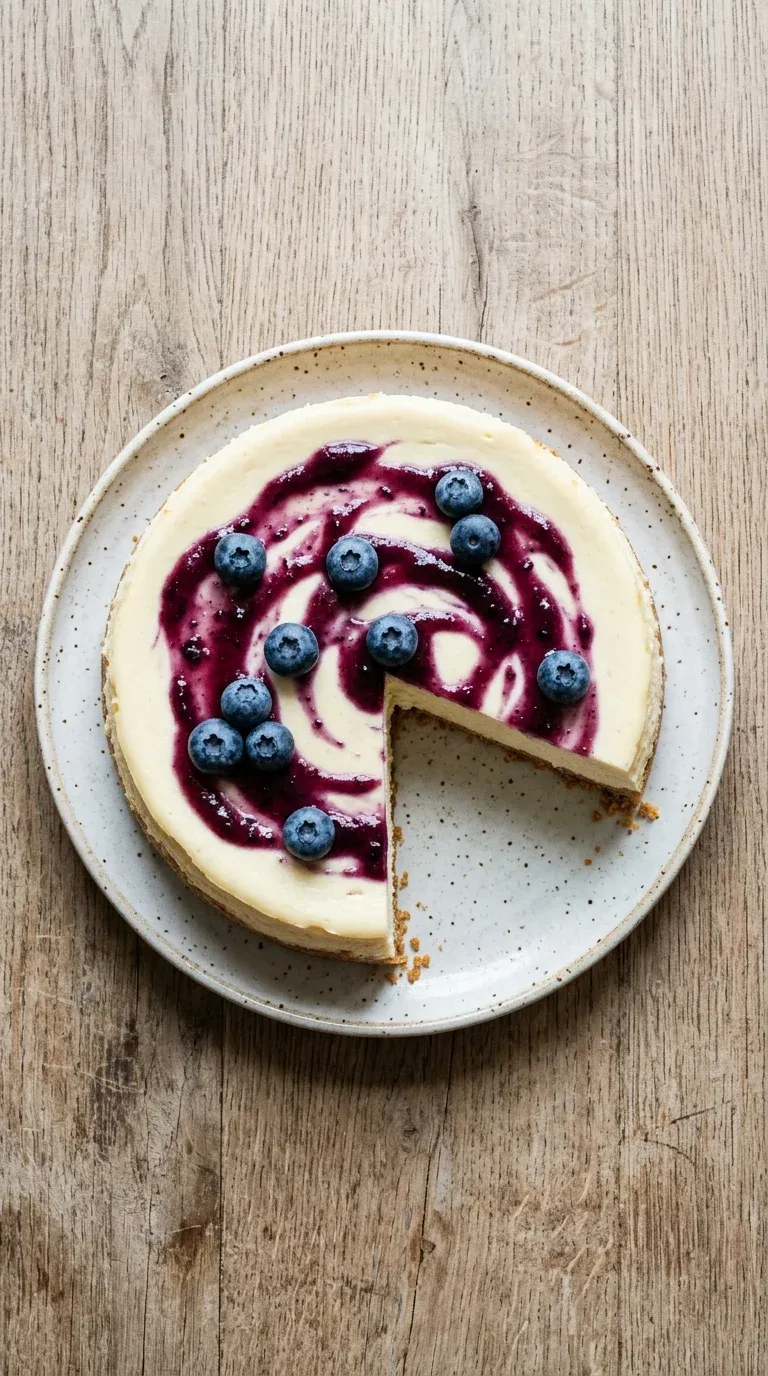
- Berry Swirl New York Cheesecake: Create a beautiful look by swirling in a thin layer of pureed fresh berries, like strawberries or blueberries, between layers of batter.
Storage
Keep covered in the fridge. It can stay at room temperature for no more than 2 hours.
Make ahead
This cake is actually better when made ahead. I recommend chilling it overnight in the refrigerator for the best texture.
Leftovers
Store tightly covered in the refrigerator. If you prefer it frozen, wrap it in plastic wrap and foil for up to 3 months, thawing it overnight in the fridge.
Serving ideas
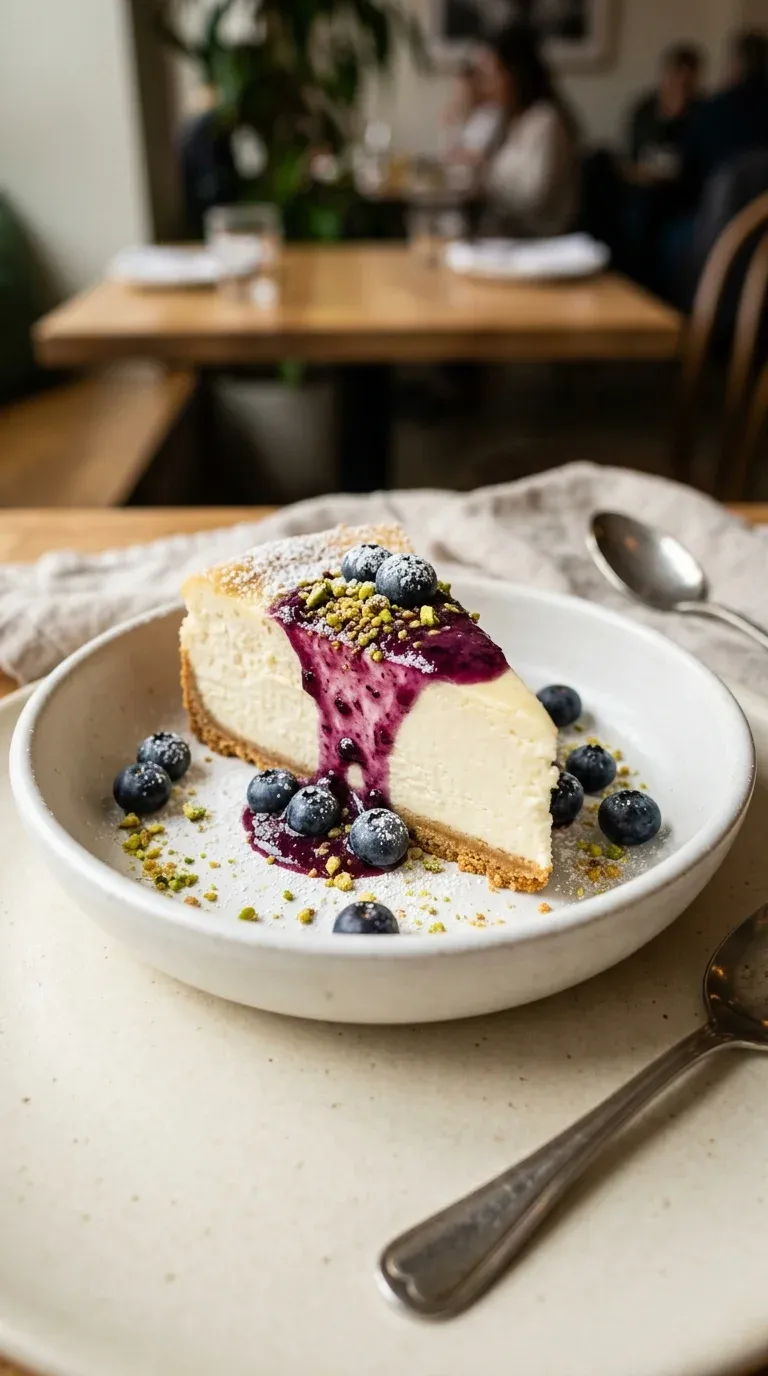
- Scatter fresh blueberries and drizzle a light blueberry coulis on top.
- Add a rich chocolate ganache or melted dark chocolate for decadence.
- Dust with powdered sugar and garnish with crushed pistachios.
- Serve plain to let the rich, creamy New York flavor shine.
Allergy information
Contains dairy, eggs, and wheat (gluten).
Creamy New York Style Cheesecake
Classic, opulent, and perfectly smooth. This dessert is the gold standard for celebrations. Your guests won't believe it's homemade.
- Prep time
- 20 min
- Cook time
- 1 h
- Total time
- 1 h 20 min
- Difficulty
- Medium
- Cuisine
- American
Ingredients
For the Crust
For the Cheesecake Filling
Instructions
- 1
Start by preheating your oven to 325°F (162°C). I like to line the bottom of my 9‑inch springform pan with parchment paper just to be safe‑it makes things so much easier later.
- 2
In a bowl, stir together the graham cracker crumbs, melted butter, and 1 tablespoon sugar. Press that mixture firmly into the bottom of your pan and bake it for 10 minutes. Now, just let it cool while you move on to the filling.
- 3
Beat your softened cream cheese in a large bowl until it is very smooth and creamy. Gradually add the 1 cup sugar and 2 tbsp flour, mixing them in until they are well combined.
- 4
Add the eggs one at a time. Be sure to beat on low speed after each egg; honestly, you want to mix until just combined‑don't overmix, or you might end up with cracks, and ugh, that's always a bummer.
- 5
Stir in the sour cream, heavy cream, vanilla extract, and a pinch of salt. Keep going until the batter looks silky and uniform.
- 6
Pour that lovely batter over your cooled crust and use a spatula to smooth out the surface.
- 7
Place your springform pan inside a larger baking pan and add a 1‑inch water bath around it. It sounds like a lot of work, but it really helps prevent cracks and gives it that smooth finish.
- 8
Bake for 50‑60 minutes. You're looking for the edges to be set, but the center should still have a gentle wobble when you shake it slightly.
- 9
Turn off the oven and just leave the cheesecake inside with the door ajar for 1 hour. Let it cool slowly, then move it to a wire rack to reach room temperature.
- 10
Chill it in the refrigerator for at least 4 hours‑though I'll tell you, overnight is best. Then, just release the springform pan, slice it up, and enjoy.
Nutrition per serving
- 380 kcal
- Calories
- 6 g
- Protein
- 24 g
- Carbs
- 28 g
- Fat
Tips & notes
- Using room-temperature ingredients is the secret to avoiding those pesky lumps. - The slow-cool process in the oven helps the cake settle without cracking. - Patience is key‑don't rush the chilling process if you want clean slices.
Frequently asked questions
Why did my cheesecake crack on top?
Oops, that usually happens if the batter is overmixed or the oven is too hot. Using a water bath and cooling it slowly in the oven usually fixes that right up.
Can I make this a day in advance?
Oh, please do! I actually think it tastes better after sitting overnight in the refrigerator; it really lets the texture firm up perfectly.
Do I really need to use room temperature eggs?
Yeah, it really helps. Cold eggs can cause the cream cheese to seize up or clump, and we want this to be as silky as possible.