
Vetkoek, meaning “fat cake,” has been a staple of South African street food since the early 1800s, originating from the Dutch settlers who mixed simple dough with oil to create a portable snack. Over generations it traveled from market stalls to family kitchens, becoming a beloved accompaniment to everything from soups to sweet jam. This timeless treat reflects a blend of cultures and the resourceful spirit of a people who made the most of humble ingredients.
Why You'll Love It
-
- Simple pantry ingredients you likely already have
-
- Quick rise time makes it perfect for weeknight cravings
-
- Crispy exterior with a cloud‑like interior for any topping
-
- Versatile: sweet, savory, or plain—your choice
"These vetkoek are the fluffiest I've ever tasted—just like Mom used to make!"
Essential Ingredient Guide
- All‑purpose flour: Provides the structure; sift to remove lumps for a light crumb.
- Active dry yeast: Gives the dough its rise; proof in warm water for a few minutes.
- Sugar: Feeds the yeast and adds a subtle sweetness to the crust.
- Salt: Enhances flavor and balances the sweet notes.
- Lemon juice or vinegar: A tiny acid helps the dough develop tenderness.
- Oil for frying: Choose a neutral oil with a high smoke point for a clean, crisp finish.
 Warm Meals
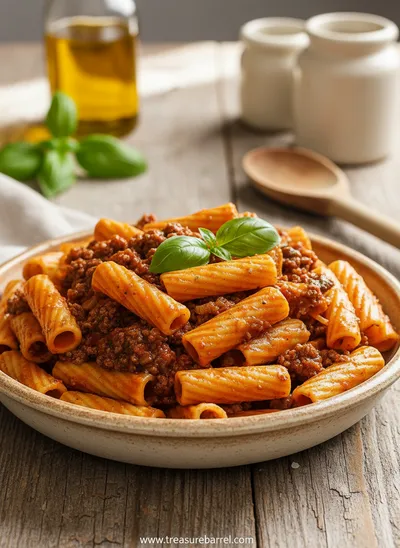
Beef Ragu Pasta Recipe in Tomato Sauce
A rich and hearty pasta dish with slow-cooked beef ragu in a savory tomato sauce.
Complete Cooking Process
-
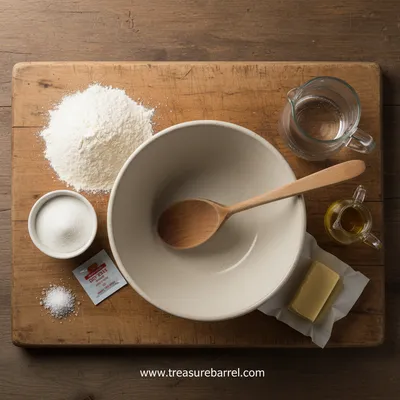
Ingredient Readiness:
Measure flour, sugar, and salt; proof yeast in warm water with a pinch of sugar until foamy.
-
Flavor Development:
Knead the dough until smooth, then let it rest; the gentle rise builds airy pockets.
-
Texture Control:
Shape discs and let them proof again; this second rise gives the signature fluff.
-
Finishing Touches:
Fry in hot oil until golden brown, then drain on paper to keep them crisp.
-
Serving Timing:
Serve while still warm, dusted with sugar or filled with jam, cheese, or savory stews.
-
Maintain oil temperature around 350°F (175°C) for even browning
-
Don’t overcrowd the pan; fry in batches
-
Flip only once to preserve the interior fluff
-
Season with a sprinkle of cinnamon sugar for a sweet twist
Pro Tips
Take a moment to watch the bubbles rise as the dough meets the hot oil—there’s a quiet confidence in that simple transformation. Once the vetkoek float to the surface and turn a deep amber, use a slotted spoon to lift them, letting any excess oil drip away. Let them rest for just a minute; the outer crust will firm up while the interior stays cloud‑soft. You’ll notice the scent of toasted dough filling the kitchen, a reminder that even the most ordinary ingredients can become extraordinary with a little patience.
The essence of the dish:
A humble dough, quietly risen and fried, becomes a golden pocket of comfort—crisp at the edges, pillowy within.
A fun fact or historical angle:
Vetkoek were originally sold at railway stations in the 1800s, offering travelers a quick, filling snack.
Flavor or sensory focus:
You’ll first notice the sizzling sound, then the warm aroma of toasted flour, followed by the soft, melt‑in‑your‑mouth bite.
You Must Know
-
Use lukewarm water, not hot, to keep yeast happy
-
Cover the dough with a damp cloth while it rises
-
Test oil temperature with a small piece of dough—if it bubbles and rises, it’s ready
Frequently Asked Questions
→ Can I freeze vetkoek?
Yes, let them cool completely, then freeze in a single layer before bagging. Reheat in a hot oven for a crisp finish.
→ What’s the best oil to use?
A neutral oil with a high smoke point—like vegetable, canola, or sunflower—gives the cleanest flavor.
→ How do I know when the oil is hot enough?
A tiny dough ball should sizzle and rise to the surface within 20‑30 seconds.
→ Can I make a sweet version?
Absolutely; after frying, dust with cinnamon sugar or drizzle honey for a dessert twist.
→ Do I need to knead the dough vigorously?
A gentle knead until smooth is enough; over‑kneading can make the interior dense.
→ What’s a good serving suggestion?
Serve warm with apricot jam, cheese curds, or a hearty beef stew for a comforting meal.
Nutrition Facts
per serving
250
Calories
6g
Protein
35g
Carbs
8g
Fat
Taste Profile
Warm, lightly sweet with a buttery finish
Ingredient Substitutions
Don't have an ingredient? Try these alternatives
Will give a denser crumb; increase liquid slightly.
Maintains moisture but reduces buttery flavor.
Recipe Variations
Try these delicious twists on the original
Spicy Version
Add 1 tsp chili powder to the dough and sprinkle with cayenne after frying for a gentle kick.
Mediterranean Style
Fill with feta, olives, and sun‑dried tomatoes for a savory twist.
Common Mistakes to Avoid
Learn from others' mistakes for perfect results
- Overcrowding the pan, which drops oil temperature and makes soggy vetkoek.
- Using oil that’s too hot, burning the exterior before the interior puffs.
- Skipping the second proof, resulting in dense rather than fluffy centers.
Meal Prep & Storage
Make Ahead Tips
Prepare the dough a day ahead, let it rise overnight in the fridge, then bring to room temperature before shaping and frying.
Leftover Ideas
Reheat in a hot skillet for 2‑3 minutes to regain crispness; serve with fresh jam.
Perfect Pairings
Serve this with...
Cooking Timeline
Proof yeast in warm water; measure dry ingredients.
Combine all ingredients, knead dough, and place in bowl to rise.
Punch down, divide, shape discs, and let rest while heating oil.
Fry vetkoek in batches until golden, then drain.
Dust or fill and serve while warm.
 Warm Meals
Garlic Steak Tortellini – A Warm Classic
Steak meets garlic‑kissed tortellini in a creamy, herb‑filled sauce for a cozy night in.
Crispy Vetkoek Fried Dough – Easy Homemade Recipe
Discover how to make perfectly golden, fluffy vetkoek at home—crispy on the outside, soft inside, perfect for breakfast or a comforting snack any time of day.
Timing
Prep Time
15 Minutes
Cook Time
15 Minutes
Total Time
30 Minutes
Recipe Details
Ingredients
Dough
-
01
4 cups all‑purpose flour
-
02
2 tsp active dry yeast
-
03
2 tbsp sugar
-
04
1 tsp salt
-
05
2 tbsp warm water (for proofing)
-
06
1 cup warm milk
-
07
1 large egg, lightly beaten
-
08
2 tbsp melted butter or oil
-
09
1 tsp lemon juice
Frying
-
01
Vegetable oil for deep‑frying (about 2 inches deep in pan)
-
02
Optional topping: cinnamon sugar, jam, or cheese
Instructions
In a small bowl combine warm water, a pinch of sugar, and yeast; let sit 5‑7 minutes until foamy.
In a large mixing bowl whisk flour, remaining sugar, and salt. Make a well, then add proofed yeast, warm milk, egg, melted butter, and lemon juice. Stir until a shaggy dough forms.
Turn dough onto a lightly floured surface and knead 6‑8 minutes until smooth and elastic. Shape into a ball, place in a greased bowl, cover with a damp cloth, and let rise 45‑60 minutes, or until doubled.
Punch down the risen dough, divide into 6 equal pieces, and gently shape each into a 3‑inch disc. Cover and let rest 15 minutes while you heat the oil.
Heat oil in a deep skillet to 350°F (175°C). Carefully slide one disc into the oil; fry 2‑3 minutes per side until golden and puffed. Remove with a slotted spoon and drain on paper towels.
While still warm, dust with cinnamon sugar or split open and fill with jam or cheese. Serve immediately.
Notes & Tips
-
1
If the dough feels sticky, add a tablespoon of flour at a time.
-
2
For extra fluff, let the shaped discs proof a second time for 10‑12 minutes before frying.
-
3
Keep oil temperature steady; too hot will brown the outside before the interior cooks.
 Cozy Classics
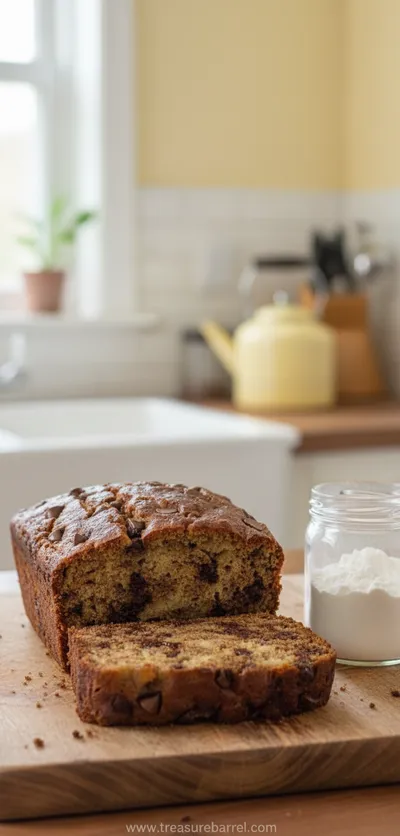
Easy Chocolate Chip Banana Bread
Moist chocolate chip banana bread, quick to bake, perfect for cozy breakfasts.
Tools You'll Need
-
Large mixing bowl
-
Measuring cups and spoons
-
Rolling pin or hands for shaping
-
Deep skillet or Dutch oven
-
Thermometer (optional but helpful)
-
Slotted spoon
-
Paper towels
Must-Know Tips
-
Don’t overcrowd the pan, Cook in batches to maintain oil temperature
-
Let dough rest after shaping, Allows interior to puff evenly
-
Taste a small piece of dough before frying, Adjust sugar or salt if needed
Professional Secrets
-
Room temperature ingredients, Ensures even rise
-
High heat for frying, Creates the perfect crisp crust
-
Drain on paper towels, Removes excess oil for lighter bite

Recipe by
Lila GraceLila creates magical desserts 🍫🧁, sprinkles joy 🌈✨, and shares sweet moments 🍬💖. Her kitchen is full of smiles 😄 and sugar-dusted memories 🍪🍯.
Get Delicious Recipes Weekly
Join 25,000+ home cooks getting our best recipes straight to their inbox.
Free forever • No spam • Unsubscribe anytime