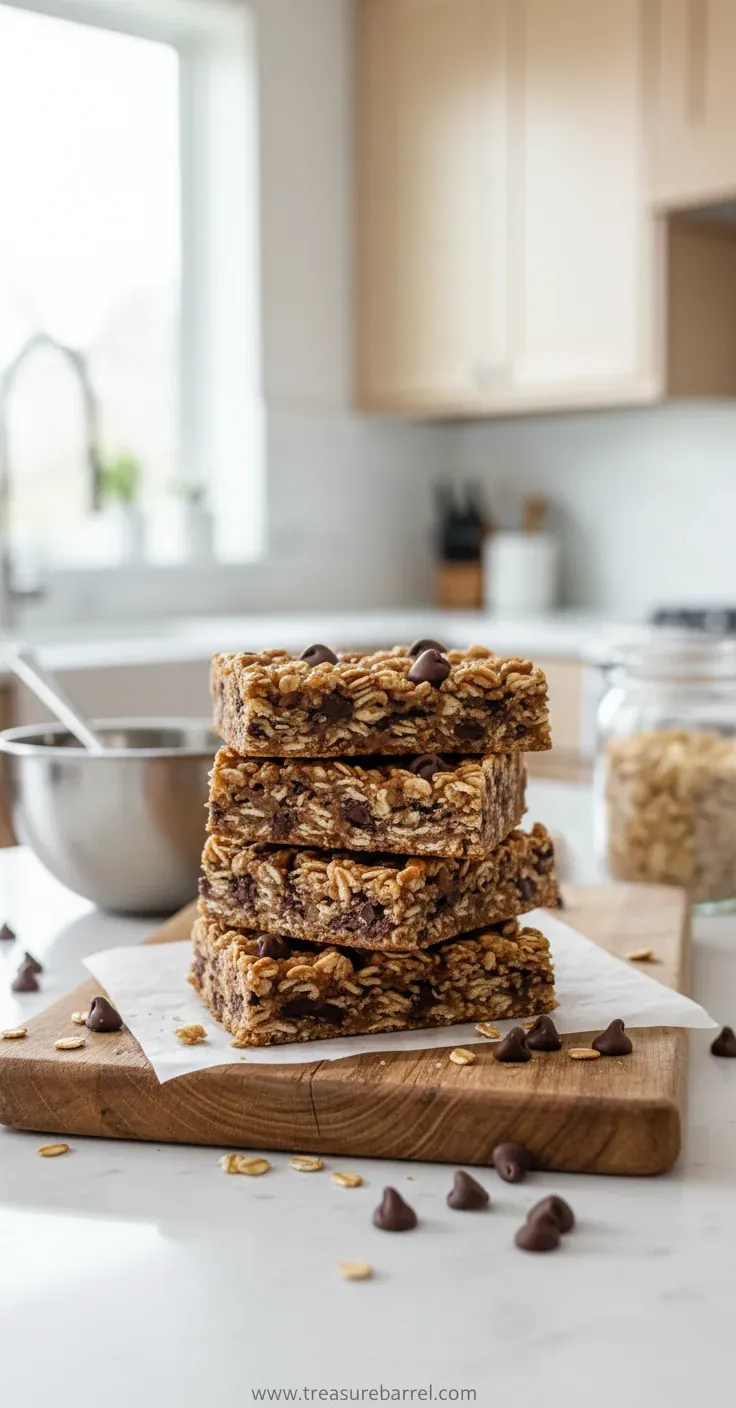
Homemade No Bake Granola Bars
Chewy, sweet, and no‑bake granola bars perfect for a quick snack any time.
- Lila Grace
- Sweet Treats
- February 27, 2026
- 2 min read
- Updated November 5, 2026
- Total time
- 10 min
- Servings
- 12 Servings
- Difficulty:
- Easy
Table of contents
Honestly, I’ve always loved a snack that’s both sweet and satisfying without turning on the oven. So, I started experimenting in my tiny kitchen, and after a few tries—oops, a little too crunchy— I found the perfect balance. This recipe feels like a quiet hug, warm and comforting, and it’s ready in minutes.
The essence of the dish
It’s the harmony of toasted oats, sweet honey, and buttery richness that makes each bite feel cozy and satisfying.
A fun fact or historical angle
During WW2, soldiers were given oat‑based bars as portable energy, proving that simple grains can fuel big adventures.
Flavor or sensory focus
You’ll notice a warm caramel aroma, a soft chew from the oats, and a subtle nutty finish that lingers.
You Must Know
- Press the mixture firmly for clean edges.
- Let the bars cool completely before slicing.
- Keep them in a cool place to maintain softness.
I’ve found that a patient pause while the bars set makes all the difference. The texture firms up just right, and the flavors meld together beautifully. It’s a quiet moment in the kitchen that feels rewarding.
The story behind it
Granola bars trace their roots to early 20th‑century health food movements, where families sought portable nourishment for busy days. The concept of a no‑bake version emerged later, as modern kitchens demanded speed and simplicity. This humble bar reflects that evolution, offering a sweet treat that’s both nostalgic and convenient.
Why You'll Love It
- No oven required, perfect for hot summer days
- Chewy texture that stays soft after cooling
- Customizable with nuts, seeds, or dried fruit
- Sweetened naturally with honey and brown sugar
Tips for success
- Don't overmix the dry ingredients; just enough to combine.
- Let the bars cool completely before cutting to avoid crumbling.
- Taste the syrup before adding more sweetener; honey sweetness varies.
Professional secrets
- Warm syrup helps oats absorb moisture better, giving a softer bar.
- Pressing firmly creates uniform thickness and prevents broken pieces.
- Allowing the bars to set at room temperature lets the flavors meld.
Common mistakes to avoid
- Overmixing the dry ingredients, which can make bars crumbly.
- Cutting the bars before they are fully set, leading to uneven pieces.
Substitutions
- Almond butter: Peanut butter or sunflower seed butter. Each gives a different flavor profile; adjust salt accordingly.
- Honey: Maple syrup. Adds a richer, deeper sweetness; you may need slightly less.
Variations
- Spicy Version: Add a pinch of cayenne and a dash of maple syrup for a sweet‑heat twist.
- Mediterranean Style: Swap dried cranberries for chopped dried apricots and stir in a teaspoon of za'atar.
Storage
Store in an airtight container on the countertop for up to a week, or freeze for up to 2 months.
Make ahead
You can mix the dry ingredients and store them in a zip bag; combine with the syrup and set the bars up to 24 hours in advance.
Leftovers
Enjoy a bar as an afternoon snack; if a bar gets a bit stale, warm it briefly in the microwave to revive softness.
Serving ideas
- Place bars on a plate with a side of fresh berries.
- Wrap individually for on‑the‑go snacks.
- Crush a bar over yogurt for added texture.
Allergy information
Contains nuts and honey; can be adapted for nut‑free or vegan diets.
Homemade No Bake Granola Bars
Chewy, sweet, and no‑bake granola bars perfect for a quick snack any time.
- Prep time
- 10 min
- Total time
- 10 min
- Difficulty
- Easy
- Cuisine
- American
- Course
- Snack
Ingredients
Main Ingredients
Optional Add‑Ins
Instructions
- 1
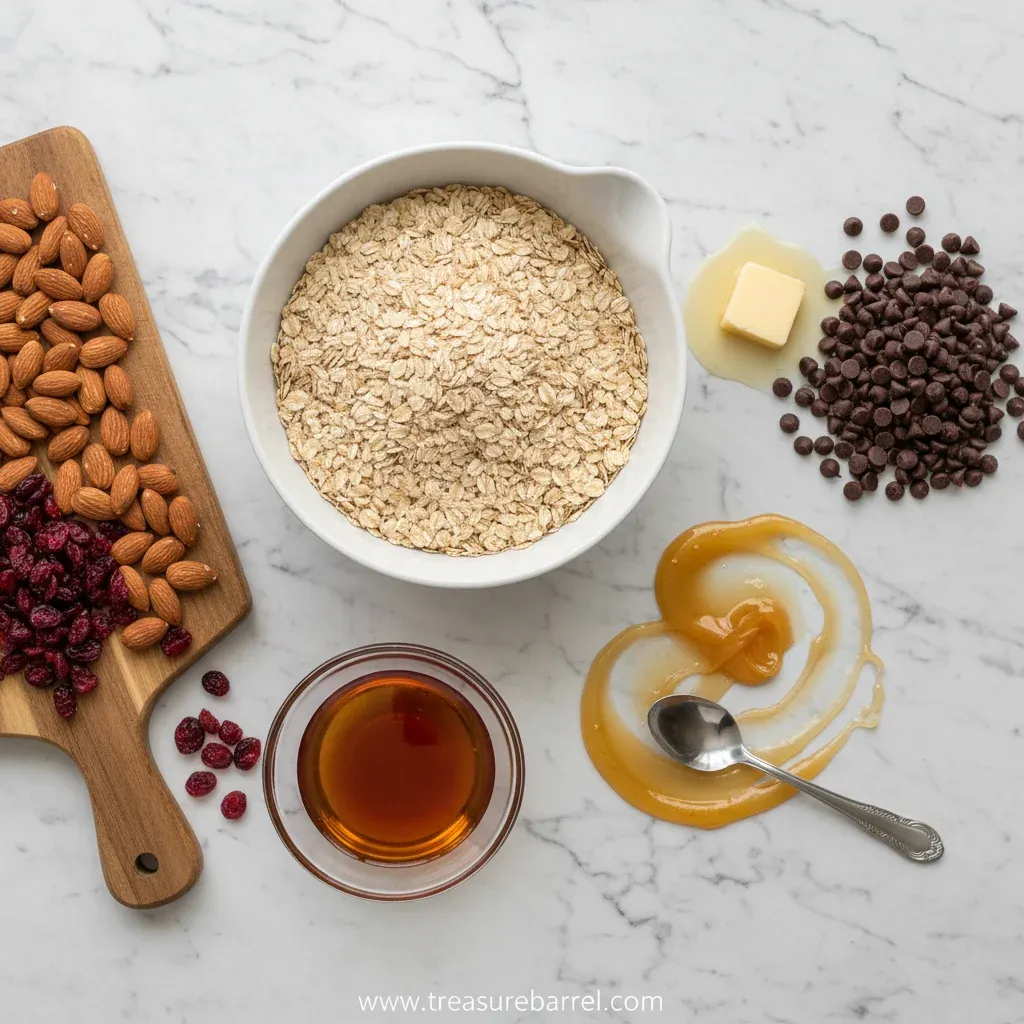
In a large bowl, combine oats, almonds, and cranberries; give them a gentle toss.
- 2
In a saucepan over low heat, melt honey, almond butter, brown sugar, and sea salt until smooth; stir in lemon juice.
- 3
Pour the warm syrup over the dry mixture, using a spatula to coat everything evenly; add any optional add‑ins now.
- 4
Press the mixture firmly into a parchment‑lined 8×8‑inch pan; let it cool completely before slicing into bars.
- 5
Enjoy straight away or store in an airtight container; the bars stay soft and chewy for days.
Nutrition per serving
- 180 kcal
- Calories
- 4 g
- Protein
- 24 g
- Carbs
- 8 g
- Fat
Tips & notes
- If the mixture feels too crumbly, melt an extra tablespoon of honey. - Press with the back of a flat glass to get a smooth top without tearing. - Feel free to swap nuts or dried fruit to match seasonal flavors.
Frequently asked questions
Can I make these gluten‑free?
Absolutely—just swap rolled oats for certified gluten‑free oats and the bars remain just as chewy.
How long do they keep?
Store in an airtight container at room temperature for up to a week, or freeze for longer storage.
Can I add chocolate chips?
Yes, fold in a handful of mini chips after the mixture cools slightly; they’ll set nicely.
What if I don’t have honey?
Maple syrup works as a 1:1 substitute, giving a slightly different flavor but same binding power.
Do I need to toast the oats?
A quick toast in a dry pan brings out a nutty aroma, but it’s optional if you’re short on time.
Can I make a vegan version?
Swap nut butter for sunflower seed butter and use agave nectar instead of honey.