Honey Garlic Chicken Thighs
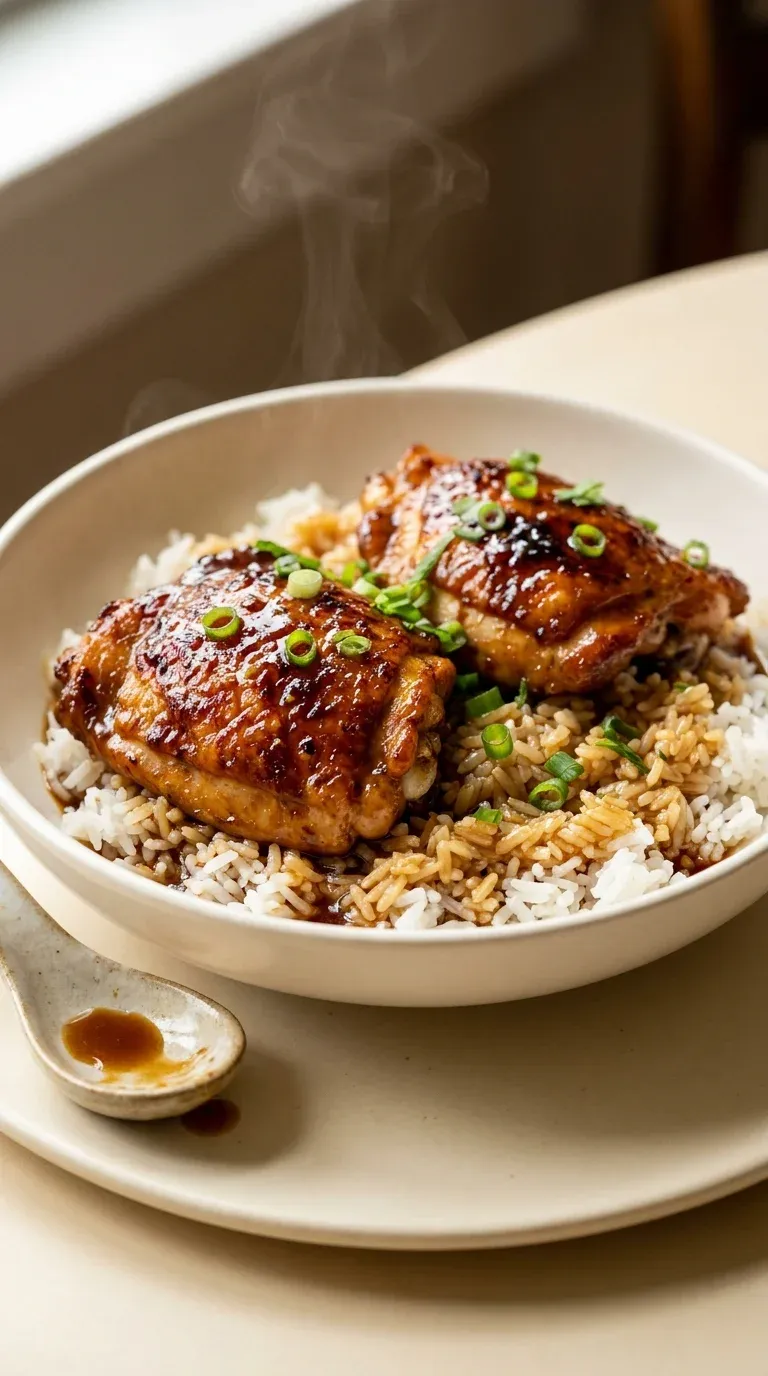
A simple weeknight dinner that feels like a special occasion. Sticky glaze meets tender chicken for a family favorite. Pure comfort on a plate.
- Clara Joy
- Family Favorites
- August 15, 2026
- 4 min read
- Updated November 5, 2026
- Total time
- 55 min
- Servings
- 4 Servings
- Difficulty:
- Easy
Table of contents
Well, look, there is just something about the way the house smells when honey and garlic are bubbling away in the oven. It's that kind of scent that tells everyone the day is finally winding down and it's time to just... breathe. I remember when I first started making these honey garlic chicken thighs for my kids; they used to practically vibrate with excitement the moment they walked through the door.
Honestly, the best part for me is that little moment of quiet while the chicken rests. You just stand there, watching that sauce reduce in the skillet with a pat of butter, and everything feels right in the world. It's not fancy, really, but it's the kind of meal that makes a house feel like a home.
So, yeah, if you're looking for something that's a bit of a hug in a pan, this is it. Just a few simple things like 1/4 cup (60 ml) honey and 4 cloves garlic, minced, and suddenly you've got a dinner that feels like a warm embrace.
The story behind it
The marriage of honey and garlic is a timeless culinary pairing that spans several cultures, blending the deep, earthy pungency of alliums with the floral sweetness of nectar. In many East Asian traditions, the use of honey or similar sweeteners alongside soy sauce creates a glaze that not only preserves the meat but adds a complex depth of flavor through caramelization.
These honey garlic chicken thighs draw inspiration from these traditional glaze techniques, where the sugars in the honey react with the heat of the oven to create a sticky, mahogany crust. The addition of 3 tablespoons (45 ml) freshly squeezed lemon juice provides a necessary brightness, cutting through the richness of the bone-in, skin-on chicken thighs.
Over time, this style of cooking has evolved into a global comfort food staple. By incorporating elements like 1 tablespoon grated fresh ginger, the dish moves from a simple roast to a fragrant, aromatic experience that balances sweet, salty, and tangy notes in every bite.
Ultimately, the appeal of this dish lies in its balance. The slow rendering of the fat from the chicken skin combined with the reduction of the sauce creates a luxurious texture that has made it a cherished family favorite in kitchens everywhere.
Why You'll Love It
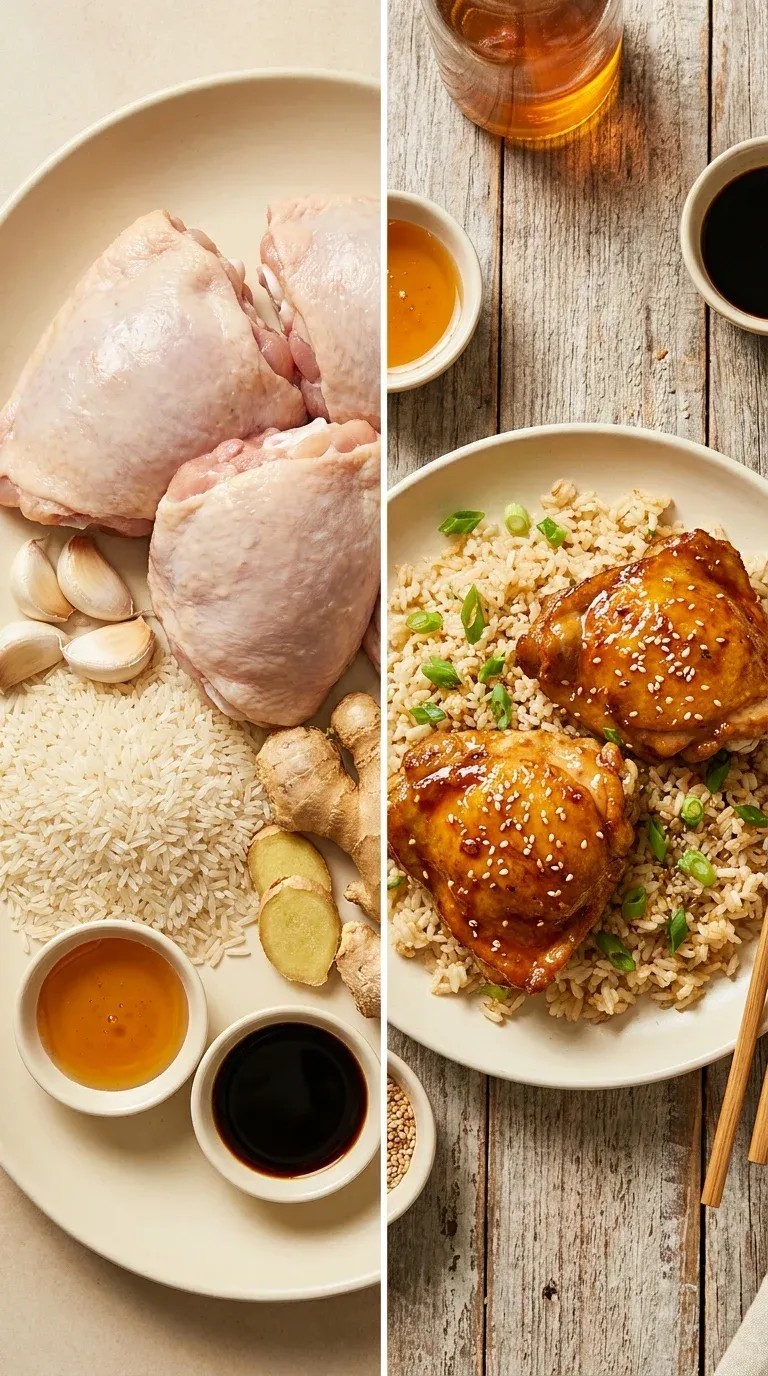
- Honestly, those 8 bone-in, skin-on chicken thighs get this beautiful, sticky glaze that just makes the whole kitchen smell like a warm hug.
- I mean, the way the 1/4 cup honey caramelizes in the oven... wow, it creates a sweet and salty crust that the kids always beg for.
- Well, it's just so simple to put together, so you can actually sit down and breathe while the oven does the hard work.
- Dang, that combination of 4 cloves garlic, minced and 1 tablespoon grated fresh ginger gives it a little zing that feels fancy but stays cozy.
Tips for success
- Dry the skin, This pulls off excess moisture so you get a beautiful caramelized crust.
- Use a meat thermometer, Ensure the internal temperature reaches 165°F (74°C) for safety.
- Rest the meat, Give the chicken 5 minutes of peace before cutting so it stays moist.
Professional secrets
- The double-cook method: baking then basting in a skillet creates a restaurant-quality glaze.
- Using fresh ginger and garlic provides a bright, aromatic depth that powdered versions just can't match.
- Convection settings can be used to achieve an even crispier skin without drying out the meat.
Common mistakes to avoid
- Forgetting to pat the chicken dry, which leads to steamed rather than roasted skin.
- Overcooking the chicken by not using a thermometer.
- Rushing the sauce reduction, which leaves the glaze too thin to stick.
Substitutions
- Honey: Maple syrup. Adds a slightly earthier sweetness.
- Soy sauce: Tamari. A great alternative for a gluten-free option.
- Butter: Olive oil. Use for a dairy-free version, though you'll lose some richness.
Variations
- Spicy Honey Garlic Chicken Thighs: For those who like a bit of heat, stir in ½ teaspoon red pepper flakes and a tablespoon of Sriracha into your sauce mixture.
- Sesame Crusted Honey Garlic Chicken Thighs: Add a lovely bit of crunch by finishing the dish with a sprinkle of toasted sesame seeds and serving over brown rice.
Storage
Keep leftovers in an airtight container in the fridge; the sauce is best kept in a separate container.
Make ahead
You can marinate the chicken in the sauce for a few hours ahead of time, but don't bake it until you're ready to serve for the best texture.
Leftovers
Store in an airtight container for up to 4 days. Reheat gently in the oven or skillet to maintain the glaze's consistency.
Serving ideas
- Over jasmine rice with a side of steamed green beans
- With roasted baby carrots for a touch of sweetness
- Alongside roasted sweet potato wedges and a sesame cucumber salad
- On a bed of sautéed spinach with fresh cilantro and lime
Allergy information
Contains soy (soy sauce) and dairy (butter).
Honey Garlic Chicken Thighs
A simple weeknight dinner that feels like a special occasion. Sticky glaze meets tender chicken for a family favorite. Pure comfort on a plate.
- Prep time
- 15 min
- Cook time
- 40 min
- Total time
- 55 min
- Difficulty
- Easy
- Cuisine
- Asian-inspired
Ingredients
Main Ingredients
Honey Garlic Sauce
Garnish
Instructions
- 1
First things first, go ahead and preheat your oven to 400°F (200°C). I usually line my baking sheet with parchment paper or a little oil; honestly, it just makes the cleanup so much easier and keeps the chicken from sticking.
- 2
In a large bowl, whisk together your 1/4 cup (60 ml) honey, 1/4 cup (60 ml) soy sauce, 3 tablespoons (45 ml) freshly squeezed lemon juice, 4 cloves garlic, minced, 1 tablespoon grated fresh ginger, 1 teaspoon kosher salt, ½ teaspoon freshly ground black pepper, and 1 tablespoon olive oil. Just stir it until it's all well combined and smelling wonderful.
- 3
Now, take a moment to pat the 8 bone-in, skin-on chicken thighs (about 1½ lb) dry with some paper towels. I know it seems like a small thing, but it really helps the skin crisp up beautifully while it bakes.
- 4
Lay those thighs out on your prepared baking sheet and brush each piece generously with that lovely honey-garlic mixture. Make sure to save some of the sauce for later—you'll need it for the finish.
- 5
Pop them in the oven for 35–40 minutes. Remember to flip them halfway through so they brown evenly. You're looking for golden brown skin and juices that run clear, or until your meat thermometer hits 165°F (74°C).
- 6
While the chicken is resting for a few minutes, pour those tasty pan juices into a small skillet. Bring them to a gentle simmer over medium heat, then stir in 1 tablespoon butter, cut into small pieces. Let it reduce for about 4–5 minutes until it's thick enough to coat the back of a spoon.
- 7
Return the thighs to the skillet and baste them with that reduced sauce for another 5 minutes. Wow, this is where the magic happens and the exterior really caramelizes.
- 8
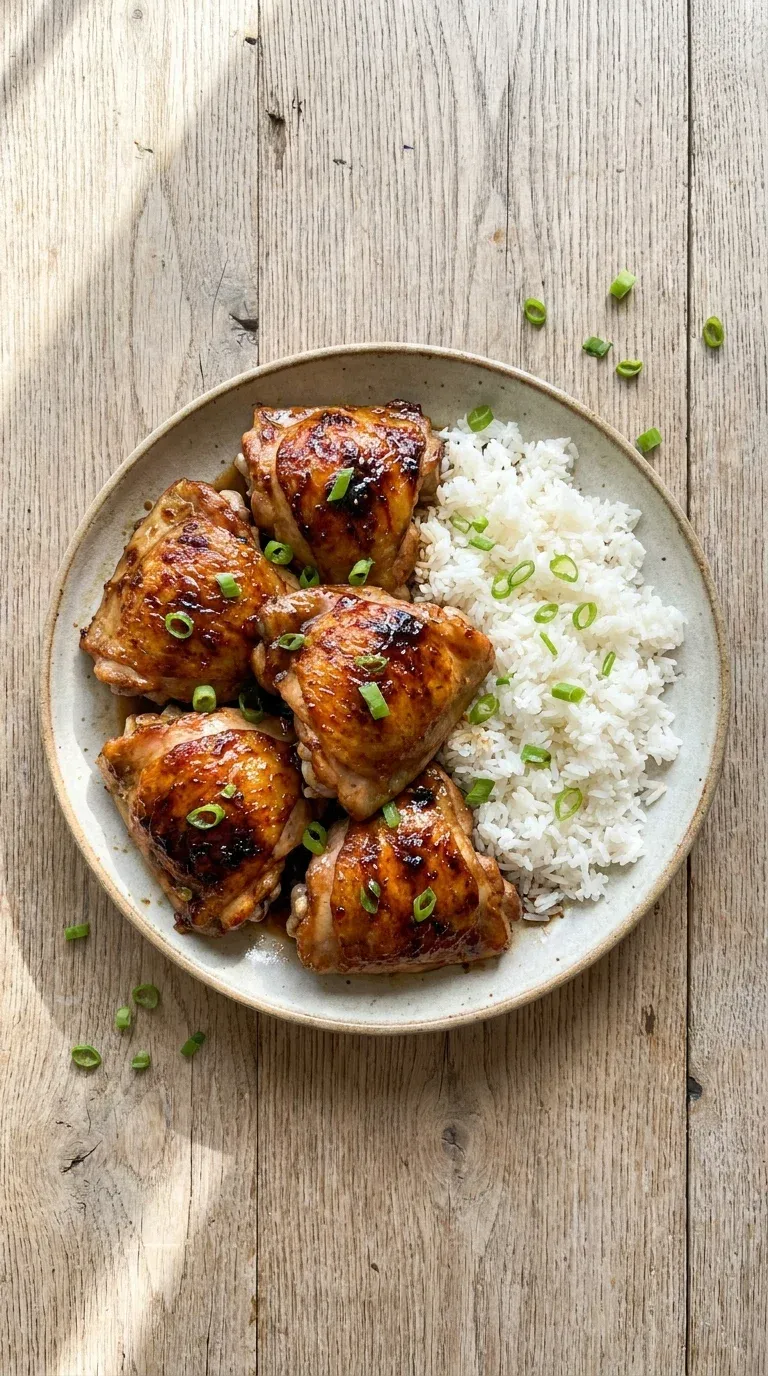
Remove everything from the heat, sprinkle on your 2 teaspoons minced scallions for garnish, and serve it up immediately. I love it over jasmine rice or some steamed broccoli.
Nutrition per serving
- 420 kcal
- Calories
- 32 g
- Protein
- 22 g
- Carbs
- 24 g
- Fat
Tips & notes
- Patting the thighs dry is the real secret to avoiding soggy skin. - Letting the meat rest for 5 minutes ensures the juices stay inside the chicken. - The pan juices are liquid gold—don't let them go to waste!
Frequently asked questions
Can I use chicken breasts instead of thighs?
You can, but look, breasts dry out so much faster. If you do, just keep a very close eye on the timer so they stay tender.
What if the sauce is too thin after simmering?
Just let it bubble for another minute or two over medium heat. It'll thicken up and start coating the spoon just fine, I promise.
How do I store the leftovers safely?
Pop the chicken in an airtight container in the fridge, and keep any extra sauce in its own little jar. They stay good for a few days!