Irresistible Classic Cheesecake
A slice of pure comfort. This creamy masterpiece balances sweetness and tang perfectly. Your family will be asking for the secret to this restaurant-style finish.
- Lila Grace
- Sweet Treats
- September 17, 2026
- 4 min read
- Updated November 5, 2026
- Total time
- 1 h 10 min
- Servings
- 12 Servings
- Difficulty:
- Easy
Table of contents
Well, there is just something about the smell of melted butter and graham cracker crumbs that feels like home, isn't there? I remember when I first tried making a classic cheesecake; I was so nervous about it cracking that I practically stared at the oven door for an hour. Oops, I might have actually done that. But once I figured out the rhythm of it—the slow cooling, the patience of the chill—it became my go-to for every birthday and quiet anniversary.
Honestly, the magic is in the details, like making sure your 4 (8 oz) packages cream cheese and 4 large eggs are truly at room temperature. It makes the batter so smooth, almost like silk. I love that quiet moment when you pour the heavy cream in and everything just blends into this thick, pale gold mixture. It's a slow process, yeah, but that's the beauty of it.
So, take your time with this one. Let the vanilla extract scent the kitchen and enjoy the way the crust presses firmly into the pan. It's not just a dessert; it's a bit of a ritual, a way to tell the people at your table that they're worth the extra effort.
The story behind it
The evolution of the classic cheesecake is a journey that spans centuries, beginning long before the modern kitchen. While ancient Greeks enjoyed a honey-sweetened cheese tart during the first Olympic games, the version we recognize today owes its soul to the introduction of cream cheese in the United States during the 19th century. This shift transformed the dish from a rustic custard into the dense, creamy indulgence known worldwide.
Culturally, this dessert has become a symbol of celebratory abundance. In New York, the dense, rich style became an icon of urban sophistication, while other regions preferred a lighter, fluffier texture. Regardless of the style, the core appeal remains the same: a satisfying contrast between a crumbly, salty base and a smooth, sweet topping.
Over time, the technique of the water bath—the gentle steaming of the cake—became the gold standard for preventing cracks and ensuring a uniform bake. This method reflects a culinary philosophy of patience, valuing a slow, steady heat over a rushed finish. It is this commitment to process that allows the fats and proteins to bond into that signature, melt-in-your-mouth consistency.
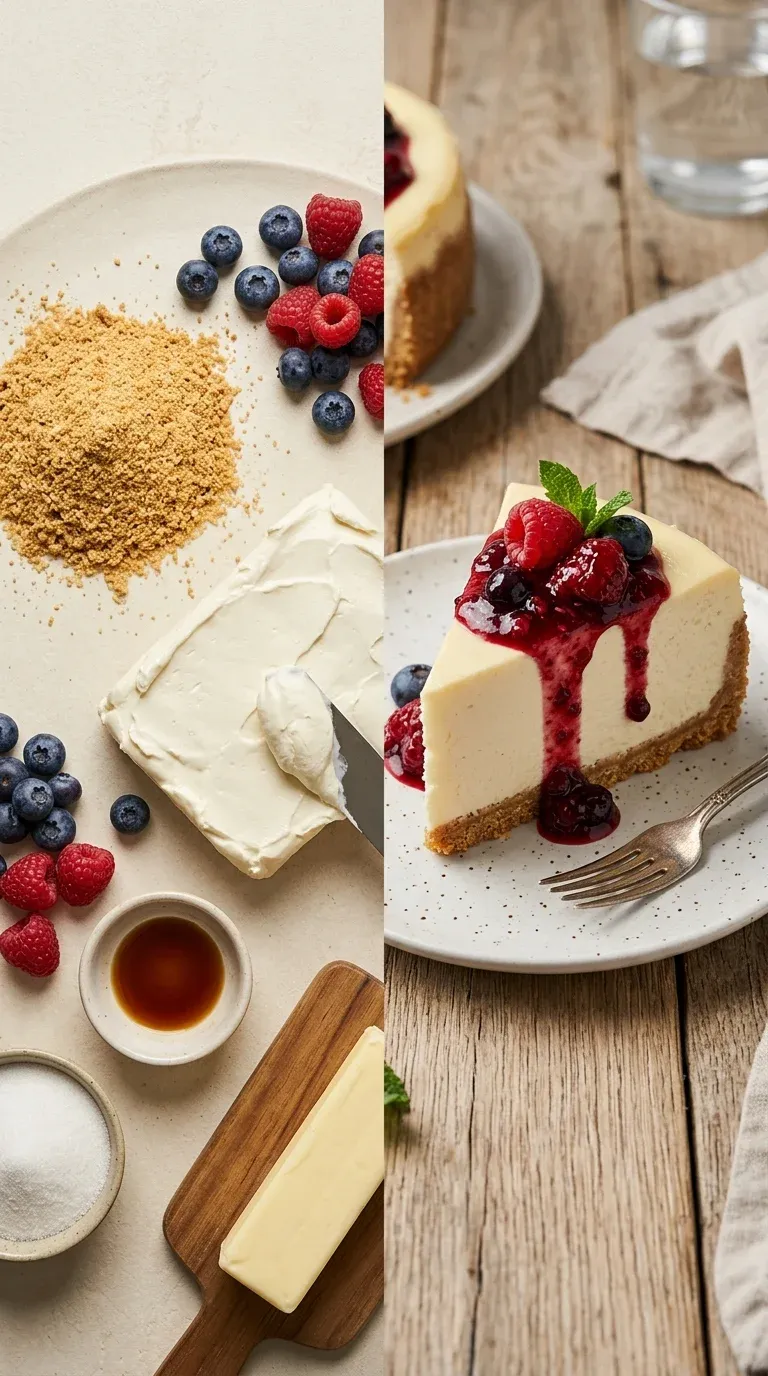
Why You'll Love It
- Honestly, it's just that velvety, melt-in-your-mouth feel that reminds me of the cakes my mother used to make for Sunday dinner.
- Well, look, the combination of 1 1/2 cups graham cracker crumbs and that creamy filling is just a timeless classic that never fails to please a crowd.
- I mean, it's surprisingly easy to get that restaurant-quality smoothness right in your own kitchen, so you don't have to be a pro.
- Wow, the way it tastes after chilling overnight... it's just so grounded and comforting, like a warm hug in dessert form.
Tips for success
- Room Temperature Ingredients, Using room‑temperature eggs and cream cheese prevents lumps for a silky filling.
- Prep the Pan First, Line with parchment before chopping crackers to make cleanup a breeze.
- Fixing Cracks, If a crack happens, just tee it with a skewer and fill with whipped cream.
Professional secrets
- The gradual oven cooling method prevents the sudden temperature drop that causes cracking.
- Using a water bath (bain-marie) ensures the edges don't overcook before the center is set.
- Adding a touch of flour helps stabilize the structure for a cleaner slice.
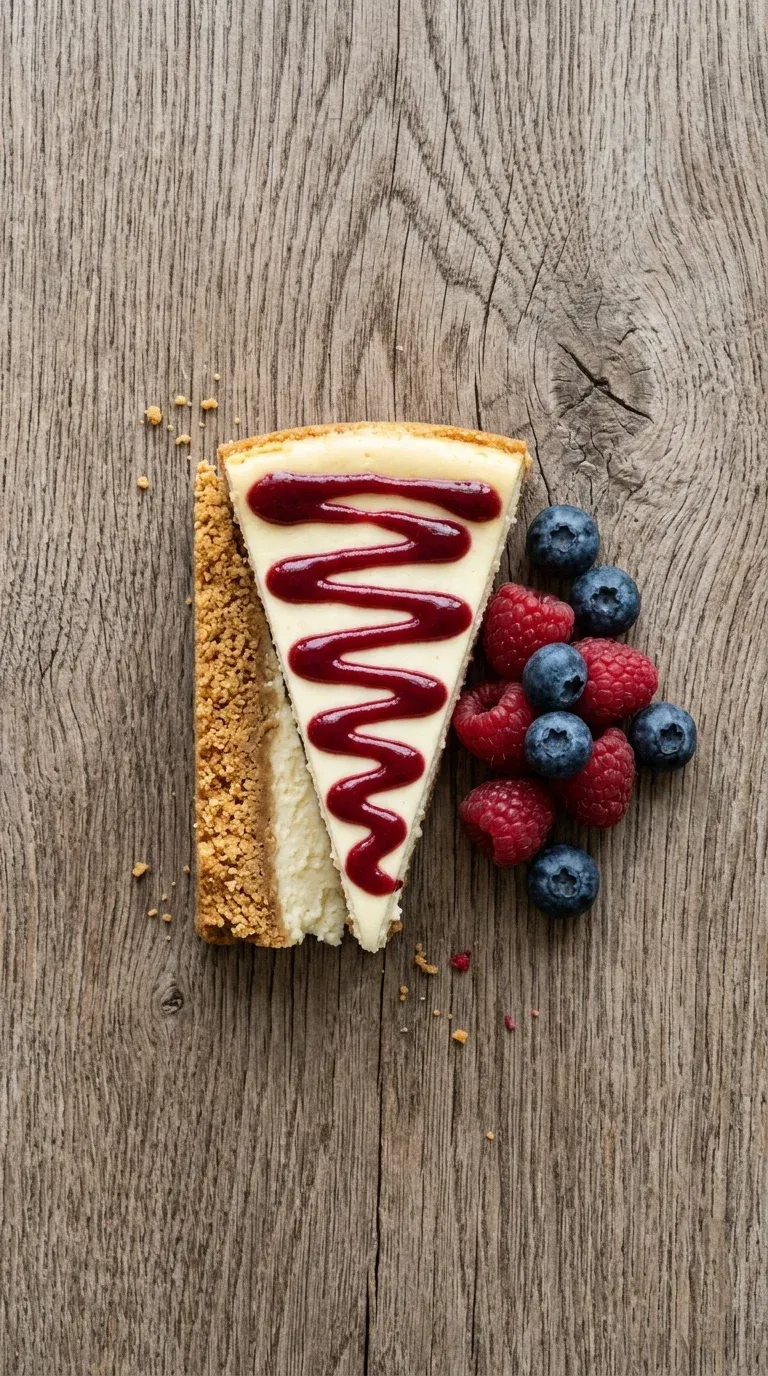
Common mistakes to avoid
- Using cold cream cheese, which leads to lumps in the batter.
- Over-beating the eggs, which can cause the cake to puff and then crack.
- Removing the cake from the oven too quickly instead of letting it cool with the door ajar.
Substitutions
- Graham cracker crumbs: Digestive biscuits. Works perfectly for a similar buttery crunch.
- Heavy cream: Sour cream. Adds a slightly tangier flavor profile.
- Granulated sugar: Powdered sugar. Ensure it's sifted to avoid lumps in the batter.
Variations
- Lemon‑Zest Classic Cheesecake: For a little brightness, add 2 teaspoons fresh lemon zest and swap 2 tablespoons of heavy cream for 1/2 cup fresh lemon‑juice milk.
- Chocolate‑Crusted Classic Cheesecake: Change things up by using 1 1/2 cups chocolate cookie crumbs for the crust and folding 1/4 cup melted dark chocolate into the filling.
Storage
Keep it in the fridge for 3‑4 days. I like to take it out 15 minutes before serving so it softens up just a bit.
Make ahead
This is actually better made ahead! I highly recommend chilling it overnight in the fridge to let the flavors settle and the texture firm up.
Leftovers
Store leftovers in the fridge for up to 4 days. If you're feeling brave, you can microwave a slice for 30 seconds for a molten effect, though it's traditionally served cold.
Serving ideas
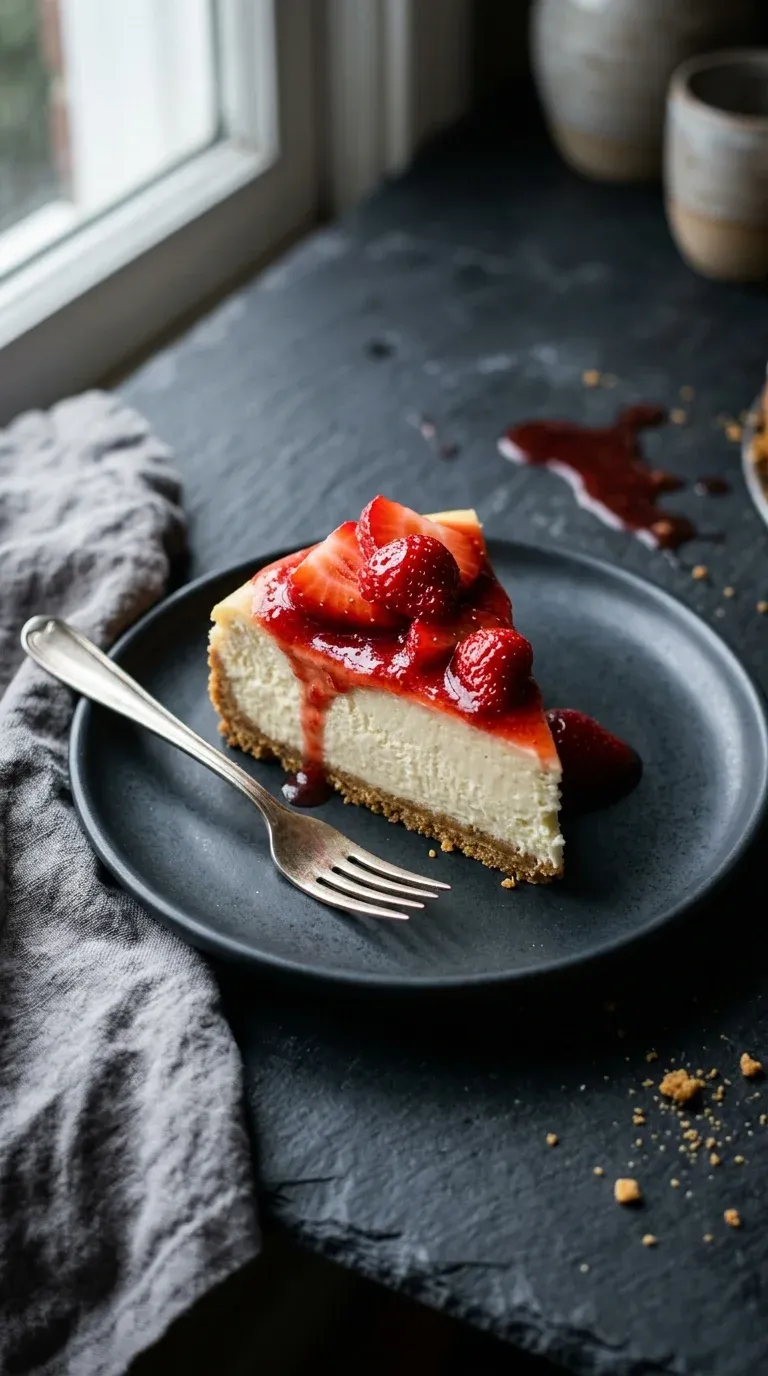
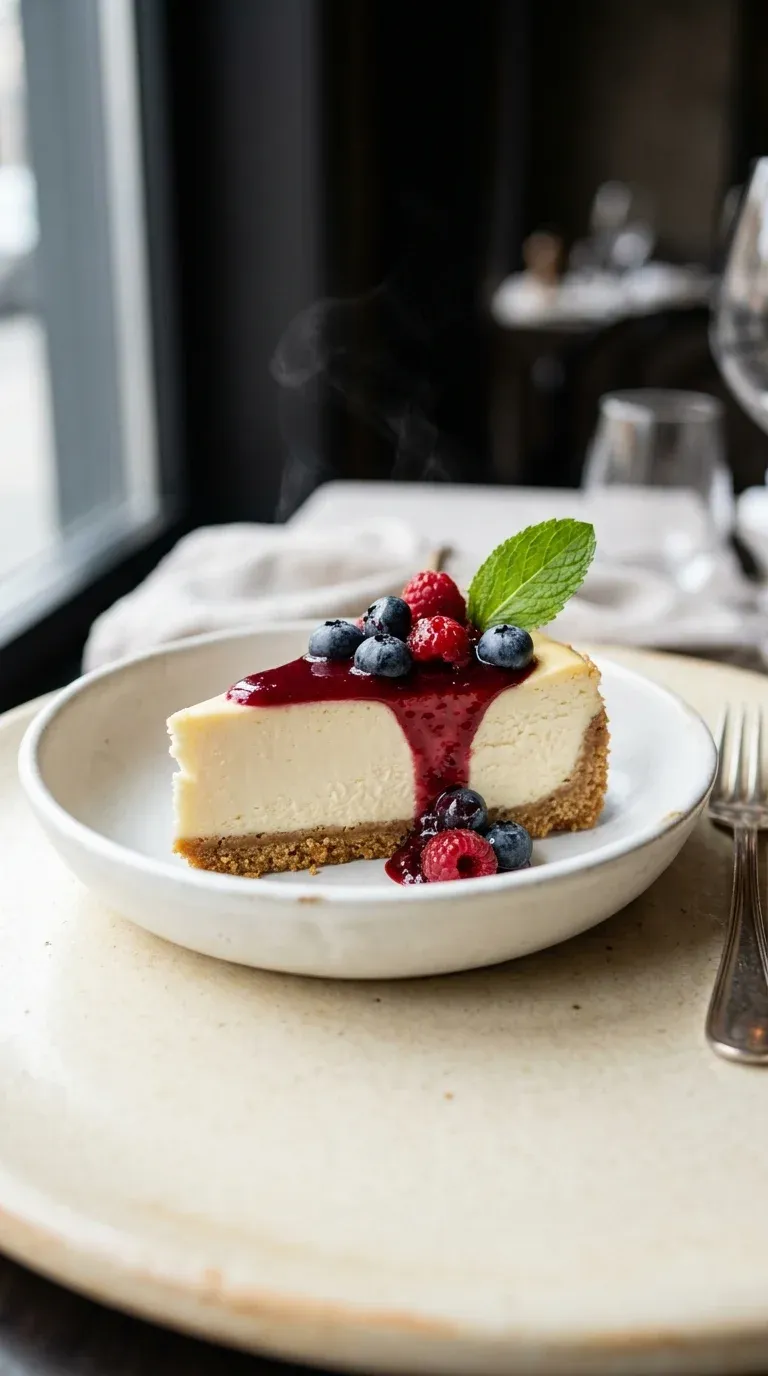
- Top each slice with fresh berries and a drizzle of honey or berry coulis.
- Add a dollop of silky whipped cream and toasted pecans for crunch.
- Serve a 30‑second microwaved slice for a molten experience.
- Dust lightly with powdered sugar for a polished, cafe-style look.
Allergy information
Contains dairy, eggs, and wheat (gluten).
Irresistible Classic Cheesecake
A slice of pure comfort. This creamy masterpiece balances sweetness and tang perfectly. Your family will be asking for the secret to this restaurant-style finish.
- Prep time
- 15 min
- Cook time
- 55 min
- Total time
- 1 h 10 min
- Difficulty
- Easy
- Cuisine
- American
Ingredients
For the Crust
For the Filling
Instructions
- 1
First things first, let's get the oven warming up to 325°F (163°C). I like to line the bottom and about 2 inches of the springform pan’s sides with parchment paper—it just makes the release so much easier. Oh, and don't forget to drive a piece of aluminum foil into the bottom; it's a little trick to keep those pesky cracks from forming.
- 2
In a bowl, mix together your 1 1/2 cups graham cracker crumbs, melted 1/3 cup unsalted butter, and 1/4 cup granulated sugar. Press that mixture firmly into your pan and level it off. Now, just let it chill in the fridge for 10 minutes while we get the filling ready.
- 3
Grab a large bowl and beat those 4 (8 oz) packages cream cheese until they're completely smooth and creamy. I usually use an electric mixer on medium. Stir in 1 cup granulated sugar and 1 teaspoon vanilla extract, and keep going until it looks light and fluffy. Honestly, this is the best part.
- 4
Now, add your 4 large eggs one at a time. Make sure each one is fully blended in before you add the next. I always scrape down the sides of the bowl every so often so nothing gets left behind.
- 5
Gently stir in the 1 cup heavy cream and 2 tablespoons all‑purpose flour until they're just combined. You're looking for a batter that's thick, but still pours nicely.
- 6
Pour that lovely filling over your chilled crust and smooth the top with a spatula. To keep things stable, place the pan on a baking sheet and carefully pour in boiling water until it hits the 4‑inch mark of the pan. It's like a little spa bath for your cake.
- 7
Bake it for 45‑50 minutes. You'll know it's ready when the center is set but still has a tiny bit of a wobble. The edges should be light golden. Now, here's the hard part: leave it in the oven with the door slightly ajar for 1 hour. It prevents cracking, I promise it's worth the wait.
- 8
Once it's cooled, move it to the fridge. Let it chill for at least 4 hours, though I honestly prefer overnight. After that, you can carefully remove the springform ring.
Nutrition per serving
- 580 kcal
- Calories
- 9 g
- Protein
- 38 g
- Carbs
- 42 g
- Fat
Tips & notes
- Make sure your cream cheese is truly softened to avoid lumps. - The water bath is essential for that restaurant-quality smoothness. - Allowing the cake to cool slowly in the oven is the secret to a flat top.
Frequently asked questions
Why did my cheesecake crack on top?
Oh, it happens to the best of us! It's usually from overbaking or cooling too quickly, but honestly, a bit of whipped cream on top hides it perfectly.
Can I make this without a springform pan?
It's a bit tricky, but you could use a regular cake pan lined well with parchment paper. Just be extra gentle when you're trying to lift it out.
How do I know when the center is actually done?
Look for the edges to be light golden while the center still has a slight, gentle wobble. If you have a thermometer, that's a great way to be sure.