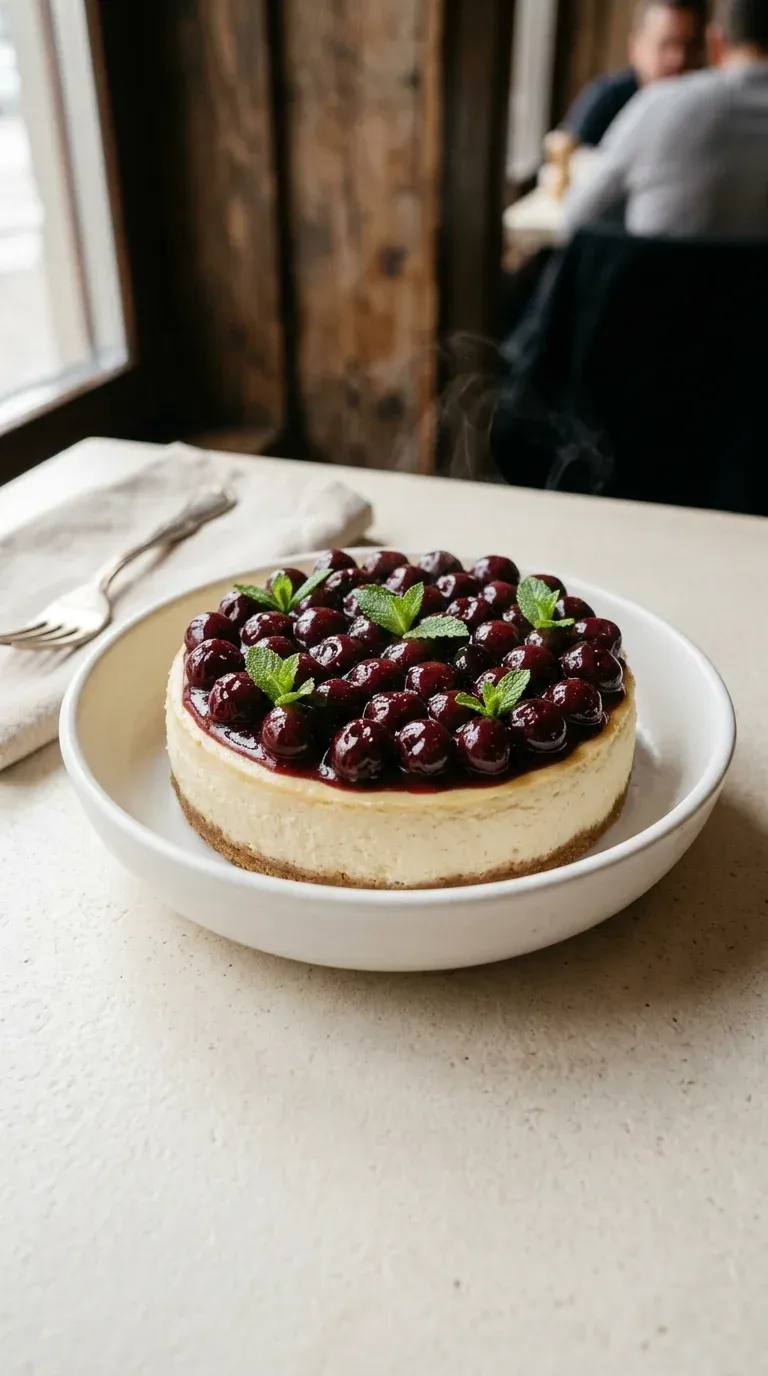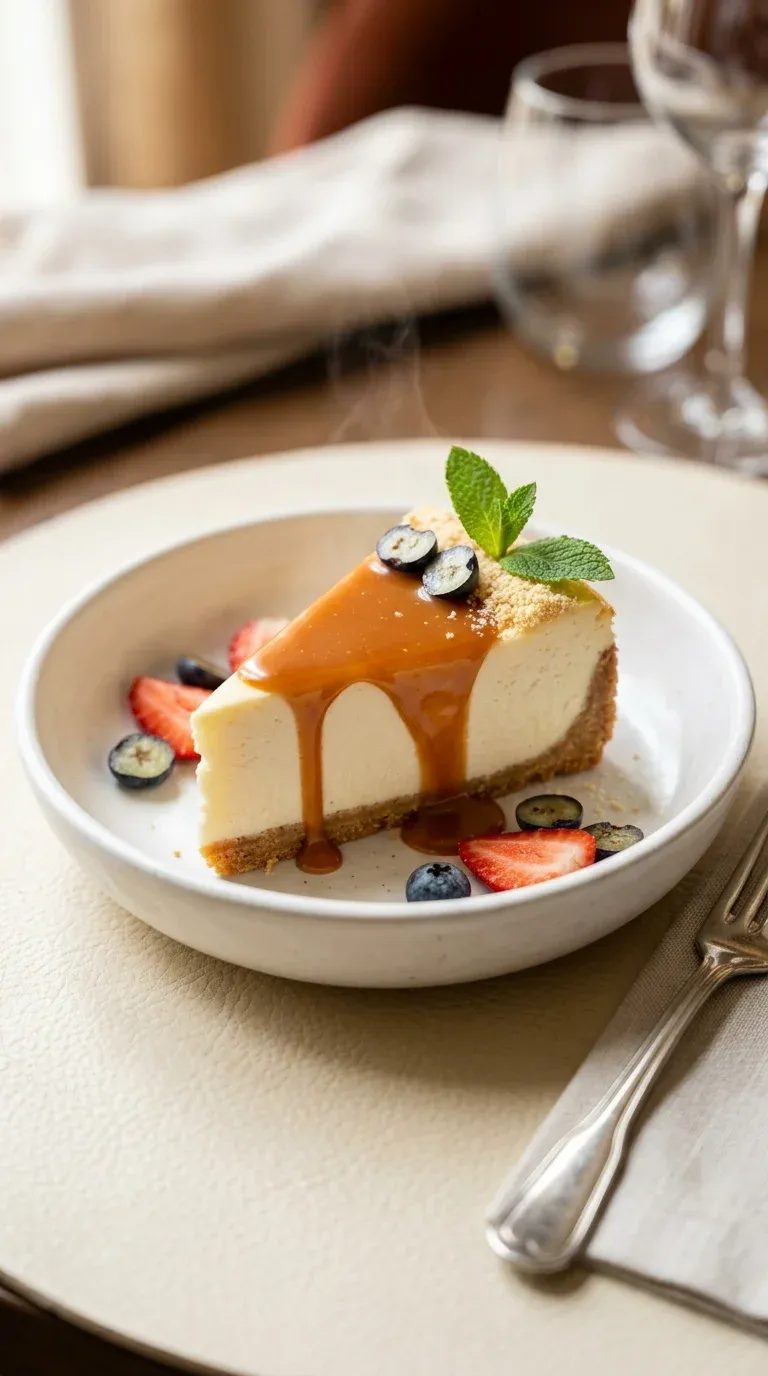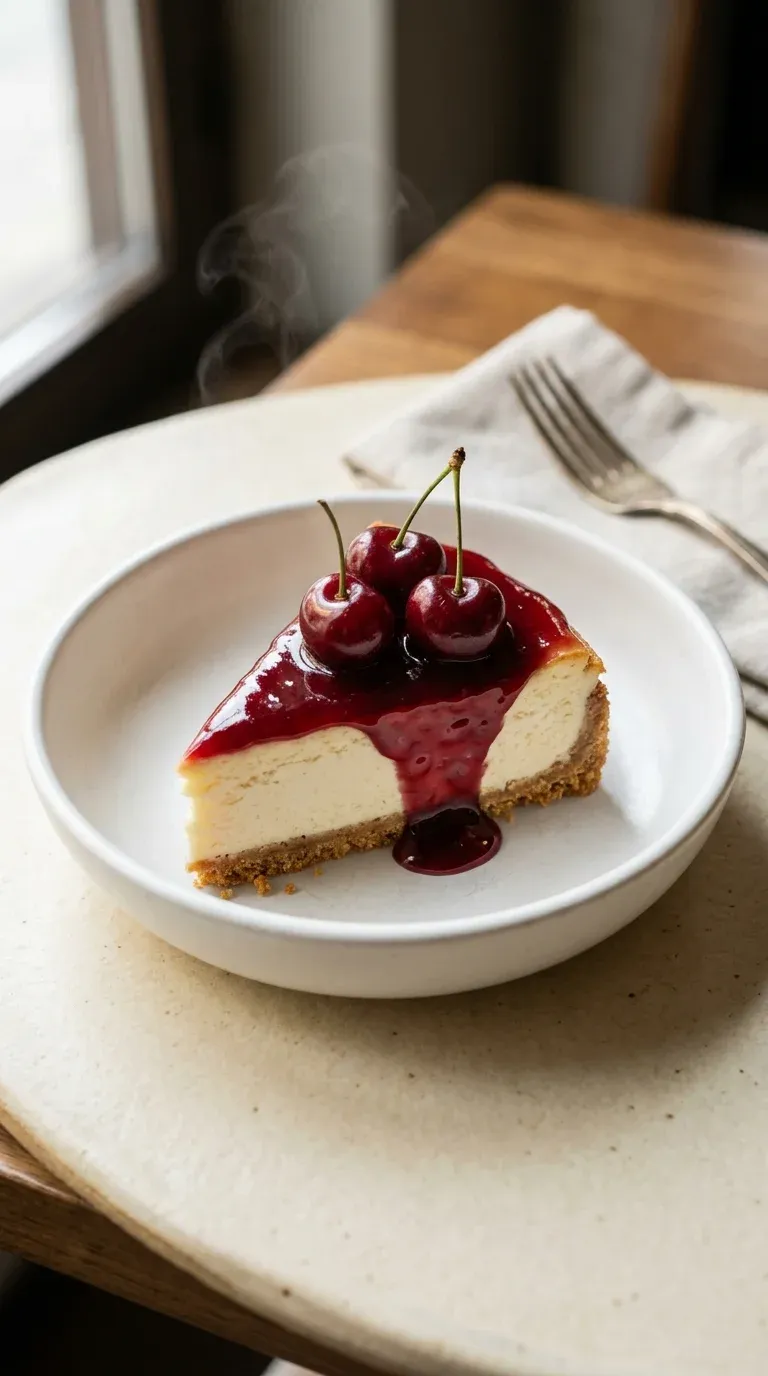
New York Cherry Cheesecake with Rich Cherry Drizzle
Creamy, rich, and deeply satisfying. This dessert balances a silky cheese filling with a tart cherry finish. It's the ultimate comfort slice for any gathering.
- Sofia Belle
- Home Baking
- September 13, 2026
- 3 min read
- Updated November 5, 2026
- Total time
- 1 h 20 min
- Servings
- 12 Servings
- Difficulty:
- Easy
Table of contents
Well, there's just something about a kitchen that smells like melted butter and vanilla, isn't there? I remember when I first started baking these for the family; I was so nervous about the top cracking, oops, I think I spent half the night just staring at the oven door. But once you get that rhythm down, it's just... peaceful.
Honestly, the magic is in the patience. I love the feeling of pressing the crushed graham crackers into the pan, and that quiet moment of waiting for the filling to set overnight. It's not a fast dessert, but yeah, the wait is exactly what makes it so special.
When you finally pour that warm cherry sauce over the chilled cake, it's just wow. It's like a little bit of summer captured in a slice of new york cherry cheesecake, and I really hope it brings as much warmth to your table as it does to mine.
The story behind it
The New York cherry cheesecake is more than just a dessert; it is a symbol of American indulgence and urban baking tradition. While cheesecake has roots in ancient Greece, the New York style emerged as a distinct evolution, characterized by a higher ratio of cream cheese and the addition of eggs to create a denser, richer texture than its lighter counterparts.
Culturally, the addition of a fruit topping—particularly cherries—became a way to balance the heavy, creamy nature of the cake with a bright, acidic contrast. This pairing reflects a classic culinary balance that transitioned from high-end city delis to home kitchens across the country.
Over the decades, the technique of the water bath became the gold standard for achieving that signature silky interior without the dreaded surface cracks. This marriage of European technique and American boldness is what gives the new york cherry cheesecake its enduring appeal as a centerpiece of celebration.
Why You'll Love It
- Honestly, that silky, dense texture is just something else; it feels like a warm hug in dessert form.
- The way the 2 cups fresh pitted cherries brighten up the rich cream cheese... well, it just tastes like a slice of summer.
- I mean, who doesn't love a glossy cherry drizzle? It adds that little bit of elegance that makes it feel like a real occasion.
- It's just so comforting, yeah, especially when you let it chill overnight and that flavor really settles in.
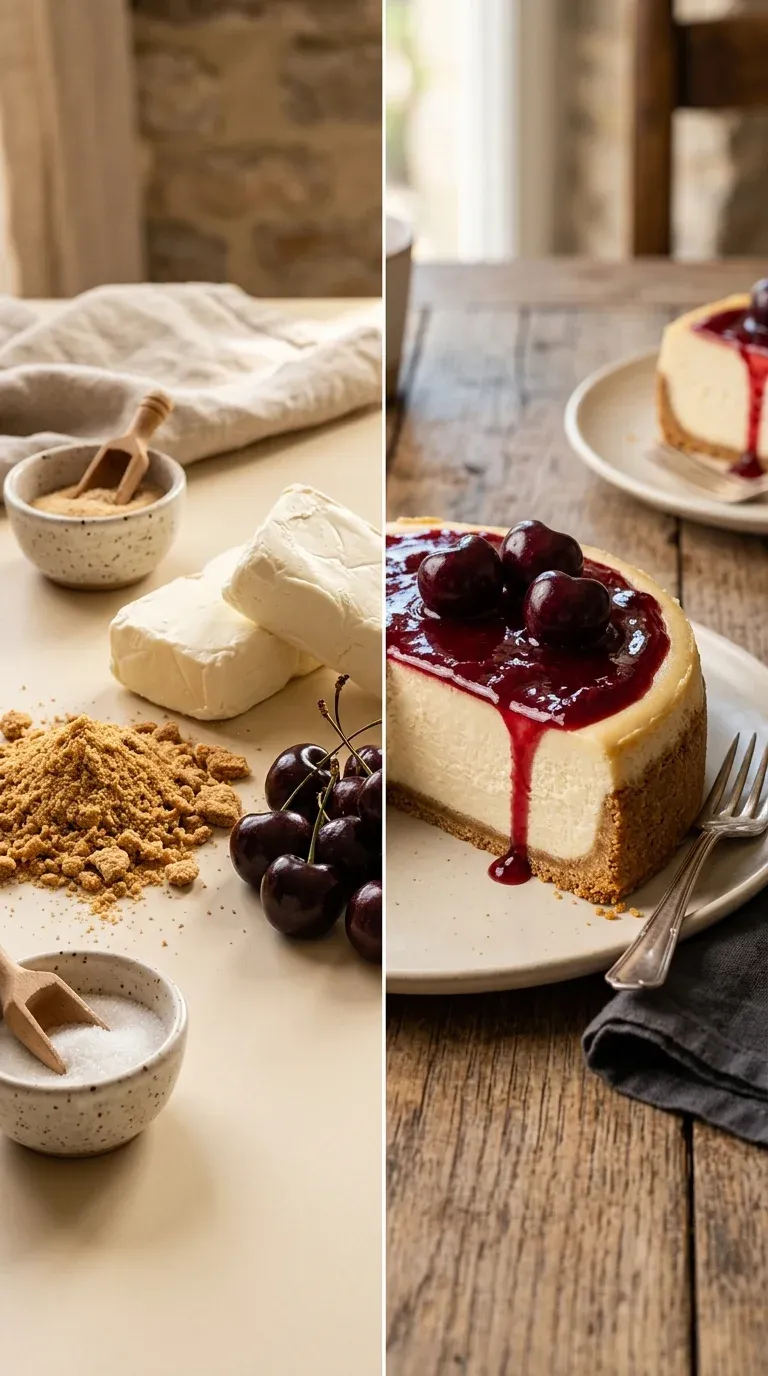
Tips for success
- Room Temperature Ingredients, Ensure cream cheese is out for 30 minutes before mixing to avoid lumps.
- Steady Water Bath, Avoid sudden temperature changes to prevent the top from cracking.
- Gradual Cooling, Leaving the cake in the oven with the door ajar prevents the sudden shock that causes cracks.
Professional secrets
- The 'Tap Technique' helps remove air pockets for a denser, professional New York texture.
- Using a hot, damp knife is the only way to get those perfectly clean, sharp edges on each slice.
- A cornstarch slurry added at the end of the sauce simmer creates a high-gloss, mirror-like finish.
Common mistakes to avoid
- Overmixing the eggs, which can cause the cheesecake to puff up and then crack.
- Using cold cream cheese, resulting in tiny lumps in the filling.
- Skipping the water bath, which often leads to an overbaked outer edge.
Substitutions
- graham crackers: digestive biscuits. Works beautifully for a slightly more buttery crust.
- fresh pitted cherries: frozen cherries. Thaw and drain slightly before cooking to keep the sauce from getting too watery.
Variations
- Berry-Burst Variation: Swap out the cherries for a mixed berry compote using strawberries, blueberries, and raspberries for a colorful, vibrant twist.
- Dark Chocolate Delight: Fold 1/4 cup of unsweetened cocoa powder into the batter for a chocolate base, then top it with dark chocolate shavings or a rich ganache.
Storage
Keep it covered in the fridge. It's best within 2 days if kept at room temperature in a cool spot, but the fridge is safer for longer.
Make ahead
This is actually a make-ahead dream. You have to refrigerate it for 6–12 hours anyway, so making it the day before is the best way to go.
Leftovers
Store in an airtight container in the fridge. If you've frozen it, let it thaw slowly in the refrigerator overnight before you serve it.
Serving ideas
- Add a dollop of freshly whipped cream for extra lightness.
- Pair with toasted biscotti for a crunch.
- Dust the plate with a bit of powdered sugar for elegance.
- Garnish with a fresh mint leaf for a pop of color.
Allergy information
Contains dairy (cream cheese, butter) and wheat (graham crackers). Contains eggs.
New York Cherry Cheesecake with Rich Cherry Drizzle
Creamy, rich, and deeply satisfying. This dessert balances a silky cheese filling with a tart cherry finish. It's the ultimate comfort slice for any gathering.
- Prep time
- 20 min
- Cook time
- 1 h
- Total time
- 1 h 20 min
- Difficulty
- Easy
- Cuisine
- American
Ingredients
For the Crust
For the Filling
For the Cherry Sauce
For Garnish
Instructions
- 1
First things first, preheat your oven to 325°F (163°C). I usually place a large baking sheet on the middle rack right away; it makes things so much easier when it's time for the water bath.
- 2
In a medium bowl, stir together the crushed graham crackers, 1/4 cup sugar, and melted butter. Mix them until the crumbs are evenly coated—it should look like wet sand. Press that mixture firmly into the bottom of a 9-inch springform pan until you have a nice, sturdy 1-inch thick crust.
- 3
Now for the heart of it. In a separate bowl, beat your softened cream cheese, 1 cup sugar, and vanilla extract on medium speed until it's just lovely and smooth. Add the eggs one at a time, beating well after each one. Honestly, don't forget to scrape down the sides of the bowl with a spatula so you don't end up with any lumps.
- 4
Pour that creamy filling over your crust and smooth it out. Give the pan a few gentle taps on the counter—yeah, it feels a bit silly, but it helps release those large air bubbles and levels the batter perfectly.
- 5
Carefully place the springform pan into a larger baking dish. Pour boiling water into the dish until it reaches about 1 inch above the top of the cheesecake. This water bath is the secret; it keeps the heat gentle and uniform.
- 6
Bake for 50–60 minutes. You're looking for the edges to be set, but the center should still have a slight wobble when you shake it. Look, if it happens to crack, don't panic. Just reheat the oven to 200°F (93°C) and put it back in for 10 minutes to melt those cracks away.
- 7
Turn off the oven and just leave the cheesecake inside with the door cracked open for about 1 hour. This gradual cooling is just so important for that silky texture.
- 8
Take it out and let it cool completely on a wire rack for about 2 hours. Then, cover it loosely with plastic wrap and let it sleep in the refrigerator for 6–12 hours. Overnight is really best if you have the patience.
- 9
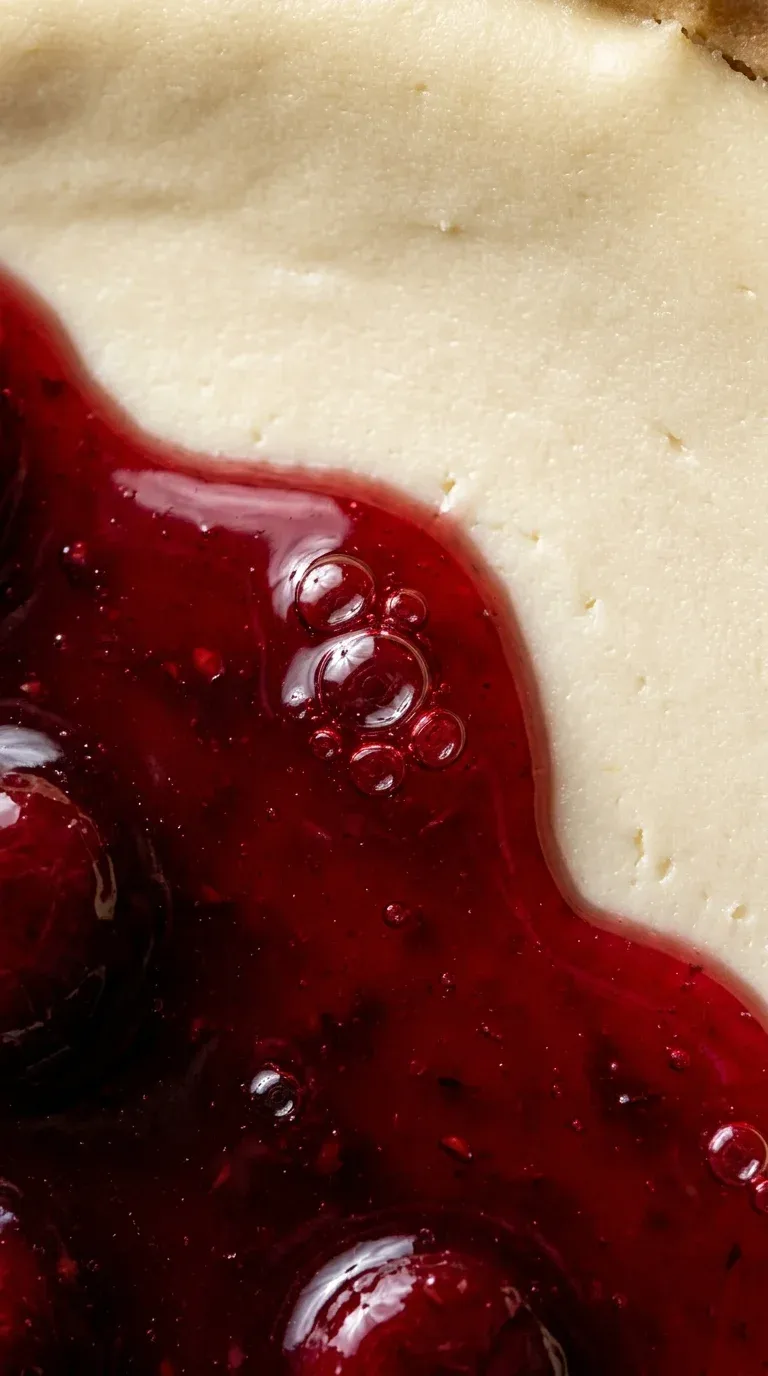
While it's chilling, let's make the sauce. Combine the pitted cherries, 1/4 cup sugar, lemon juice, and a pinch of salt in a saucepan over medium heat. Cook for 5–7 minutes until the cherries soften. Mix 1 teaspoon cornstarch with a tablespoon of cold water, stir that slurry in, and simmer for 2–3 minutes until it's thick and gleaming. You can strain it through a sieve if you like it extra smooth.
- 10
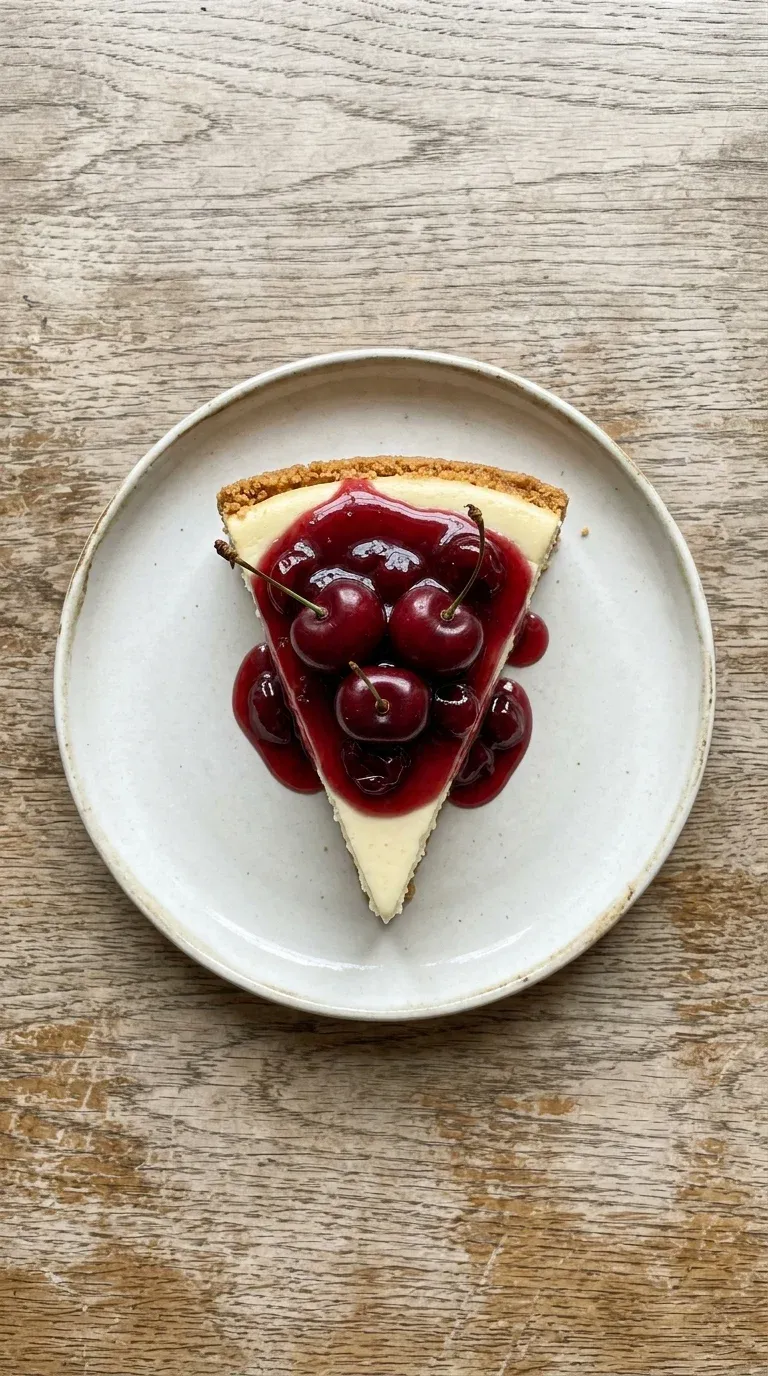
To serve, use a hot, damp knife for those clean, professional cuts. Drizzle the warm cherry sauce over each slice or in a swirl. Finish it off with three whole fresh cherries in a neat little circle on top. Serve it slightly chilled or at room temperature—either way, it's just wonderful.
Nutrition per serving
- 580 kcal
- Calories
- 8 g
- Protein
- 45 g
- Carbs
- 38 g
- Fat
Tips & notes
- Make sure the cream cheese is truly softened to avoid lumps. - The water bath is non-negotiable for a crack-free surface. - Overnight chilling allows the flavors to meld and the texture to set fully.
Frequently asked questions
What should I do if my cheesecake develops a crack on top?
Oh, don't worry, it happens! Just reheat your oven to 200°F and pop it back in for about 10 minutes to melt those cracks right away.
Can I make this the day before I need to serve it?
Actually, you should! It really needs that 6-12 hour chill in the refrigerator to set the filling fully and develop the best flavor.
How do I get the cleanest slices when serving?
The trick I've learned over the years is to use a hot, damp knife. Just wipe it clean between every single slice.