Perfect Cheesecake – Creamy, Rich & Easy to Make
Ultra-creamy and impossibly smooth. A timeless classic that's simpler to bake than you'd think. The ultimate treat for any celebration.
- Sofia Belle
- Home Baking
- September 14, 2026
- 4 min read
- Updated November 5, 2026
- Total time
- 1 h 15 min
- Servings
- 12 Servings
- Difficulty:
- Easy
Table of contents
Well, look, I've always thought there's something just a bit magical about a cheesecake that doesn't crack. I remember when I first started baking, I was so nervous about that center just... sinking. Oops. But after years of practicing, I've found that the secret is really just patience and a little bit of warmth.
There is just something about the scent of melted unsalted butter and the way 4 (8 oz) packages cream cheese feel when they're perfectly softened—so smooth and ready to whisk. It's a slow process, honestly, but that's the beauty of it. Taking the time to fold in the sour cream and vanilla extract feels like a little meditation in the kitchen.
So, yeah, this is my go-to for when I want something that feels special but doesn't leave me frazzled. It's just a quiet, rich comfort on a plate, and I think you're really going to love how it turns out.
The story behind it
The journey toward the perfect cheesecake began long before the modern New York-style became a household name. While the concept of a sweetened curd cheese dates back to ancient Greece, the creamy version we adore today was born from a happy accident in the 18th century when an American dairyman discovered cream cheese.
By the early 1900s, the dish evolved in the bustling diners of New York City. Bakers began adding a touch of sour cream and more eggs to create a denser, richer texture that could stand up to the fast pace of city life. This New York style became a symbol of indulgence, celebrated for its heavy, silky consistency and its iconic graham cracker crumbs base.
Culturally, the cheesecake has transitioned from a luxury treat to a centerpiece of family celebrations. Its enduring appeal lies in the balance of tangy and sweet, a culinary harmony that has made it a staple of birthdays and holidays across generations.
Today, the art of the bake remains a testament to patience. The use of a water bath and a slow cooling process ensures that the rich filling sets without a single fissure, preserving the elegant, smooth surface that defines this timeless dessert.
Why You'll Love It
- Honestly, it's that silky, melt-in-your-mouth feel that makes this one special. It reminds me of the cakes my mother used to make for Sunday dinner, just purely comforting.
- Well, look, it's a New York-style classic, so you get that rich, dense heart that feels like a real treat without being too fussy to put together.
- I mean, the crust made with 3 ¼ cups graham cracker crumbs is just the right amount of buttery crunch to balance out the creamy filling.
- It's just so rewarding to see it come out of the oven perfectly smooth; yeah, it takes some patience, but the first bite is always worth the wait.
Tips for success
- Temperature Control, Keep all filling ingredients at room temperature to prevent lumps.
- Oven Etiquette, Avoid opening the oven door during baking as the temperature drop can cause cracks.
- Slow Cooling, Let the cheesecake cool slowly in the turned‑off oven for 1 hour to prevent cracking.
Professional secrets
- The 'Jiggle' Test: Removing the cake when the center still slightly wobbles prevents overbaking.
- Low-Speed Integration: Adding eggs on low speed prevents incorporating too much air, which stops the cake from puffing and collapsing.
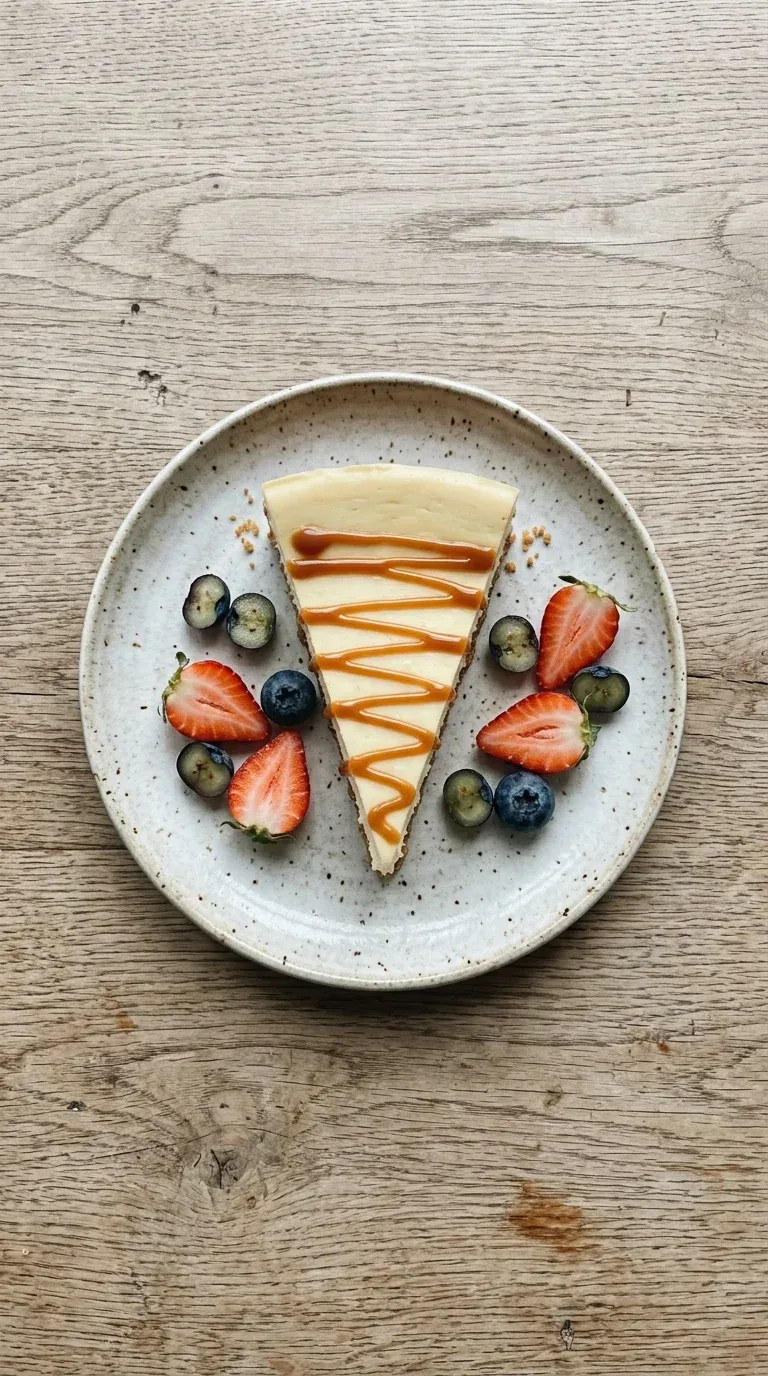
- Heat-Slicing: Using a hot, clean knife between slices ensures a bakery-perfect presentation.
Common mistakes to avoid
- Over-mixing the eggs, which causes the cake to rise and then crack.
- Opening the oven door too often, causing a temperature drop.
- Using cold cream cheese, which leads to stubborn lumps in the batter.
Substitutions
- Graham cracker crumbs: Digestive biscuit crumbs. Works well for a similar buttery texture.
- Sour cream: Greek yogurt. Adds a slightly more pronounced tang.
Variations
- Lemon‑Zest Swirl Cheesecake: For a bright, citrusy kick, fold in 3 tablespoons of lemon zest and 2 tablespoons of lemon juice into the batter, then swirl it in before chilling.
- Oreo Crumb Crust Cheesecake: Swap the graham cracker crumbs for 1 ¼ cups crushed Oreo cookies to get a chocolatey crust that is just wonderful with a chocolate drizzle.
Storage
Keep it in the fridge, but only leave it out at room temperature for up to 2 hours (and never more than 4).
Make ahead
This cake is actually better when made ahead; refrigerate it overnight to let the flavors meld and the texture set fully.
Leftovers
Keep tightly wrapped in the fridge. For long-term storage, wrap in plastic and foil to freeze for up to 3 months, then thaw overnight in the fridge.
Serving ideas
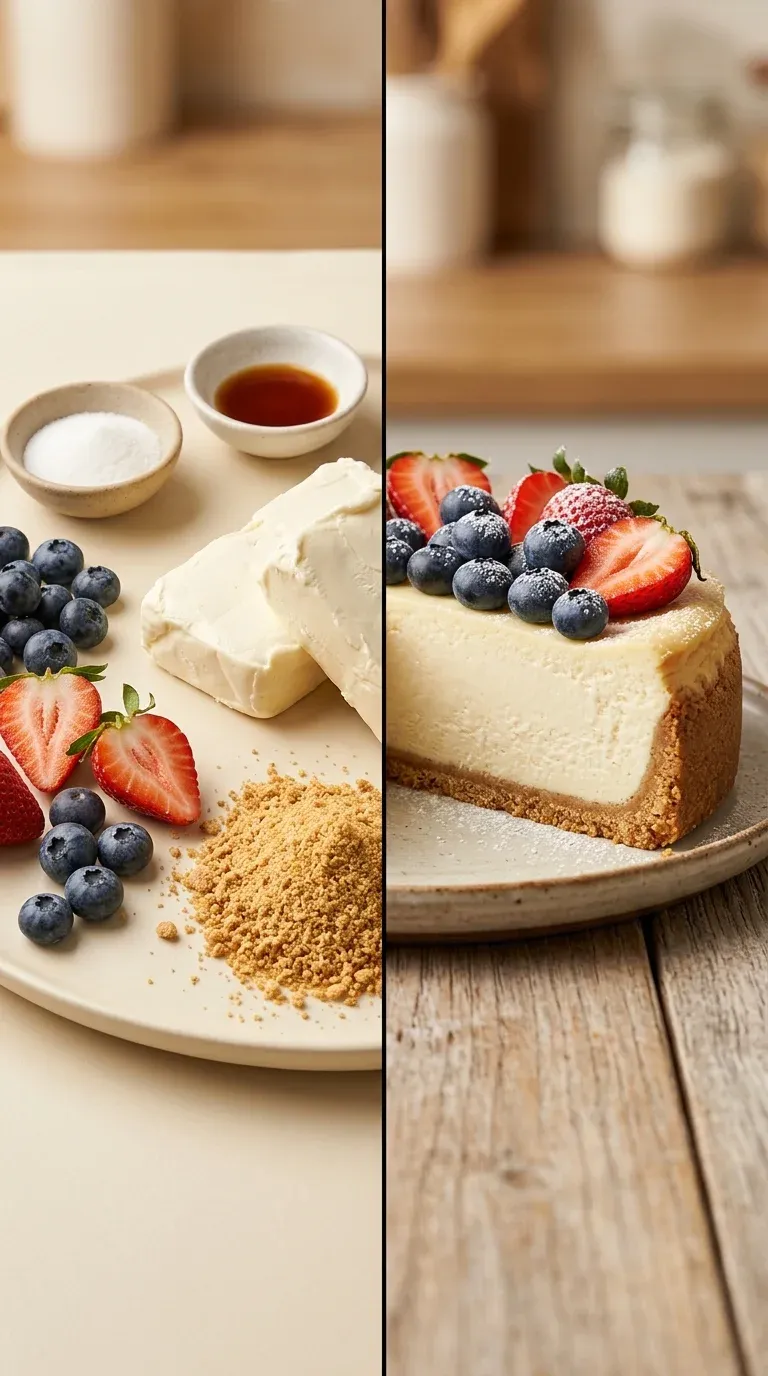
- Fresh berries like strawberries or blueberries for color and tartness.
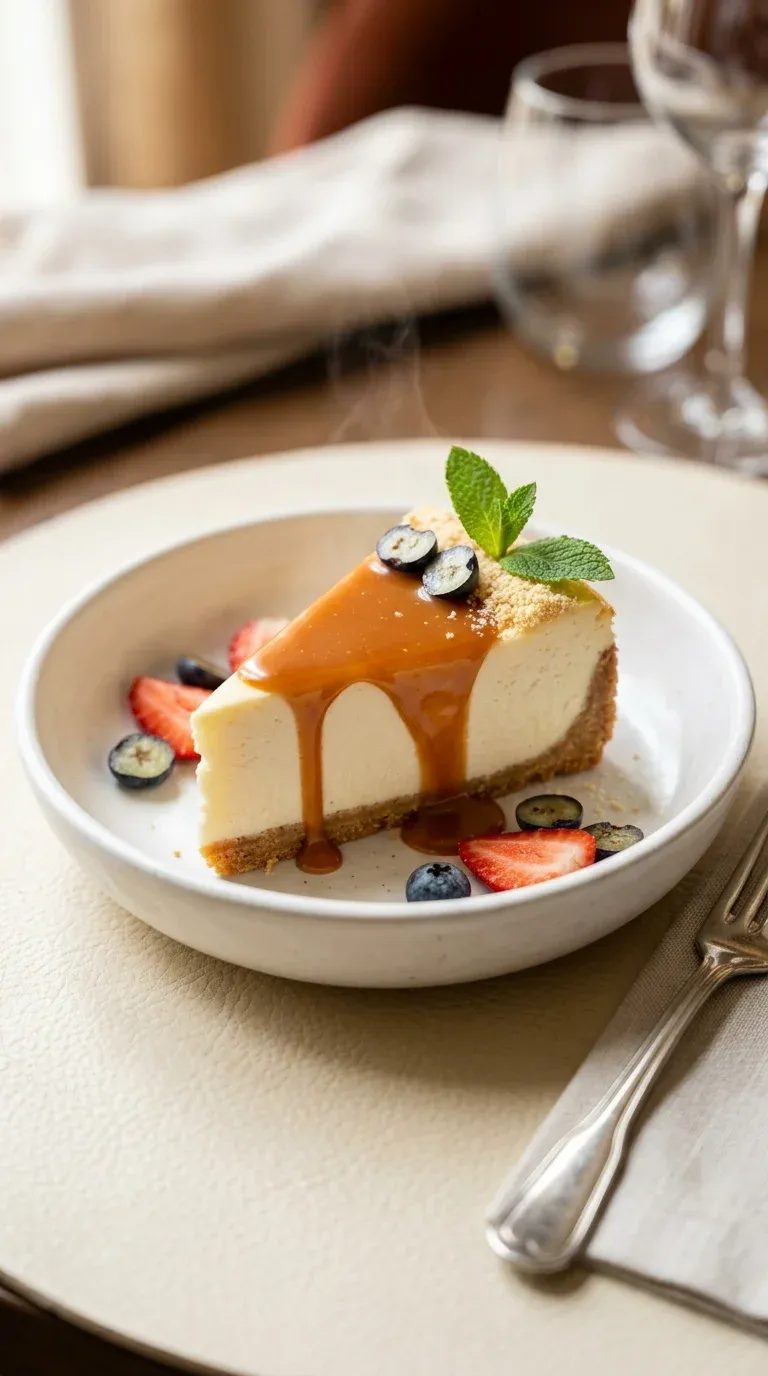
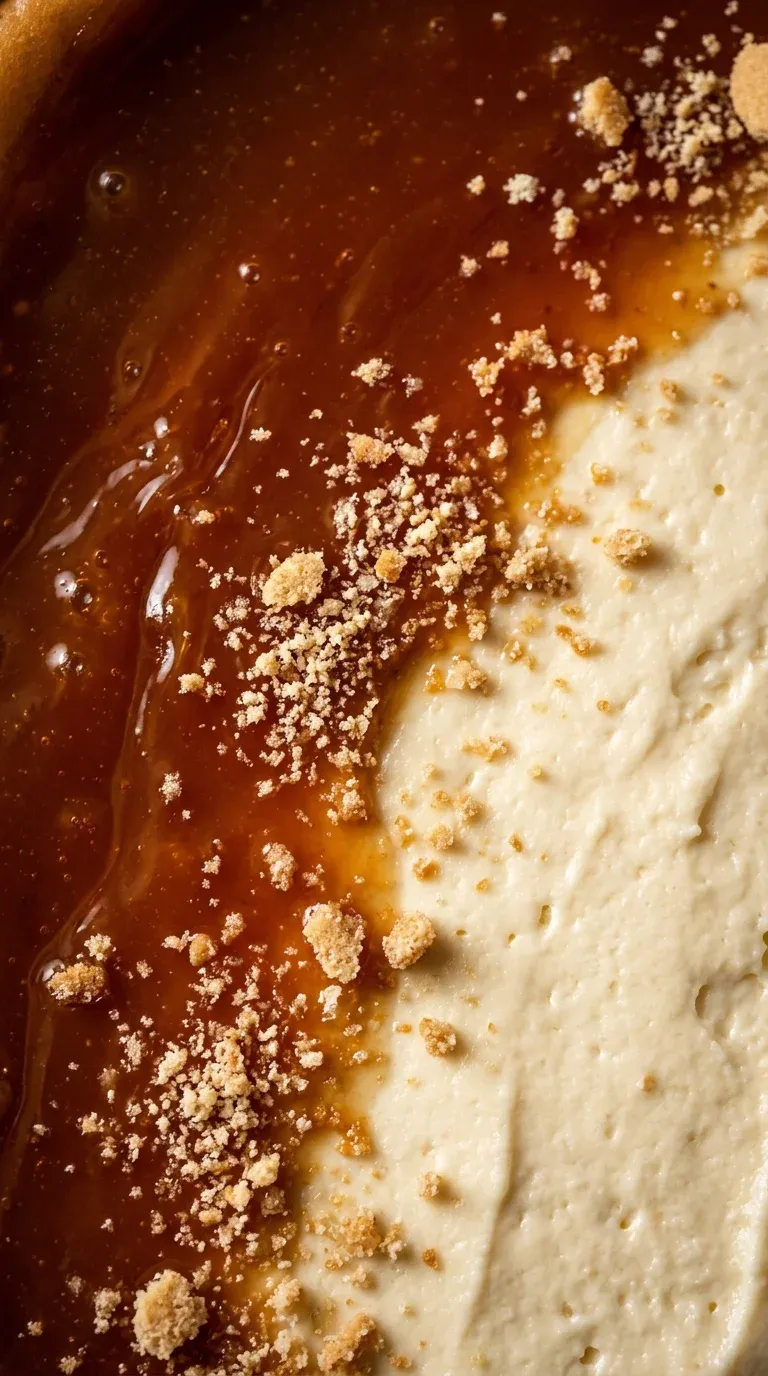
- A generous drizzle of caramel sauce and a mint leaf.
- Served with vanilla wafer crumbs for a bit of extra crunch.
- A simple dusting of powdered sugar for an elegant look.
Allergy information
Contains dairy, eggs, and wheat (gluten).
Perfect Cheesecake – Creamy, Rich & Easy to Make
Ultra-creamy and impossibly smooth. A timeless classic that's simpler to bake than you'd think. The ultimate treat for any celebration.
- Prep time
- 20 min
- Cook time
- 55 min
- Total time
- 1 h 15 min
- Difficulty
- Easy
- Cuisine
- American
Ingredients
Crust
Cheesecake Filling
Water Bath
Instructions
- 1
Start by preheating your oven to 325°F (163°C). I like to line my 9‑inch springform pan with parchment paper right away so it's ready and waiting.
- 2
In a medium bowl, stir together the graham cracker crumbs, 3 tbsp sugar, and that melted butter. Press the mixture firmly into the bottom of your pan and about an inch up the sides. Now, just pop it in the refrigerator to chill while we handle the filling.
- 3
Grab a large bowl and beat the softened cream cheese with your mixer on medium speed. You want it smooth and lump‑free, which usually takes about 2 minutes. Honestly, don't rush this part.
- 4
Add in the 1 cup sugar and beat it until the mixture looks pale and fluffy, maybe another 2 minutes. Then, gently fold in the sour cream, vanilla, and flour until they're just combined.
- 5
Add the eggs one by one. Beat on low speed after each egg, but just until it's incorporated. Look, try not to over‑mix here or you'll get too many air bubbles.
- 6
Pour that lovely batter over your chilled crust. Use a rubber spatula to smooth the top. I usually tent the pan lightly with a piece of parchment paper just to make sure it bakes evenly.
- 7
Place the springform pan in the center of a large baking sheet. Carefully pour the 2 cups boiling water into the baking sheet around the pan to create a water bath. Bake for 45‑50 minutes. You're looking for the center to be set but still a little jiggly.
- 8
Turn off the oven and open the door just a crack. Let the cheesecake sit in there for 1 hour to cool gradually. Once it's done, remove it and let it cool completely on a wire rack.
- 9
Refrigerate the cake for at least 4 hours, though I honestly prefer overnight to let it set fully.
- 10
Release the springform pan, slice it with a hot, wiped knife for those clean edges, and serve it up with your favorite topping.
Nutrition per serving
- 620 kcal
- Calories
- 9 g
- Protein
- 38 g
- Carbs
- 42 g
- Fat
Tips & notes
- Room temperature ingredients are key for a silky texture. - A water bath is essential for preventing cracks and ensuring creaminess. - The gradual cooling process in the oven prevents the cake from sinking.
Frequently asked questions
Why did my cheesecake crack on top?
Oh, that happens to the best of us! It's usually from over-mixing the eggs or opening the oven door too early, which lets the heat escape.
Can I make this the day before?
Actually, I prefer it that way. Letting it set in the fridge overnight really lets the richness develop, and it's one less thing to worry about on the day.
How do I get the perfect slice?
The secret is a hot knife. Dip it in hot water, wipe it clean, and then slide it through—it's just a little trick to keep the cake looking smooth.