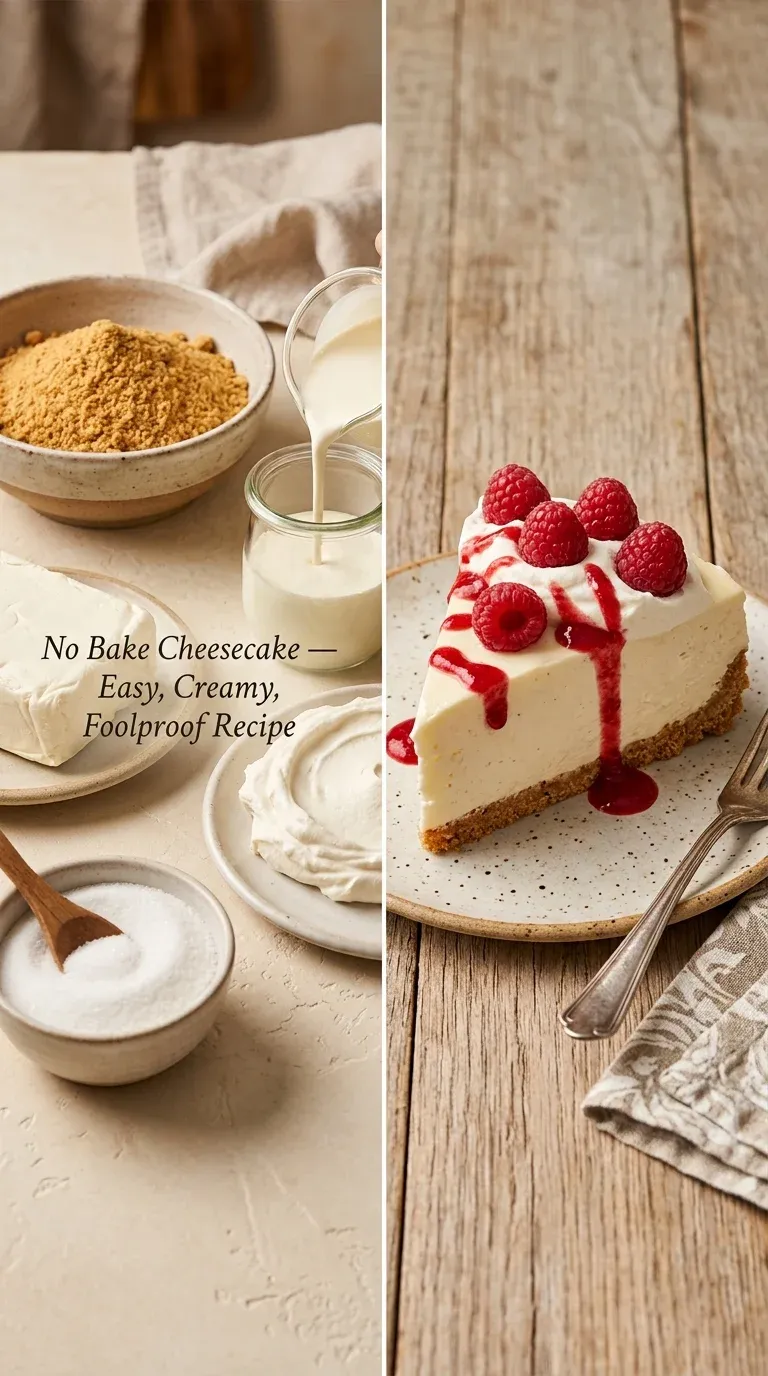
No Bake Cheesecake – Easy, Creamy, Foolproof Recipe
Skip the oven and dive into pure creaminess. This foolproof dessert is a crowd-pleaser that takes the stress out of hosting. Just chill and serve.
- Lila Grace
- Sweet Treats
- September 17, 2026
- 3 min read
- Updated November 5, 2026
- Total time
- 20 min
- Servings
- 12 Servings
- Difficulty:
- Easy
Table of contents
Well, look, there is something just so comforting about a dessert that doesn't require you to hover over a hot oven. I remember when I first started making this no bake cheesecake for the girls' get-togethers; I was always so nervous about things cracking or sinking, but this one... honestly, it just works.
There is a quiet joy in mixing the 16 oz (450g) cream, softened with 1/2 cup (100g) granulated sugar and a touch of 1 tbsp lemon juice. The scent of the 1 tsp vanilla extract filling the kitchen always reminds me of slow Sunday afternoons. It is just a simple, honest way to end a meal.
Yeah, it takes a little patience while it sets in the fridge, but that's the best part. You get to anticipate that first, cool bite. It's a soft, glossy sort of magic that makes everyone feel right at home.
The story behind it
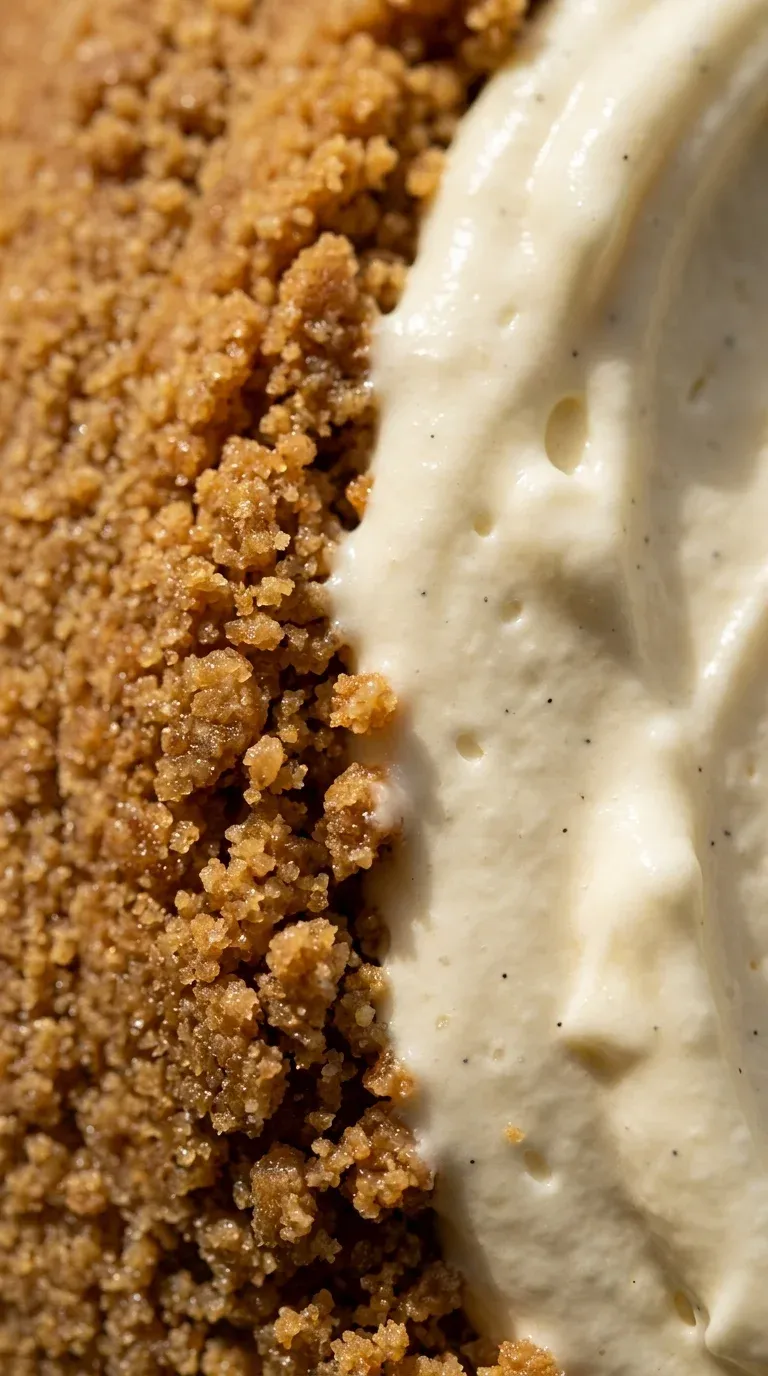
The concept of a no bake cheesecake is a thoughtful evolution of the traditional baked New York style, born from a desire for a lighter, more mousse-like texture. While baked versions rely on eggs and heat to set, the no bake variety uses the natural stability of cream cheese and whipped heavy cream to create its structure.
Historically, these chilled desserts gained popularity in home kitchens across North America and Europe during the mid-century, as refrigeration became more reliable. It allowed home cooks to experiment with a more refreshing, airy consistency that felt less like a heavy cake and more like a sophisticated cream.
This specific no bake cheesecake style focuses on the harmony between a salty-sweet graham cracker crust and a tangy, velvety center. It reflects a cultural shift toward simpler, foolproof preparation without sacrificing the decadent experience of a classic cheesecake.
Why You'll Love It
- Honestly, there is something so peaceful about a dessert that doesn't require the oven, especially on those warm summer afternoons.
- It has this wonderful, silky smoothness that just melts in your mouth, reminding me of the treats my mother used to make for Sunday lunch.
- Well, look, it's just foolproof. You don't have to worry about cracks or overbaking, so you can actually relax while it sets in the fridge.
- That combination of a buttery, sandy crust and a bright, creamy filling is just... wow, it's a classic for a reason.
Tips for success
- Crust timing, Make the crust a few hours ahead and store it in an airtight container; it stays fresh and firm for days.
- Filling texture, Ensure cream cheese is soft so the batter doesn't clump.
- Surface protection, Always touch the plastic wrap to the filling to avoid a skin.
Professional secrets
- Flavor layering, Use a pastry brush to drizzle a thin layer of fruit coulis or chocolate ganache over the filling before chilling.
- Sugar adjustment, For a less sweet version, reduce the sugar in the filling to 2/3 cup and add a splash of almond or hazelnut extract.
- Temperature control, Letting the cake sit for 30 minutes before slicing ensures the creamiest mouthfeel.
Common mistakes to avoid
- Using cold cream cheese, which leads to a lumpy filling.
- Not pressing the crust firmly enough, causing it to crumble when sliced.
- Forgetting to cover the filling with plastic wrap, resulting in a skin.
Substitutions
- graham cracker crumbs: digestive biscuit crumbs. Adds a slightly more buttery, salty flavor.
- lemon juice: lime juice. Gives it a more tropical, zesty profile.
Variations
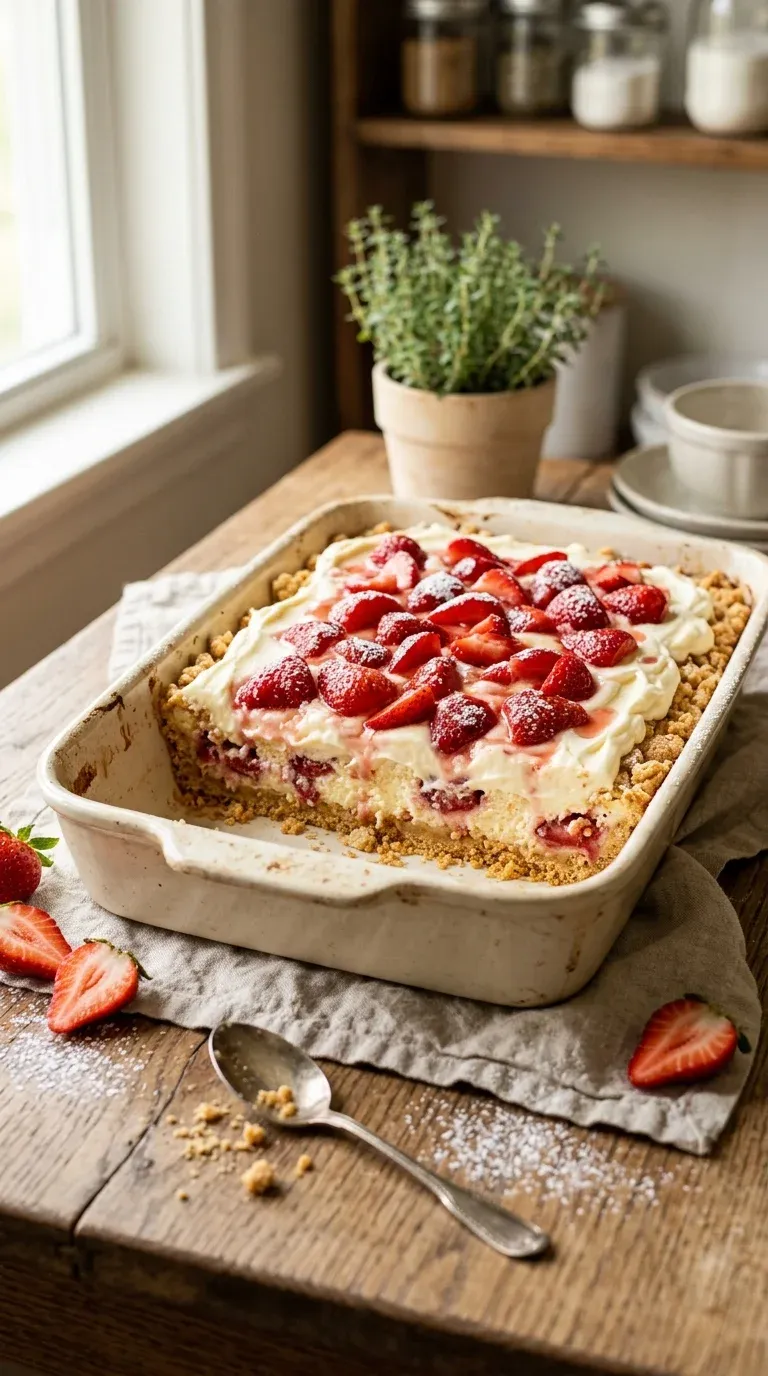
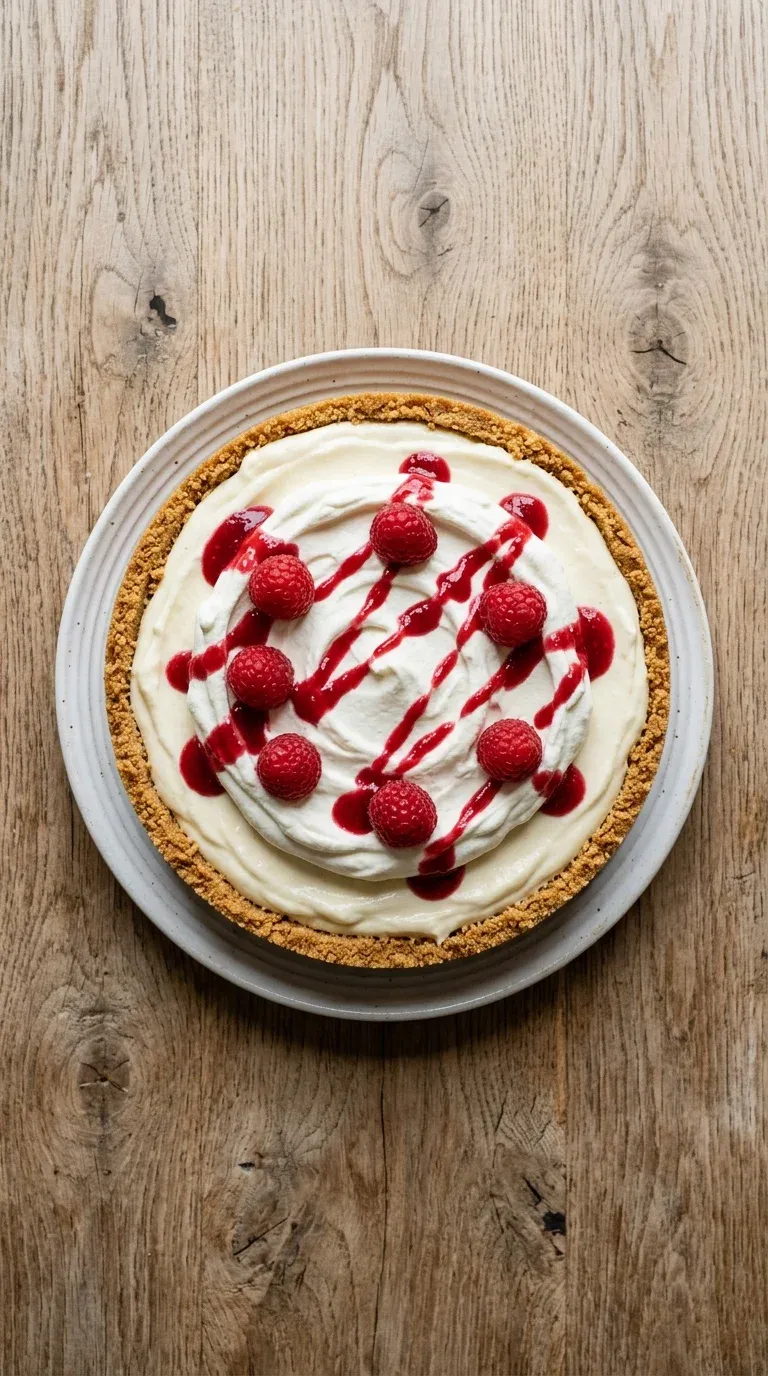
- Berry-Infused No-Bake Cheesecake: Fold in pureed fresh strawberries into the filling and top with a swirl of raspberry coulis before chilling for a fruity twist.
- Chocolate-Swirled No-Bake Cheesecake: Pour a layer of smooth chocolate ganache over the set filling and swirl it with a knife before refrigerating for something truly decadent.
Storage
Store in the freezer by wrapping tightly in plastic wrap and foil; thaw in the fridge for 12-24 hours before slicing.
Make ahead
You can make the crust a few hours ahead and store it in an airtight container, and the whole cake is best when made overnight.
Leftovers
Store the cake in the fridge or freeze tightly wrapped in foil; thaw in the refrigerator for 12-24 hours to keep the creamy texture.
Serving ideas
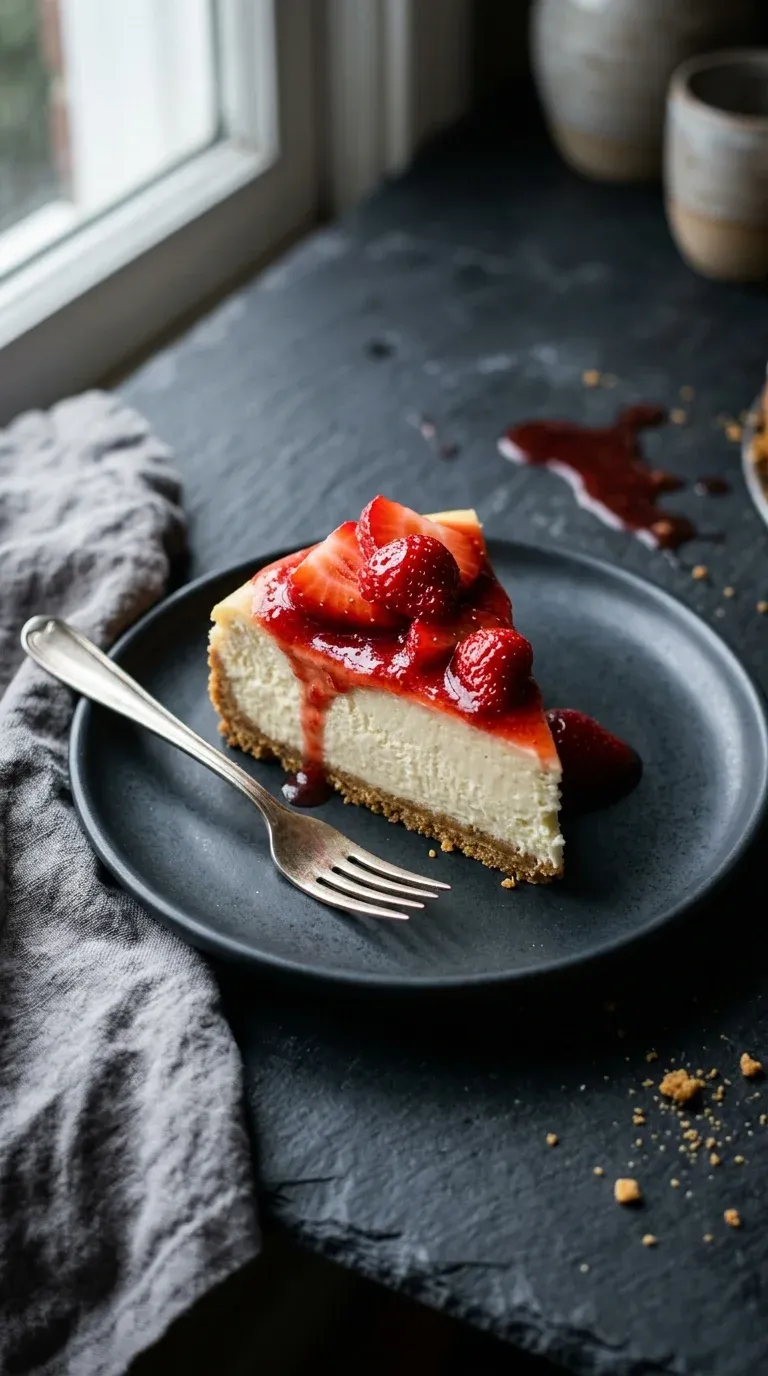
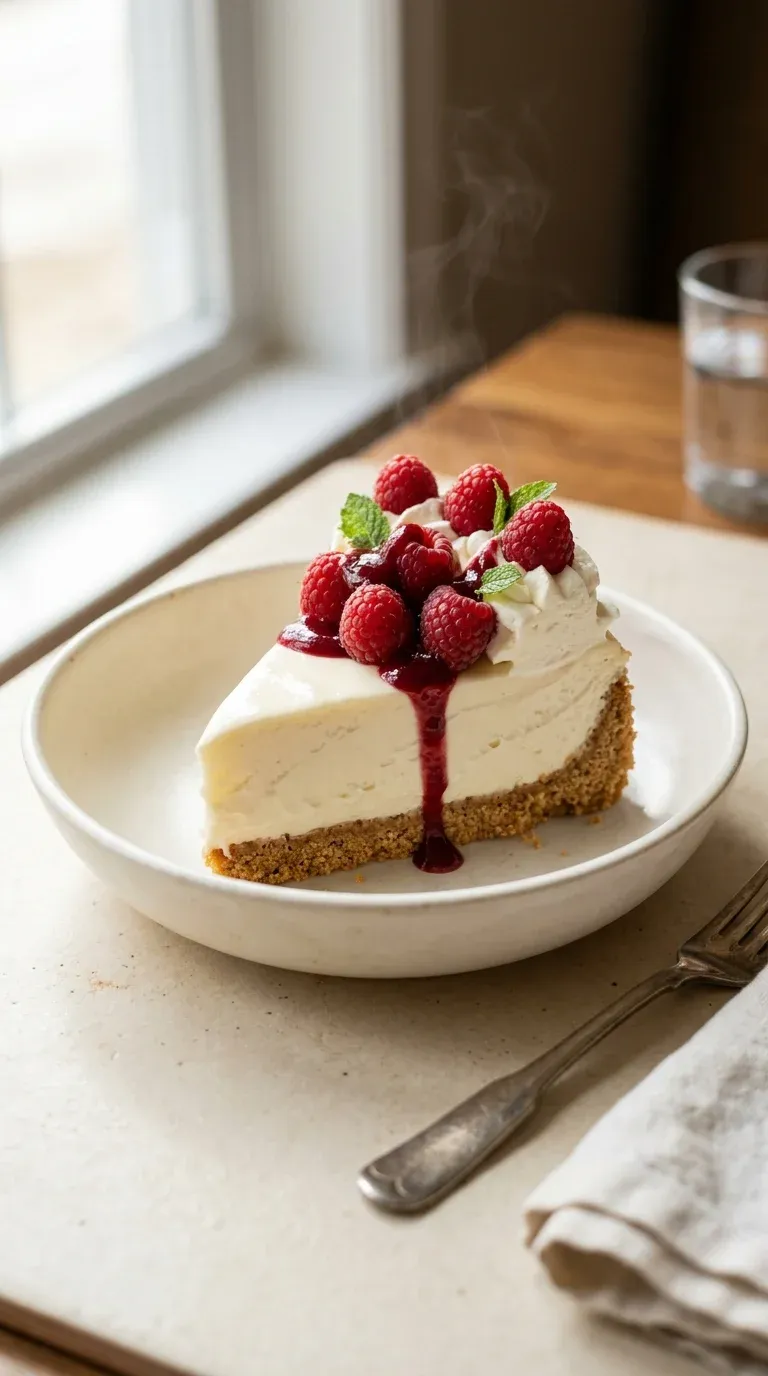
- Top with fresh berries and a drizzle of strawberry coulis.
- Serve with a scoop of vanilla bean ice cream and chocolate sauce.
- Add a sprinkle of toasted coconut flakes for extra crunch.
- Add chopped nuts for a bit of a salty contrast.
Allergy information
Contains dairy (cream cheese, heavy cream, butter) and wheat (graham crackers).
No Bake Cheesecake – Easy, Creamy, Foolproof Recipe
Skip the oven and dive into pure creaminess. This foolproof dessert is a crowd-pleaser that takes the stress out of hosting. Just chill and serve.
- Prep time
- 20 min
- Total time
- 20 min
- Difficulty
- Easy
- Cuisine
- American
Ingredients
The Crust
The Filling
The Topping
Instructions
- 1
Grab a medium bowl and combine your 1 cup (85g) graham cracker crumbs with 1/4 cup of your granulated sugar. Now, stir in that melted 4 tbsp (57g) unsalted butter. Just mix it until it looks like moist sand—honestly, it's a lovely little texture.
- 2
Press that crumb mixture firmly into the bottom of your 9-inch springform pan. You want an even crust here, so take your time. Pop it in the refrigerator for 10 minutes just to let it firm up and get settled.
- 3
In a large mixing bowl, take your 16 oz (450g) cream cheese, softened, and beat it on medium speed. Keep going until it's completely smooth and creamy—no lumps allowed, yeah?
- 4
Now, add the remaining 1/4 cup of granulated sugar, 1 tsp vanilla extract, 1 tbsp lemon juice, and 1 cup (240ml) heavy whipping cream to the cream cheese. Beat on medium-high speed. You're looking for it to become thick and glossy, forming those nice soft peaks.
- 5
Carefully pour that cheesecake filling over your chilled crust. I usually use a spatula to smooth the top—just a gentle touch to make sure it's an even layer.
- 6
Cover the pan loosely with plastic wrap. Here's a little trick: make sure the wrap actually touches the surface of the filling. It prevents a skin from forming, which, ugh, nobody wants.
- 7
Now comes the hard part—waiting. Refrigerate the cheesecake for at least 4 hours, or honestly, just leave it overnight if you can. It needs that time to set firmly.
- 8
If you're feeling fancy, whip 1 cup of heavy cream with 2 tbsp powdered sugar and 1 tsp vanilla extract (for the topping) until you get stiff peaks. You can spoon it or pipe it over the top—it's a lovely little finishing touch.
- 9
About 30 minutes before you're ready to serve, take the cheesecake out of the fridge. Letting it sit at room temperature for a bit makes slicing it so much easier.
- 10
Release the springform pan, use a sharp knife to slice through, and serve it chilled. Wow, it's just delicious. Enjoy!
Nutrition per serving
- 480 kcal
- Calories
- 6 g
- Protein
- 32 g
- Carbs
- 38 g
- Fat
Tips & notes
- The crust is quite sturdy if you press it down well. - Using completely softened cream cheese is the secret to avoiding lumps. - Don't rush the chilling time; the structure depends on it.
Frequently asked questions
Can I freeze this cheesecake?
Yes, you certainly can! Just wrap it tightly in plastic wrap and foil, then thaw it in the fridge for 12-24 hours before you slice it.
Why is my cheesecake too soft?
It might just need more time in the fridge. Give it an overnight soak in the cold, and it should firm up beautifully.
Do I have to use a springform pan?
Well, it's really the best way to get a clean slice without the cake falling apart, so I'd highly recommend it.