The origin of no-bake cookies is a bit of a mystery, though they likely gained popularity in the United States during the mid-20th century. As convenience became a priority in the kitchen, the idea of a "stovetop cookie" appealed to home cooks who wanted the richness of a dessert without the heat of a baking oven, especially during the humid summer months.
These treats are often categorized as "chocolate clusters" or "no-bake oats," reflecting a cultural shift toward using quick-cooking oats as a hearty, textured base. Unlike traditional baked goods, the structure comes from the precise caramelization of sugar and butter, creating a bond that holds the oats together in a dense, fudge-like consistency.
Across generations, no-bake cookies have remained a staple of potlucks and school bake sales. Their enduring appeal lies in their accessibility; they require no fancy equipment, just a steady hand and a timer to ensure the perfect set.
From a simple mixture of cocoa and oats, these cookies evolved into a versatile canvas for variations, though the classic chocolate version remains the most cherished for its nostalgic, home-style charm.
Why You'll Love It
-
- Honestly, there is just something so nostalgic about these; they remind me of being a girl in my grandmother's kitchen with that rich, chocolatey smell filling the air.
-
- You don't even have to touch the oven, so it is just perfect for those sticky summer afternoons when you want something sweet without heating up the whole house.
-
- Well, look, they come together so quickly that you can have a treat ready in minutes, which is a lifesaver when the kids are suddenly craving something chocolatey.
-
- I mean, that wonderful contrast between the chewy quick-cooking oats and the smooth chocolate is just addictive, if I'm being honest.
"These taste exactly like the ones my grandma used to make. So fudgy and wonderful—the kids polished off the whole batch!"
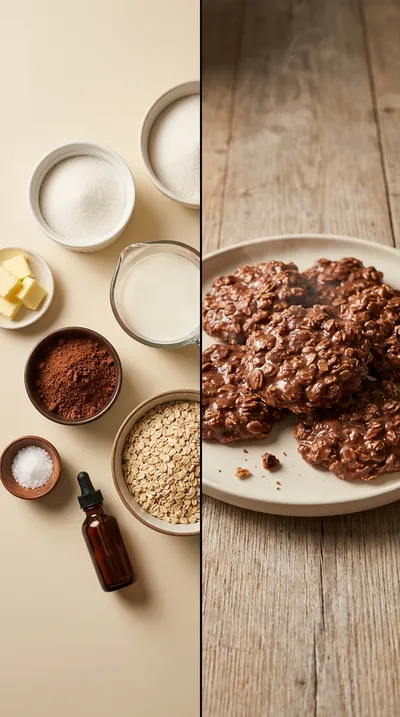
Essential Ingredient Guide
- quick-cooking oats: These are the heart of the cookie, giving that cozy, chewy texture we all love. Make sure they are the quick-cooking kind, otherwise, they won't soak up that chocolatey goodness just right.
- unsalted butter, cut into cubes: I always cut my butter into little cubes first so it melts evenly in the pan. It gives the cookies a rich, smooth base that just feels like home.
- vanilla extract: A little splash of this at the very end brings everything together. It adds a quiet warmth that makes the chocolate taste even deeper and more rounded.
- salt: Just a tiny bit of salt is needed to balance out all that sweetness. It's one of those things you don't notice until it's gone, but it really makes the cocoa pop.
- milk: The milk helps create that creamy, boilable syrup that holds everything together. I usually just use whatever I have in the fridge, as long as it's fresh.
- granulated sugar: This is what gives the cookies their structure and that lovely sweetness. Be careful not to over-boil it, or your cookies might turn out a bit too hard, oops.
 Warm Meals
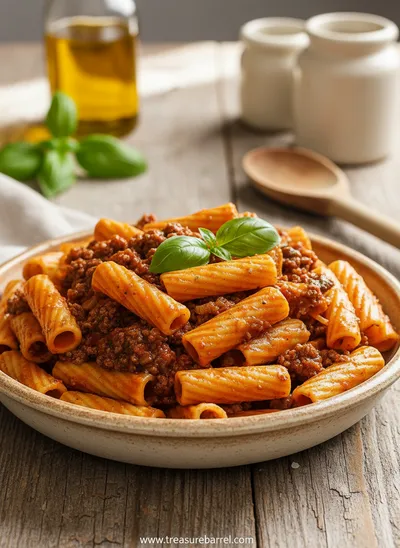
Beef Ragu Pasta Recipe in Tomato Sauce
A rich and hearty pasta dish with slow-cooked beef ragu in a savory tomato sauce.
Complete Cooking Process
-
Getting Ready:
I like to have my 1/2 cup (1 stick) unsalted butter cut into cubes and my 3 cups quick-cooking oats measured out first. Lining your tray with wax paper is a must, or you'll be scraping chocolate off your counters all day.
-
Building the Flavor:
When you combine the 2 cups granulated sugar, butter, milk, 1/4 cup unsweetened cocoa powder, and 1/2 teaspoon salt, the flavors start to merge. That rolling boil for exactly one minute is where the magic happens and the chocolate gets really intense.
-
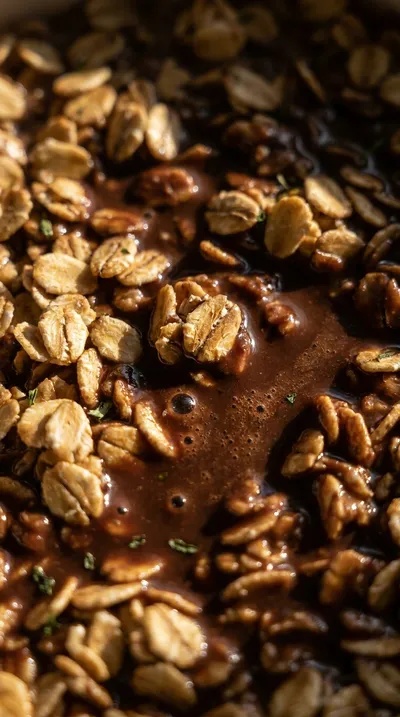
Perfecting the Texture:
The moment you stir in those 3 cups quick-cooking oats, you've got to work fast. Stirring vigorously ensures every single oat is coated in chocolate, which prevents any dry clumps from sneaking in.
-
The Final Touch:
Adding the 1 teaspoon vanilla extract right after taking the pan off the heat is the secret. It keeps the flavor fresh and bright before the cookies start to firm up on the paper.
-
Setting and Serving:
Patience is key here; let them sit at room temperature for 30-60 minutes. Once they're set and firm to the touch, you can gently peel them off and enjoy that classic chew.
-
Use a timer for that 1-minute boil; too short and they're sticky, too long and they're crumbly.
-
Stir those oats in quickly and thoroughly so every bit is chocolatey.
-
Don't dawdle when dropping the spoonfuls onto the paper, as the mixture sets fast.
-
Aim for about 1 1/2 to 2 tablespoons per cookie for a nice, consistent size.
Pro Tips
Just trust your instincts and enjoy the process!

Better For You Treats
Ways to Make it Your Own
Serving Suggestions
Frequently Asked Questions
→ Why are my cookies too soft or sticky?
It's usually because the mixture didn't boil for a full minute. Just be sure to use a timer next time so they set up just right.
→ Can I use old-fashioned oats instead of quick-cooking oats?
I wouldn't recommend it, honestly. The quick-cooking oats blend in much better, whereas the old-fashioned ones can make the cookies feel a bit too chunky.
→ How should I store these so they stay fresh?
Just pop them in an airtight container for up to 3 days at room temperature. If you want to keep them longer, they freeze beautifully for up to 2 months.
Nutrition Facts
per serving
145
Calories
2g
Protein
21g
Carbs
6g
Fat
Taste Profile
A rich, nostalgic blend of deep cocoa and buttery sweetness.
Ingredient Substitutions
Don't have an ingredient? Try these alternatives
Pulse them in a blender for a second first so they aren't too chunky.
Just reduce the added salt in the recipe by a pinch.
Works well, though the set might be slightly softer.
Recipe Variations
Try these delicious twists on the original
Peanut Butter No-Bake Cookies
For a lovely peanut butter twist, just stir in 1/2 cup of peanut butter along with the vanilla extract.
Mint Chocolate No-Bake Cookies
If you like a refreshing touch, add 1/4 teaspoon of peppermint extract right along with the vanilla.
Common Mistakes to Avoid
Learn from others' mistakes for perfect results
- Under-boiling the mixture, which leads to cookies that stay sticky and won't hold their shape.
- Over-boiling the mixture, resulting in a dry, crumbly texture.
- Waiting too long to scoop the cookies, causing the mixture to harden in the pan.
Meal Prep & Storage
Make Ahead Tips
You can certainly make these in advance; they stay fresh in a container for 3 days or can be frozen for up to 2 months.
Leftover Ideas
Store any leftover cookies in an airtight container. If frozen, just let them thaw completely before you enjoy them.
Perfect Pairings
Serve this with...
Cooking Timeline
Line the baking sheet and combine sugar, butter, milk, cocoa, and salt in the pan.
Bring the mixture to a boil and maintain for exactly 1 minute.
Remove from heat and stir in vanilla and oats quickly.
Drop spoonfuls of mixture onto the parchment paper.
Let the cookies set completely at room temperature.
 Warm Meals
Garlic Steak Tortellini – A Warm Classic
Steak meets garlic‑kissed tortellini in a creamy, herb‑filled sauce for a cozy night in.

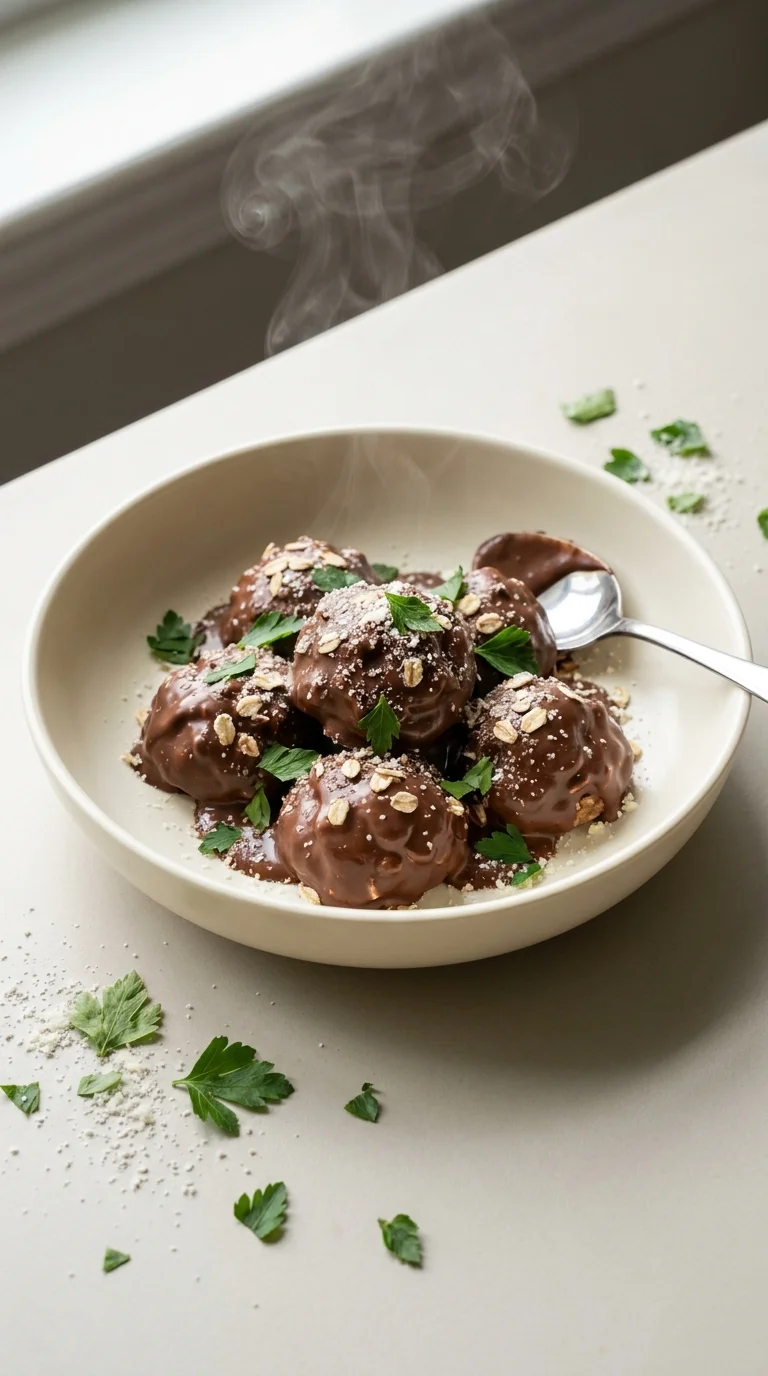
No-Bake Cookies – Quick Chocolatey Treat
Warm, fudgy, and deeply chocolatey, these no-bake cookies bring back the simplest joys of home. The scent of cocoa and vanilla fills the kitchen while they set into perfect, chewy little bites.
Timing
Prep Time
10 Minutes
Cook Time
5 Minutes
Total Time
15 Minutes
Recipe Details
Ingredients
Main Ingredients
-
01
2 cups granulated sugar
-
02
1/2 cup (1 stick) unsalted butter, cut into cubes
-
03
1/2 cup milk
-
04
1/4 cup unsweetened cocoa powder
-
05
1/2 teaspoon salt
-
06
1 teaspoon vanilla extract
-
07
3 cups quick-cooking oats
Instructions
First things first, let's get a baking sheet or a nice large plate ready. Line it with wax paper or parchment paper—honestly, it's a lifesaver because it keeps the cookies from sticking.
Now, grab your medium saucepan and stir in the 2 cups granulated sugar, 1/2 cup (1 stick) unsalted butter, 1/2 cup milk, 1/4 cup unsweetened cocoa powder, and 1/2 teaspoon salt. Just give it a good stir so the cocoa and salt are all mixed in there.
Set your saucepan over medium heat. You'll want to bring the mixture to a rolling boil, but keep stirring it constantly. We don't want anything scorching on the bottom, yeah?
Once it's at a rolling boil, keep it going for exactly 1 minute. I mean, exactly! Use a timer to be precise because this is just so crucial for the cookies to set properly.
Take the pan off the heat immediately. Now, stir in the 1 teaspoon vanilla extract until it's all combined and smelling wonderful.
Add those 3 cups quick-cooking oats into the pan. Stir them in quickly and thoroughly; you want every single oat coated in that chocolatey goodness.
Work fast now! Drop spoonfuls of the mixture onto your prepared paper. I usually aim for about 1 1/2 to 2 tablespoons per cookie.
Now comes the hard part—waiting. Let them cool and set at room temperature. Depending on how warm your kitchen is, it usually takes about 30-60 minutes.
Once they're nice and firm, you can gently peel them off the wax paper or parchment paper. Look at that!
Notes & Tips
-
1
Be very careful with the boiling time—too short and they're sticky, too long and they're crumbly.
-
2
Using quick-cooking oats is the way to go for the right texture.
-
3
The cookies set faster in a cool room.
 Cozy Classics
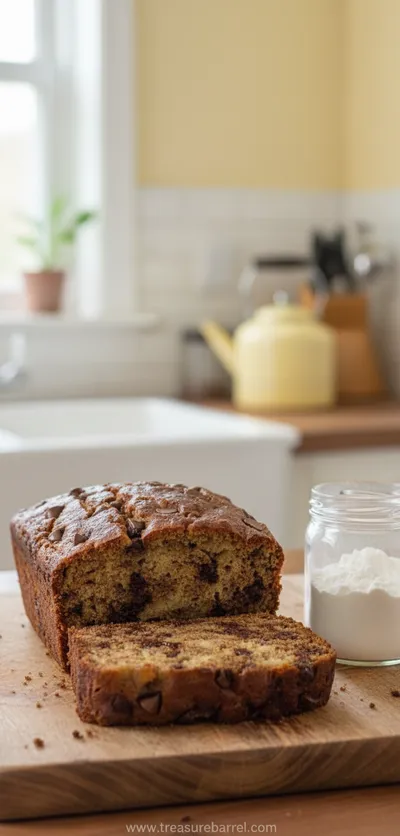
Easy Chocolate Chip Banana Bread
Moist chocolate chip banana bread, quick to bake, perfect for cozy breakfasts.
Tools You'll Need
-
Medium saucepan for the chocolate base
-
Wooden spoon or heat-resistant spatula for stirring
-
Measuring cups and spoons for accuracy
-
Wax paper or parchment paper to prevent sticking
-
Baking sheet or large plate for setting
Must-Know Tips
-
Precise boiling time, Boiling for exactly 1 minute ensures the cookies set; any less and they stay sticky, any more and they get dry.
-
Vigorous stirring, Stir the oats in quickly to prevent clumps and get a consistent texture.
-
Speed is key, The chocolate mixture sets fast, so drop the spoonfuls onto the paper quickly.
Professional Secrets
-
The 'Rolling Boil' rule: The chemical reaction between the sugar and butter requires that specific temperature for a few seconds to create the structure.
-
Immediate incorporation: Adding vanilla and oats right after removing from heat prevents the sugar from crystallizing too early.
-
Temperature control: Using a medium heat avoids scorching the cocoa powder, which can turn bitter.

Recipe by
Lila GraceLila creates magical desserts 🍫🧁, sprinkles joy 🌈✨, and shares sweet moments 🍬💖. Her kitchen is full of smiles 😄 and sugar-dusted memories 🍪🍯.
Get Delicious Recipes Weekly
Join 25,000+ home cooks getting our best recipes straight to their inbox.
Free forever • No spam • Unsubscribe anytime