
Originating from the rise of portable nutrition in the early 2000s, the no‑bake protein bar blends simplicity with wholesome ingredients. While many bars rely on industrial processing, this home‑crafted version draws on the tradition of energy‑dense snacks that athletes and busy families have cherished for decades. Its roots lie in the desire for a clean, quick snack that supports active lifestyles without sacrificing taste.
Why You'll Love It
-
- No oven required, perfect for summer kitchens
-
- Vegan and gluten‑free, fits many dietary needs
-
- Quick to assemble, ready in minutes
-
- Naturally sweetened with dates and maple
"These bars are my go‑to for the office—soft, satisfying, and totally guilt‑free!"
Essential Ingredient Guide
- Rolled oats (gluten‑free): Provides a chewy base; look for certified gluten‑free oats for best texture.
- Plant‑based protein powder: Choose a vanilla or unflavored scoop for balanced flavor; sift to avoid clumps.
- Medjool dates: Act as natural sweetener and binder; soak briefly if they’re a bit dry.
- Nut butter: Adds richness and helps the bars hold together; almond or cashew works well.
- Maple syrup: A touch of liquid sweetness; use pure maple for a gentle flavor.
- Chia seeds: Tiny crunch and a boost of omega‑3; sprinkle in for texture.
 Sweet Treats
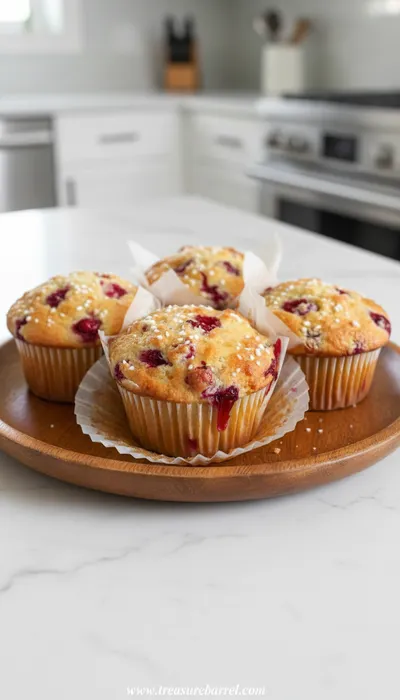
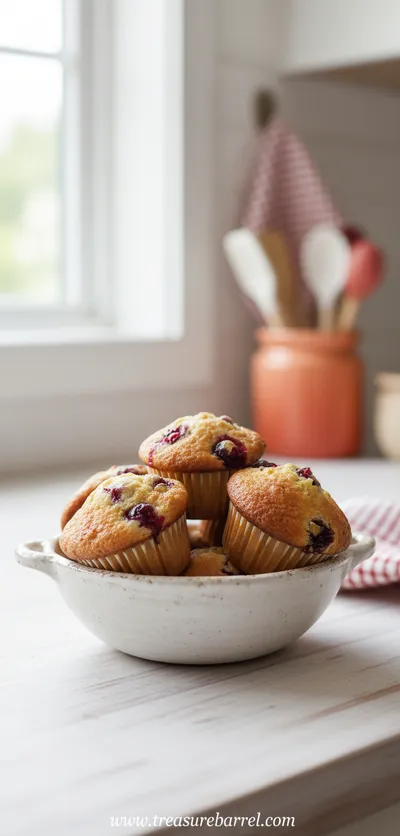
Cranberry and Orange Yogurt Muffins
Bright cranberry‑orange muffins with a soft yogurt crumb and a whisper of citrus.
Complete Cooking Process
-
Ingredient Readiness:
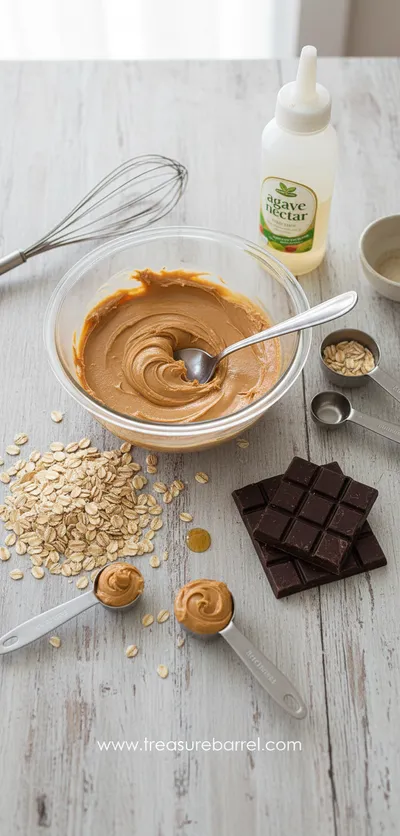
Measure and soak the dates, then pulse the oats and protein powder to a fine consistency.
-
Flavor Development:
Blend the nut butter, maple syrup, and chia seeds; the aromas mingle as the mixture warms slightly.
-
Texture Control:
Combine wet and dry ingredients, press firmly into the pan; the bar sets as the chia absorbs moisture.
-
Finishing Touches:
Top with a drizzle of extra maple or a few cocoa nibs, then chill to firm up.
-
Serving Timing:
Allow the bars to rest in the fridge for at least 30 minutes before slicing for clean cuts.
-
Press the mixture tightly to avoid crumbly edges.
-
Use a parchment‑lined pan for easy removal.
-
Store in an airtight container for up to a week.
-
Freeze individual bars for longer storage.
Pro Tips
When you press the mixture, imagine the gentle press of a hand‑rolled dough—steady and calm. It’s okay if the edges look a little uneven; that’s part of the home‑made charm. I often find that a quick chill gives the bars a satisfying snap, making the first bite feel like a soft, sweet sigh.
The essence of the dish:
A balanced blend of oats, protein, and natural sweeteners creates a bar that’s soft, chewy, and subtly sweet—perfect for a mid‑day lift.
A fun fact or historical angle:
Energy‑dense bars have been a staple for travelers since the era of early explorers, and today they’re a pantry‑friendly snack for modern life.
Flavor or sensory focus:
You’ll notice a gentle caramel note from dates, a nutty backdrop from the butter, and a hint of crunch from chia.
You Must Know
-
Use fresh, sticky dates for best binding.
-
Cool the bars before cutting to keep shapes intact.
-
Adjust sweetness with extra maple if needed.
Frequently Asked Questions
→ Can I use regular oats?
Yes, but for a truly gluten‑free bar choose certified gluten‑free rolled oats.
→ How long do the bars keep?
Stored in an airtight container in the refrigerator they stay fresh for up to 7 days.
→ Can I add chocolate chips?
Absolutely—just fold in a handful before pressing; they’ll melt slightly for a gooey pocket.
→ Do I need a food processor?
A sturdy blender works fine, but a good hand‑mixer or even a strong spoon can do the job.
→ Is this recipe suitable for kids?
Yes, it’s free of refined sugar and uses natural sweeteners, making it a wholesome snack for all ages.
→ Can I replace chia seeds?
You can swap with ground flaxseed, though the texture will be slightly different.
Nutrition Facts
per serving
210
Calories
8g
Protein
28g
Carbs
9g
Fat
Taste Profile
Naturally sweet with a nutty background
Ingredient Substitutions
Don't have an ingredient? Try these alternatives
Great for nut‑allergy friendly version; flavor is slightly milder.
Provides similar sweetness with a lighter flavor profile.
Recipe Variations
Try these delicious twists on the original
Spicy Version
Add 1 tsp cinnamon and a pinch of cayenne for a warm kick.
Mediterranean Style
Mix in chopped dried apricots, pistachios, and a drizzle of tahini.
Common Mistakes to Avoid
Learn from others' mistakes for perfect results
- Over‑processing oats leads to a powdery texture.
- Not pressing firmly enough causes crumbly bars.
- Skipping the chill step results in soft, difficult‑to‑cut bars.
Meal Prep & Storage
Make Ahead Tips
You can blend the base mixture and store it in the fridge for up to 24 hours; press and chill when ready to serve.
Leftover Ideas
Refrigerate any leftovers; enjoy within a week or freeze for up to 2 months.
Perfect Pairings
Serve this with...
Cooking Timeline
Prep dates, soak if needed; measure oats and protein powder.
Pulse oats and protein powder; blend wet ingredients into a sticky dough.
Fold in optional add‑ins and press mixture into pan.
Chill bars in refrigerator to set before cutting.
 Home Baking
High Protein Beef Pepperoni Pizza Rolls
Crispy, cheesy, protein‑rich pizza rolls made with beef pepperoni and a tender homemade dough.
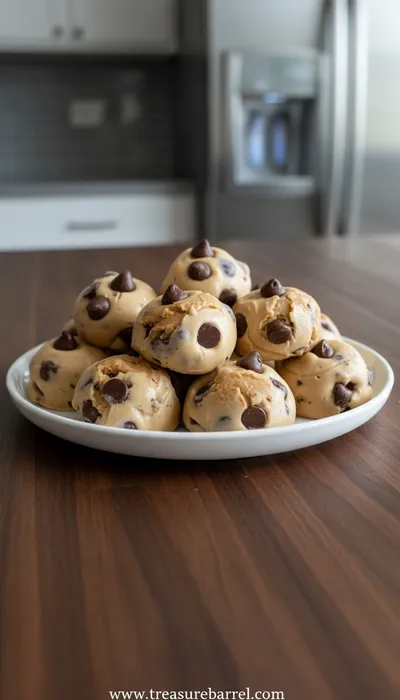
No Bake Protein Bar – Easy Vegan Gluten‑Free Recipe
Quick, no‑bake protein bars that are vegan, gluten‑free, and perfect for a healthy snack on the go. Soft, chewy, and subtly sweet, they keep you satisfied without any oven heat.
Timing
Prep Time
15 Minutes
Cook Time
0 Minutes
Total Time
15 Minutes
Recipe Details
Ingredients
Base
-
01
2 cups gluten‑free rolled oats
-
02
1 cup vanilla plant‑based protein powder
-
03
1/2 cup almond butter
-
04
1/3 cup pure maple syrup
-
05
1 cup Medjool dates, pitted
-
06
2 tbsp chia seeds
Optional Add‑Ins
-
01
2 tbsp cocoa nibs
-
02
1/4 cup shredded coconut
-
03
1 tsp vanilla extract
Instructions
If the dates are a little dry, soak them in warm water for 5 minutes, then drain.
In a food processor, pulse the oats and protein powder until finely ground.
Add the soaked dates, almond butter, maple syrup, and chia seeds; blend until a sticky dough forms.
Stir in any optional add‑ins, then press the mixture firmly into a parchment‑lined 8×8‑inch pan.
Refrigerate for at least 30 minutes, then cut into twelve bars.
Notes & Tips
-
1
Press the mixture tightly to avoid crumbly edges.
-
2
If the mixture feels too wet, add a tablespoon of ground flaxseed.
-
3
Feel free to swap maple syrup for agave nectar for a milder flavor.
 Sweet Treats
Cranberry Orange Muffins
Tender muffins bursting with orange zest and tart cranberries, ideal for a comforting morning treat.
Tools You'll Need
-
Food processor or high‑speed blender
-
8×8‑inch baking pan
-
Parchment paper
-
Spatula
-
Measuring cups and spoons
Must-Know Tips
-
Don't over‑process the oats; a slight texture adds bite.
-
Let the bars chill; it helps them set firmly.
-
Taste the mixture before pressing; adjust sweetness if needed.
Professional Secrets
-
Room temperature dates blend more smoothly, ensuring a uniform texture.
-
Chia seeds act as a natural gel, eliminating the need for added water.
-
Pressing with a flat surface creates an even top layer.

Recipe by
Lila GraceLila creates magical desserts 🍫🧁, sprinkles joy 🌈✨, and shares sweet moments 🍬💖. Her kitchen is full of smiles 😄 and sugar-dusted memories 🍪🍯.
Get Delicious Recipes Weekly
Join 25,000+ home cooks getting our best recipes straight to their inbox.
Free forever • No spam • Unsubscribe anytime