The concept of a no-bake cheesecake is a modern evolution of the classic cream cheese desserts that gained popularity in the mid-20th century. While traditional cheesecakes trace their roots back to ancient Greece, the American version shifted toward the rich, creamy profile we recognize today, eventually branching into refrigerated 'no-bake' varieties that prioritize a mousse-like texture over a dense, baked custard.
The inclusion of chocolate sandwich cookies in these oreo no-bake cheesecake cups reflects a broader culinary trend of 'deconstructed' desserts. By breaking down the components of a favorite snack and rebuilding them into a sophisticated individual cup, the dish bridges the gap between childhood nostalgia and adult elegance.
Culturally, these individual portions mirror the rise of the 'miniature dessert' movement, focusing on curated, manageable bites that allow for a variety of flavors at a single gathering. It transforms a heavy dessert into a light, sociable experience, making the rich combination of cream and cocoa accessible for any occasion.
Why You'll Love It
-
- Honestly, there is just something so comforting about a treat that doesn't require an oven, especially when it's as creamy as this one.
-
- I mean, who can resist the crunch of 1 ½ cups (180g) Oreo cookie crumbs paired with that velvety filling? It's just a dream.
-
- Well, look, these are individual cups, so no more messy slicing or worrying if the center is set—it's just perfectly portioned sweetness.
-
- It reminds me of those little surprises I used to make for the kids, and yeah, they are just as irresistible now as they were back then.
"I honestly can't believe how easy these are. My grandkids absolutely adore them, and I love that I don't have to turn on the oven!"
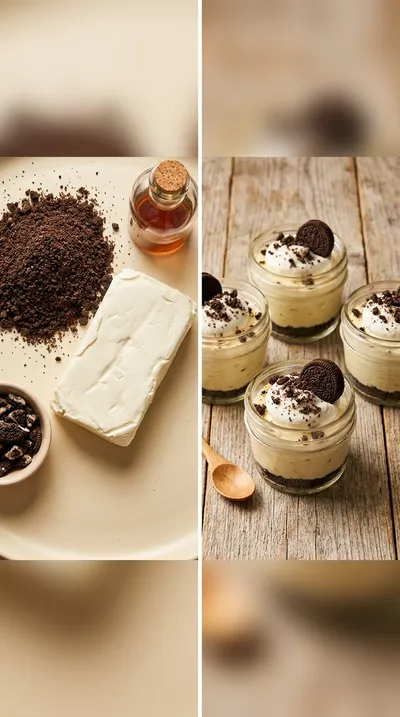
Essential Ingredient Guide
- 8 ounces (226g) cream cheese, softened to room temperature: This is the heart of our filling. Make sure it's truly soft, or you'll end up with lumps, and ugh, nobody wants lumpy cheesecake.
- 1 cup (240ml) heavy cream, cold: Keep this chilled until the very last second. It's what gives the cups that light, airy lift that feels like a cloud in your mouth.
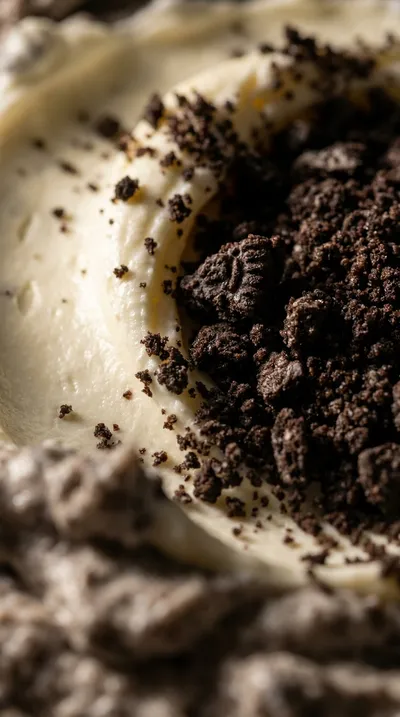
- ¼ cup (30g) finely crushed Oreo cookies, for garnish (optional): It's a little extra touch, but it makes them look so professional. I love how the dark crumbs pop against the white cream.
- 1 teaspoon vanilla extract: Just a splash, but it adds that warm, floral note that rounds out the richness. It's a simple thing, but it makes a world of difference.
- 5 tablespoons (70g) unsalted butter, melted: This holds our crust together. I like to melt it gently so it blends perfectly with the crumbs without making them too greasy.
- 1 cup (200g) powdered sugar: This gives us that smooth, sweet finish. I find it blends into the cream cheese much more gracefully than granulated sugar does.
 Warm Meals
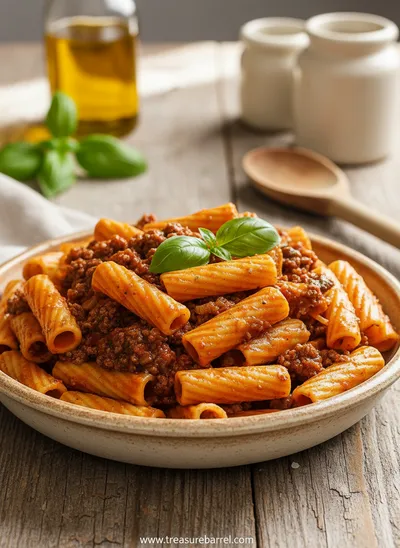
Beef Ragu Pasta Recipe in Tomato Sauce
A rich and hearty pasta dish with slow-cooked beef ragu in a savory tomato sauce.
Complete Cooking Process
-
Ingredient Readiness:
I always start by letting my 8 ounces (226g) cream cheese sit out for a while. It needs to be completely soft, and the heavy cream needs to be ice-cold for the best whip.
-
Flavor Development:
The magic happens when the 1 teaspoon vanilla extract and powdered sugar meld with the cream cheese. It creates a rich, sweet base that tastes even better after a long nap in the fridge.
-
Texture Control:
The trick is in the folding. You have to be so gentle when adding the whipped cream to the cheese mixture so you don't deflate all those lovely air bubbles.
-
Finishing Touches:
Just before serving, I sprinkle on that ¼ cup (30g) finely crushed Oreo cookies. It's like putting a bow on a present—just a little bit of beauty to finish it off.
-
Serving Timing:
Patience is key here, honey. Let them chill for at least 4 hours, but overnight is really where the flavors find their balance.
-
Make sure your cream cheese is truly softened to room temperature for the smoothest cheesecake filling.
-
Chilling the cheesecake cups for a longer period (overnight) allows the flavors to meld even more beautifully.
-
For an extra Oreo boost, mix a tablespoon or two of crushed Oreos directly into the cheesecake filling before chilling.
-
Be careful not to overbeat the heavy cream, or it will turn into butter!
Pro Tips
Just take your time and enjoy the process, you've got this!
Better For You Treats
Ways to Make it Your Own
Serving Suggestions
Frequently Asked Questions
→ Can I make these in advance?
Oh, definitely! In fact, I recommend making them overnight so they can set up perfectly in the fridge.
→ What if my filling is too runny?
Usually, that means the heavy cream wasn't whipped to stiff peaks or the mixture needs more time to chill. Just pop them back in the fridge for a bit.
→ Can I freeze these for later?
Yes, you sure can. Wrap them individually and freeze for up to a month, then just thaw them in the fridge before you eat them.
Nutrition Facts
per serving
380
Calories
5g
Protein
32g
Carbs
24g
Fat
Taste Profile
A rich, creamy balance of sweet cocoa and tangy cream cheese.
Ingredient Substitutions
Don't have an ingredient? Try these alternatives
Works well for a slightly different flavor profile.
Be careful as granulated sugar can leave the filling slightly gritty.
Can be used to make the filling denser and richer, though you'll lose the fluffiness.
Recipe Variations
Try these delicious twists on the original
Chocolate Oreo Cheesecake Cups
For those who love a deeper chocolate flavor, just stir 2 tablespoons of unsweetened cocoa powder into your cream cheese mixture.
Mint Oreo Cheesecake Cups
A refreshing twist! Add ½ teaspoon of peppermint extract to the cream cheese and top with some crushed Andes Mints.
Common Mistakes to Avoid
Learn from others' mistakes for perfect results
- Using cold cream cheese, which leads to a lumpy filling.
- Overbeating the heavy cream until it turns into butter.
- Overmixing the final batter and deflating the whipped cream.
Meal Prep & Storage
Make Ahead Tips
These are perfect for making ahead; in fact, they're best if you make them the night before and let them set in the fridge.
Leftover Ideas
Store any leftovers in the refrigerator. If you've frozen them, thaw them in the fridge overnight before eating.
Perfect Pairings
Serve this with...
Cooking Timeline
Crush Oreos and mix with melted butter.
Press the crust into muffin liners.
Beat cream cheese, sugar, and vanilla.
Whip cream and fold it into the filling.
Fill the cups and refrigerate to set.
 Warm Meals
Garlic Steak Tortellini – A Warm Classic
Steak meets garlic‑kissed tortellini in a creamy, herb‑filled sauce for a cozy night in.
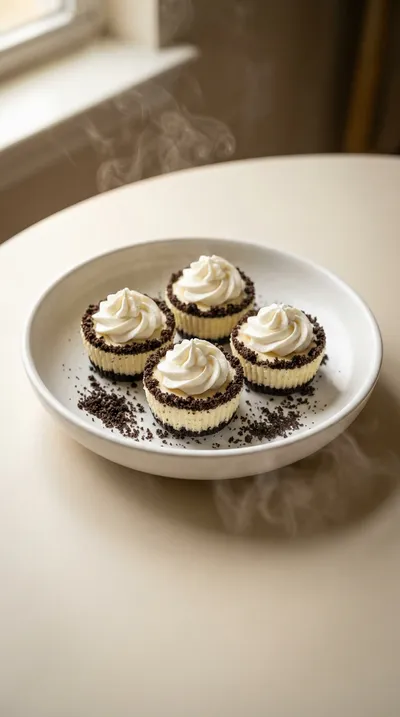
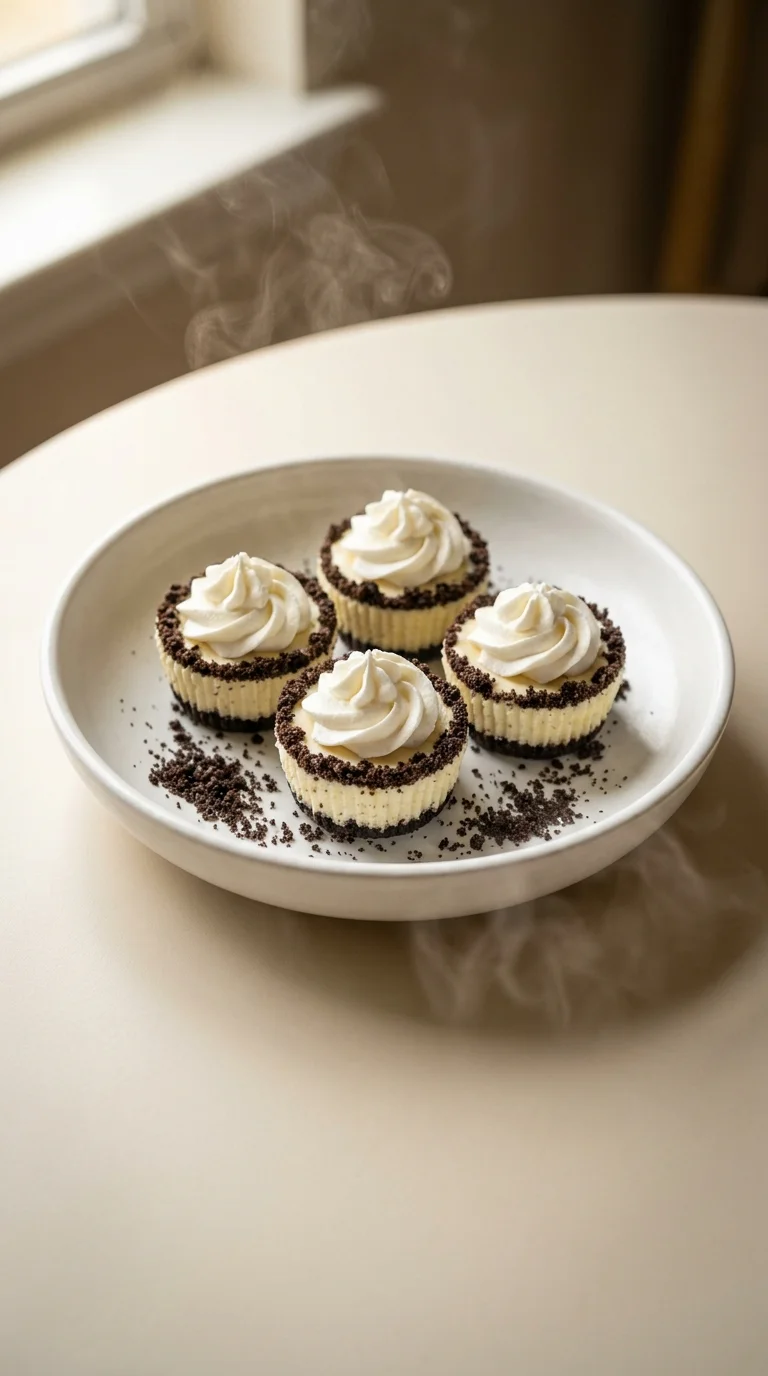
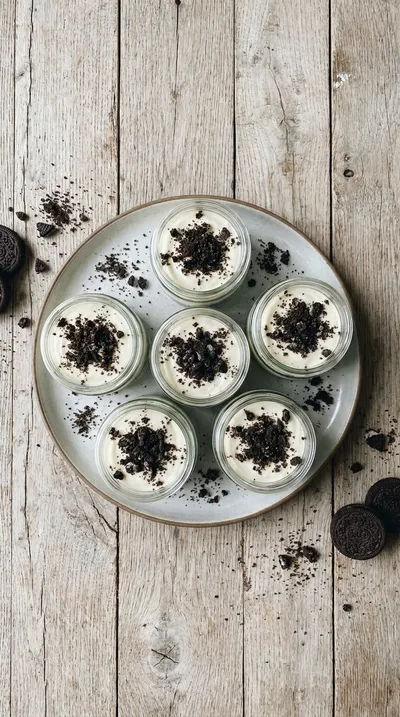
Oreo No-Bake Cheesecake Cups
These oreo no-bake cheesecake cups bring together a buttery chocolate crust and a cloud-like cream cheese filling. It is a gentle, sweet treat that feels like a hug in a little cupcake liner.
Timing
Prep Time
20 Minutes
Cook Time
0 Minutes
Total Time
20 Minutes
Recipe Details
Ingredients
The Crust
-
01
1 ½ cups (180g) Oreo cookie crumbs (about 25 Oreos, finely crushed)
-
02
5 tablespoons (70g) unsalted butter, melted
The Cheesecake Filling
-
01
8 ounces (226g) cream cheese, softened to room temperature
-
02
1 cup (200g) powdered sugar
-
03
1 teaspoon vanilla extract
-
04
1 cup (240ml) heavy cream, cold
Garnish
-
01
¼ cup (30g) finely crushed Oreo cookies, for garnish (optional)
Instructions
First, let's get that crust going. In a small mixing bowl, stir together your 1 ½ cups (180g) Oreo cookie crumbs and the 5 tablespoons (70g) unsalted butter, melted. Just mix it well until the crumbs are evenly moistened and look like wet sand.
Now, line up a 12-cup muffin tin with cupcake liners. Spoon about 2-3 tablespoons of that chocolatey crumb mixture into the bottom of each liner. Honestly, you really want to press them down firmly with your fingers or a spoon to make sure that crust is nice and sturdy.
Time for the filling. In a large mixing bowl, beat your 8 ounces (226g) cream cheese, softened to room temperature, with an electric mixer. Keep going until it's smooth and creamy—well, it's just crucial to do this so you don't end up with any little lumps in your dessert.
Slowly, gradually add the 1 cup (200g) powdered sugar to the cream cheese. Keep the mixer on low speed so the sugar doesn't fly everywhere, and then stir in the 1 teaspoon vanilla extract.
In a separate, clean, and chilled bowl, beat that 1 cup (240ml) heavy cream, cold, until stiff peaks form. Now, look, be careful not to overbeat it, or oops, you'll end up making butter instead of whipped cream!
Gently fold the whipped cream into the cream cheese mixture in two additions. Use a rubber spatula and be very tender—we want to keep all that air in there, so don't overmix and deflate the whipped cream.
Spoon that velvety cheesecake filling evenly into your Oreo crusts. Fill them right up to the top of the liners.
Cover the muffin tin with plastic wrap and tuck them into the refrigerator. They need at least 4 hours to set, but honestly, leaving them overnight is so much better for the texture.
Just before you're ready to serve, you can sprinkle the tops with the ¼ cup (30g) finely crushed Oreo cookies. It just makes them look a bit more special.
Notes & Tips
-
1
Using a chilled bowl for the heavy cream helps the peaks form faster.
-
2
Ensure the cream cheese is completely soft to avoid a grainy texture.
-
3
Packing the crust firmly prevents the base from crumbling when you eat it.
 Cozy Classics
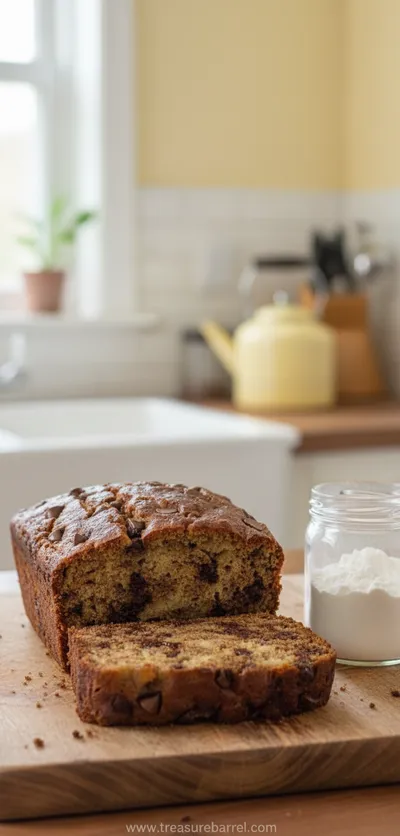
Easy Chocolate Chip Banana Bread
Moist chocolate chip banana bread, quick to bake, perfect for cozy breakfasts.
Tools You'll Need
-
Mixing bowls (2 large, 1 small) for prepping the different components
-
Measuring cups and spoons for precision
-
Electric mixer (handheld or stand mixer) to get that creamy consistency
-
Rubber spatula for gentle folding
-
12 cupcake liners and a matching 12-cup muffin tin
-
Food processor (optional) if you don't want to crush Oreos by hand
Must-Know Tips
-
Room Temperature Cream Cheese, Leaving the cream cheese out for an hour or two ensures the smoothest filling.
-
Extended Chilling, Letting these set overnight allows the flavors to meld more beautifully.
-
Avoid Overbeating, Watch the heavy cream closely so it doesn't turn into butter.
Professional Secrets
-
Folding in two stages preserves the aeration of the whipped cream for a lighter mousse-like texture.
-
The 'press and pack' method for the crust creates a professional, stable base.
-
Chilling the bowls for the cream adds stability and volume to the peaks.

Recipe by
Lila GraceLila creates magical desserts 🍫🧁, sprinkles joy 🌈✨, and shares sweet moments 🍬💖. Her kitchen is full of smiles 😄 and sugar-dusted memories 🍪🍯.
Get Delicious Recipes Weekly
Join 25,000+ home cooks getting our best recipes straight to their inbox.
Free forever • No spam • Unsubscribe anytime