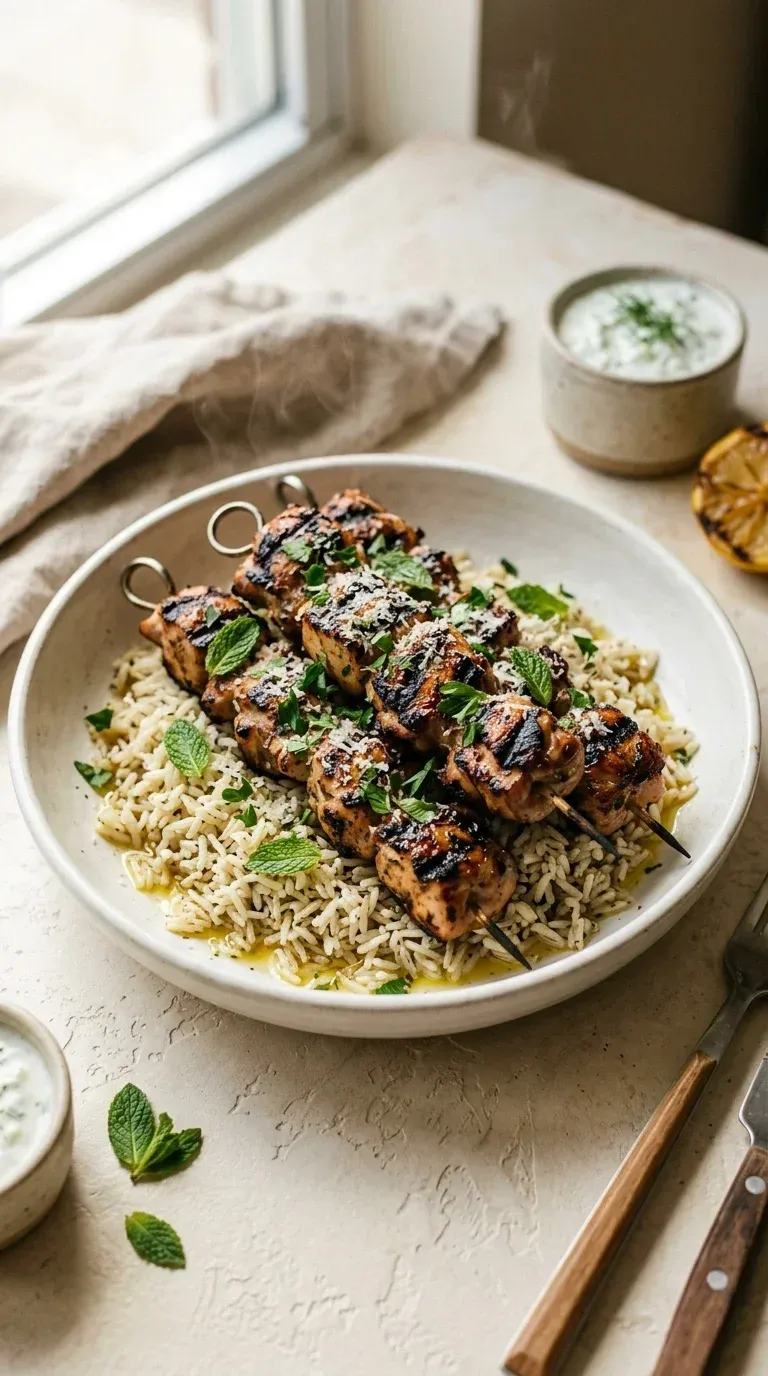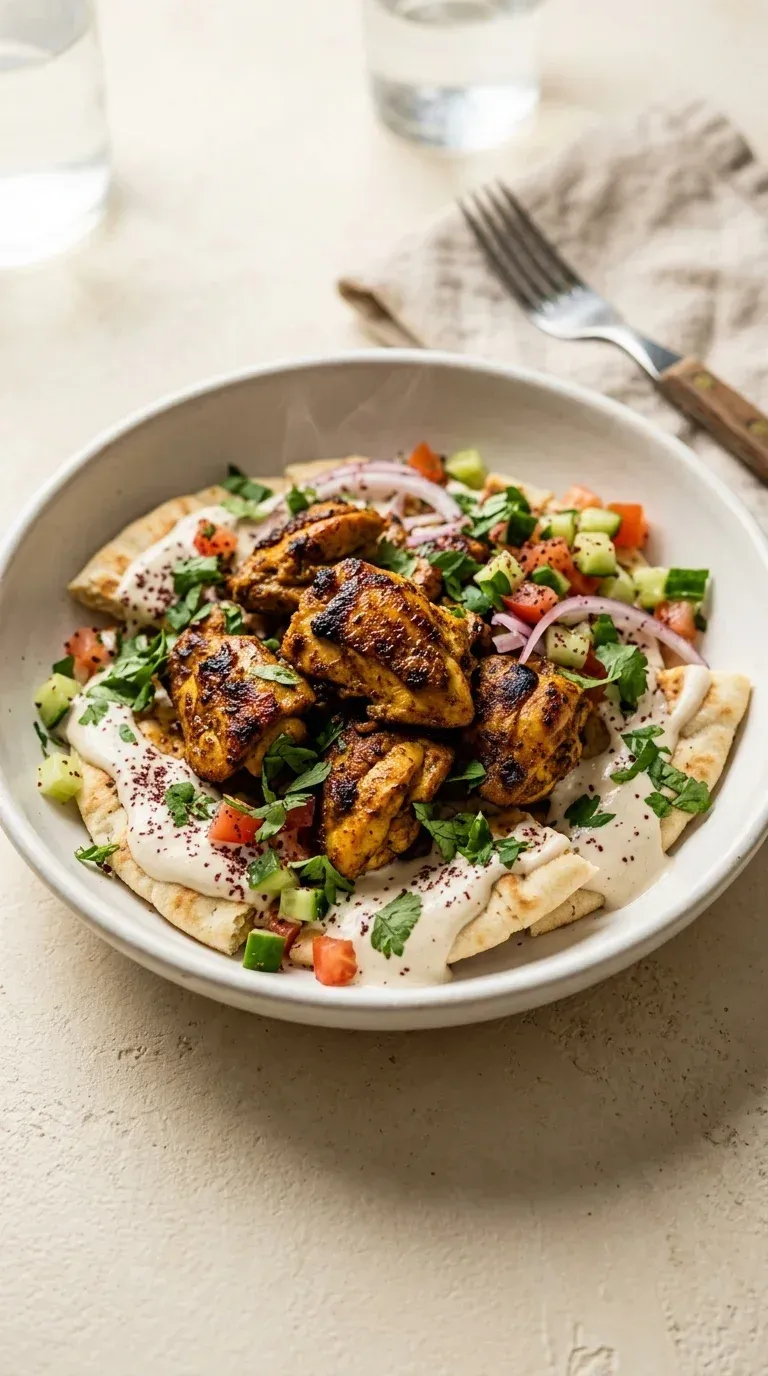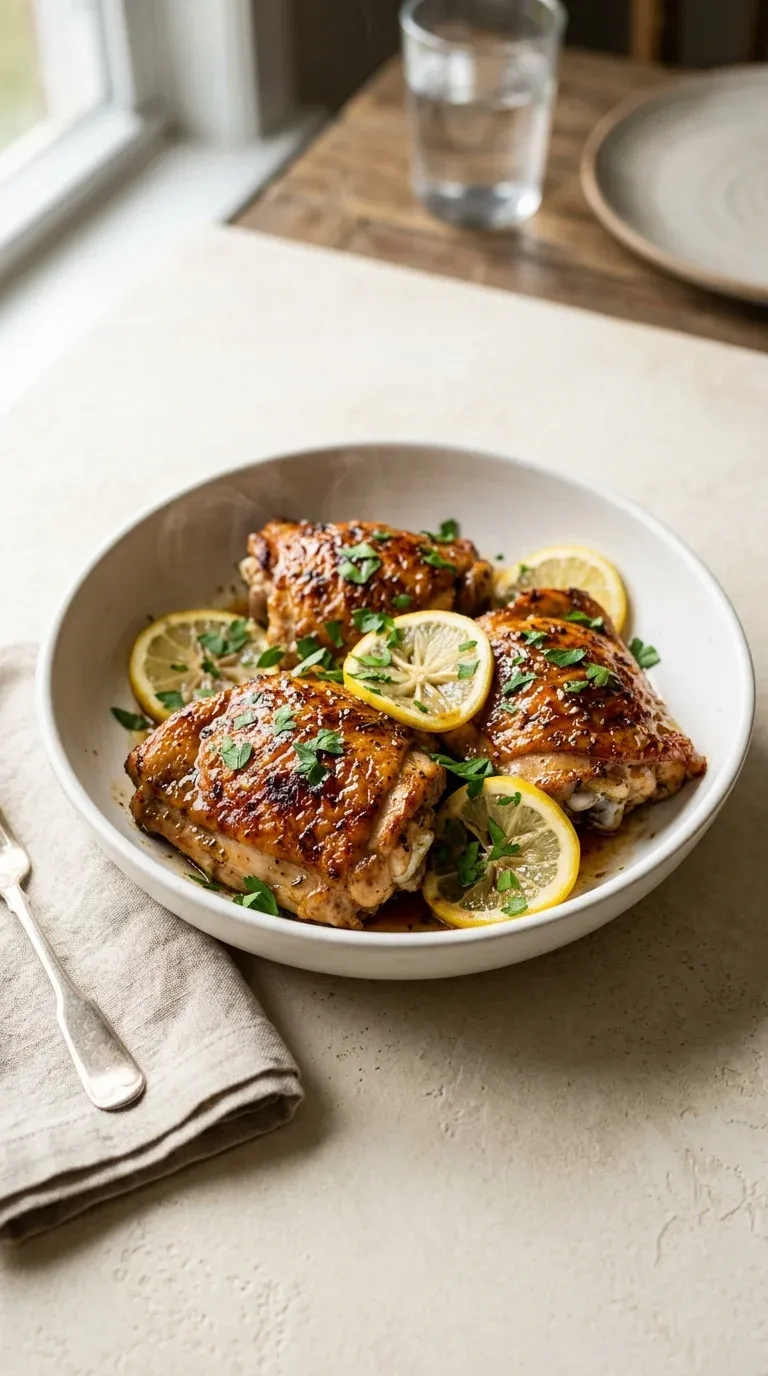
Oven Baked Chicken Thighs
Golden-brown skin meets a tender, savory interior. A simple dinner that tastes like it took all day. Pure comfort in every bite.
- Nora Faith
- Simple Suppers
- August 19, 2026
- 4 min read
- Updated November 5, 2026
- Total time
- 50 min
- Servings
- 6 Servings
- Difficulty:
- Easy
Table of contents
Well, look, there are some nights where you just can't handle a complicated recipe. I remember when I first started cooking for my own family, I used to overthink everything, but honestly, the simplest things usually bring the most peace. That's where these oven baked chicken thighs come in. There's just something about that moment when you pull the tray out and the smell of smoked paprika and garlic powder fills the whole room... wow, it just feels like home.
I mean, the secret is really in that little bit of honey and Dijon mustard. It creates this glaze that's just a touch sweet, and when you add those small pieces of unsalted butter at the end, ugh, the skin gets so wonderfully crisp. It's a quiet kind of magic, really. So, whether you're feeding a crowd or just looking for a little comfort, this is the dish that never lets you down.
The story behind it
The tradition of roasting chicken has long been the cornerstone of the family table across many cultures, symbolizing warmth and abundance. While the breast is often prized for its lean nature, the thigh has historically been favored by home cooks for its richness and resilience under heat. In many European households, roasting chicken was a Sunday ritual, where the slow rendering of fat created a depth of flavor that simpler cuts couldn't match.
Oven baked chicken thighs have evolved from humble rustic fare into a modern staple because they balance efficiency with luxury. The addition of ingredients like soy sauce and honey reflects a global influence, bringing a touch of umami and sweetness to a classic Western technique. It is a dish that bridges the gap between a formal roast and a quick weeknight meal.
Culturally, this style of cooking celebrates the 'low and slow' philosophy, even when adapted for a faster oven. The focus remains on the contrast of textures—the audible crunch of the skin against the tender meat—which has made this particular preparation a timeless favorite in kitchens everywhere.
Why You'll Love It
- Honestly, there is nothing like that golden, crackly skin that just gives way to the juiciest meat. I remember when I first started cooking for my family, this was the one dish that always made them quiet down and just enjoy their food.
- Well, look, it is just so simple to put together. You whisk up a little glaze and let the oven do all the heavy lifting while you take a breath and relax for a bit.
- The way the 1 tsp honey and 1 tbsp low-sodium soy sauce mingle... wow, it creates this subtle sweetness that feels like a warm hug on a rainy Tuesday evening.
- It's just so grounding to have a meal that feels fancy but is actually just 6 bone‑in, skin‑on chicken thighs on a baking sheet. Yeah, it's a real lifesaver for those busy weeknights.
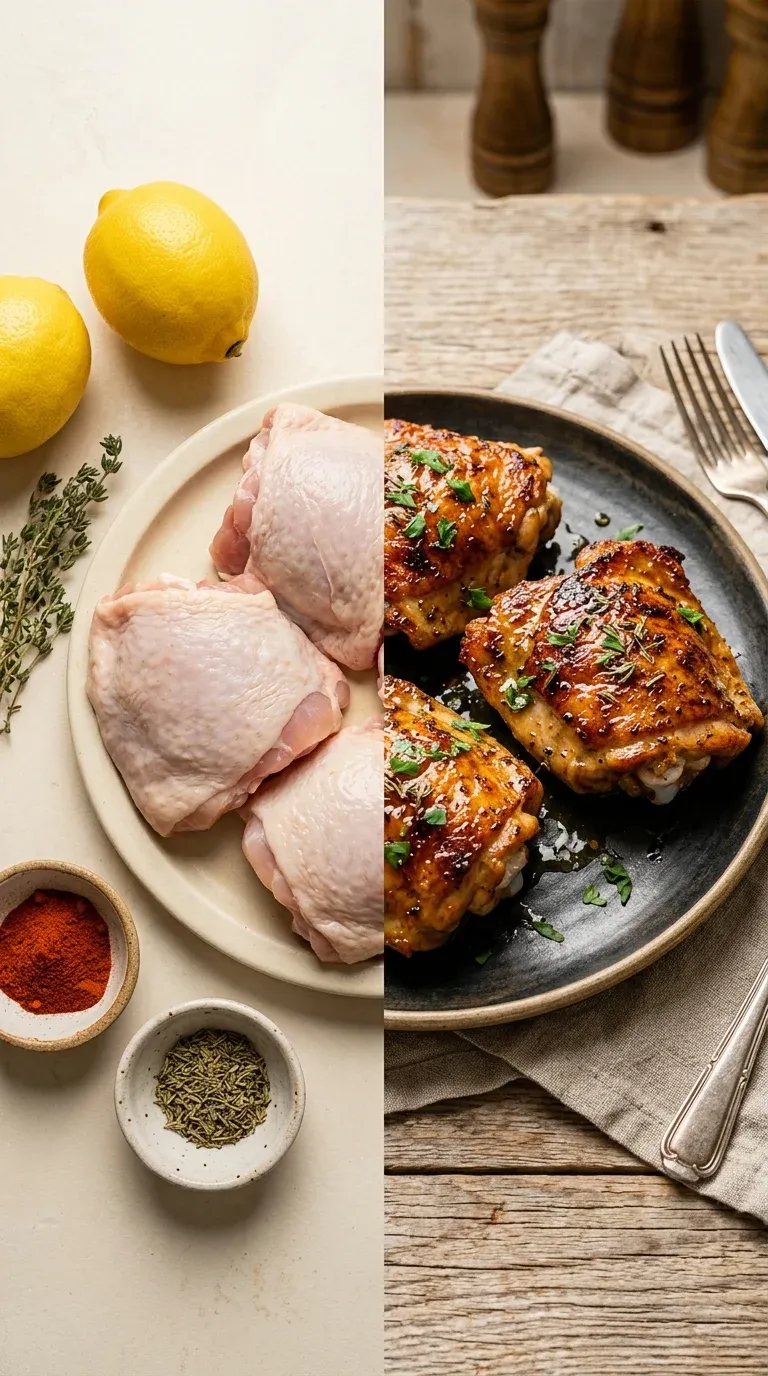
Tips for success
- Room Temperature, letting seasoned thighs sit for 10-15 minutes before baking improves skin texture.
- Internal Temp, always ensure the thickest part reaches 165°F (74°C) for safety.
- Butter Finish, adding butter at the end creates a professional-style crisp.
Professional secrets
- The addition of honey and soy sauce creates a caramelization effect that deepens the color.
- The high heat of 425°F is critical for rendering the fat in skin-on thighs.
- Using a meat thermometer removes the guesswork and prevents overcooking.
Common mistakes to avoid
- Crowding the pan, which prevents the skin from crisping.
- Skipping the drying step, leaving the skin soggy.
- Not letting the meat rest, causing the juices to escape.
Substitutions
- honey: maple syrup. Gives a slightly different, woodier sweetness.
- Dijon mustard: whole grain mustard. Adds a bit more texture to the glaze.
- extra-virgin olive oil: avocado oil. Works well due to its high smoke point.

Variations
- Spicy Cajun Oven Baked Chicken Thighs: For a bit of a kick, replace the paprika with 1 tsp Cajun seasoning, add ¼ tsp cayenne pepper, and boost the honey to 2 tsp to balance the heat.
- Herb‑Glazed Autumn Oven Baked Chicken Thighs: Bring in some seasonal flavors by using 2 tbsp of maple syrup instead of honey, adding 1 tbsp chopped rosemary, and finishing with a drizzle of balsamic glaze.
Storage
Refrigerate leftovers for longer storage; they can be safely kept at room temperature for up to 2 days if properly wrapped.
Make ahead
You can prepare the glaze in advance and store it in the fridge. For the chicken, it's best cooked fresh, but you can season them a few hours early.
Leftovers
Store cooked thighs in airtight containers in the fridge. Reheat gently in the oven to preserve the skin's crispness.
Serving ideas
- Pair with roasted carrots, parsnips, and Brussels sprouts.
- Serve alongside a bowl of creamy garlic mashed potatoes.
- Accompany with a crisp quinoa salad and lemon-yogurt dressing.
- Plate with a side of steamed green beans for a lighter touch.
Allergy information
Contains soy (low-sodium soy sauce), mustard (Dijon mustard), and dairy (unsalted butter).
Oven Baked Chicken Thighs
Golden-brown skin meets a tender, savory interior. A simple dinner that tastes like it took all day. Pure comfort in every bite.
- Prep time
- 15 min
- Cook time
- 35 min
- Total time
- 50 min
- Difficulty
- Easy
- Cuisine
- American
Ingredients
Main Ingredients
Savory Glaze
For Garnish
Instructions
- 1
First things first, go ahead and preheat your oven to 425°F (220°C). Now, look, the secret to that crunch is dry skin, so take a few paper towels and pat those chicken thighs really well until they're dry. It makes a world of difference, honestly.
- 2
In a small bowl, whisk together your 2 tbsp extra‑virgin olive oil, 1 tsp kosher salt, ½ tsp freshly ground black pepper, 1 tsp smoked paprika, 1 tsp garlic powder, 1 tsp dried thyme, 1 tsp honey, 1 tbsp low‑sodium soy sauce, and 1 tsp Dijon mustard. It'll turn into a lovely, savory glaze.
- 3
Now, just brush or rub that glaze generously over each thigh. Make sure you're getting both sides and even the undersurface—you don't want any naked spots, yeah?
- 4
Arrange the thighs skin‑side up on your baking sheet in a single layer. Give them a little breathing room so the heat can circulate; if they're too crowded, they won't crisp up quite as nicely.
- 5
Pop them in the oven for 20 minutes. Then, rotate the pan 180°—just to be safe—and bake for another 12–15 minutes. You're looking for golden brown skin and a meat thermometer reading of 165°F (74°C) in the thickest part.
- 6
Oops, almost forgot! During those last 5 minutes of cooking, scatter your 1 tbsp unsalted butter, cut into small pieces, around the thighs. They'll melt down and just help that skin get even crispier. Wow, the smell is wonderful.
- 7
Take the chicken out and let it rest for 5 minutes. I know it's tempting to dive in, but letting the juices redistribute keeps the meat so much more tender.
- 8
Move the thighs to a platter, sprinkle with 2 tbsp chopped fresh parsley, and tuck some thin lemon slices around them if you like. Serve them hot with whatever side you've got ready.
Nutrition per serving
- 480 kcal
- Calories
- 38 g
- Protein
- 7 g
- Carbs
- 32 g
- Fat
Tips & notes
- Patting the chicken dry is the most important step for a golden crust. - Rotating the pan ensures an even cook across all thighs. - Letting the meat rest prevents the juices from running out immediately.
Frequently asked questions
Can I use chicken breasts instead of thighs?
You can, but honestly, breasts cook much faster and can dry out. I really recommend sticking with thighs for that juicy, forgiving texture.
What if my chicken skin isn't getting crispy enough?
Oops, that happens sometimes! Just pop them under the broiler for the last 2 or 3 minutes, but keep a close eye on them so they don't burn.
How do I store the leftovers safely?
Just wrap them up and put them in the fridge. If you're planning to keep them longer, they freeze quite well in airtight bags for up to 3 months.