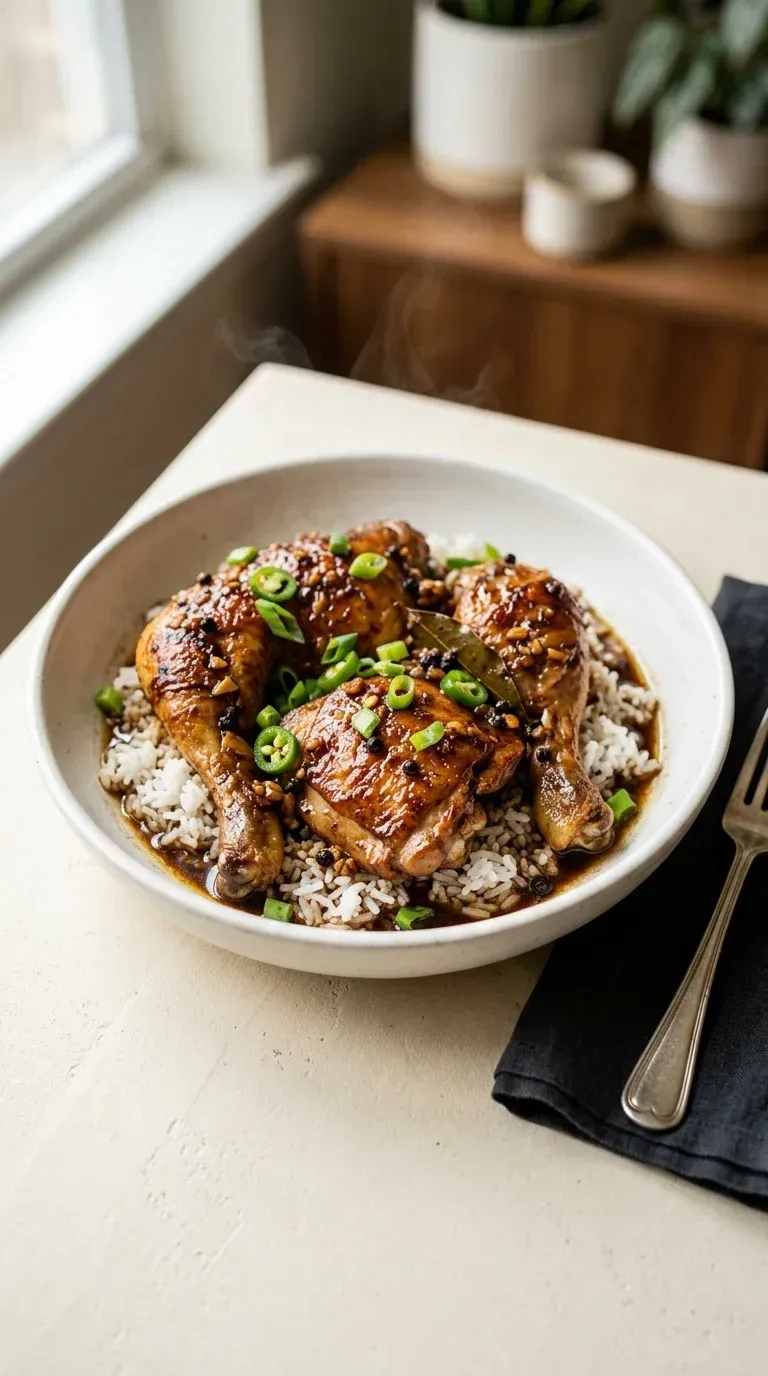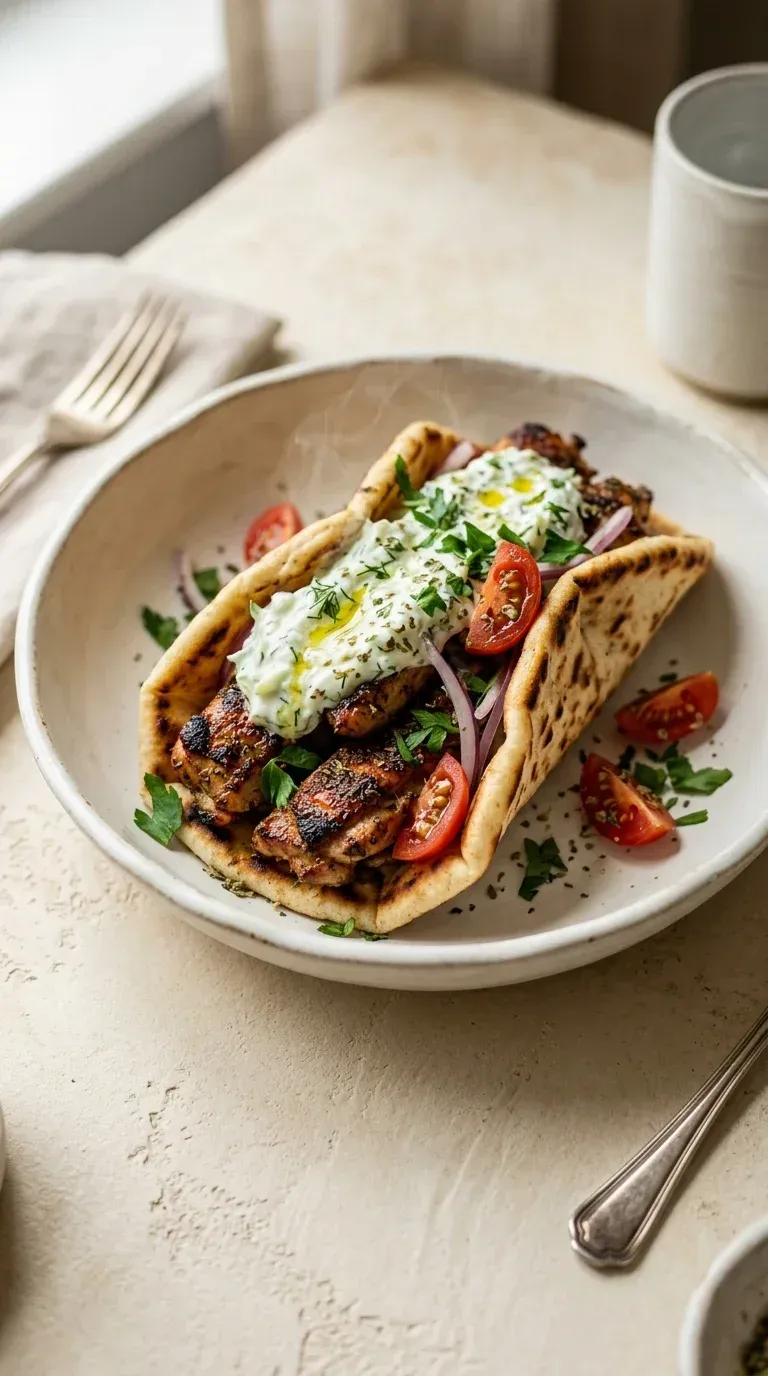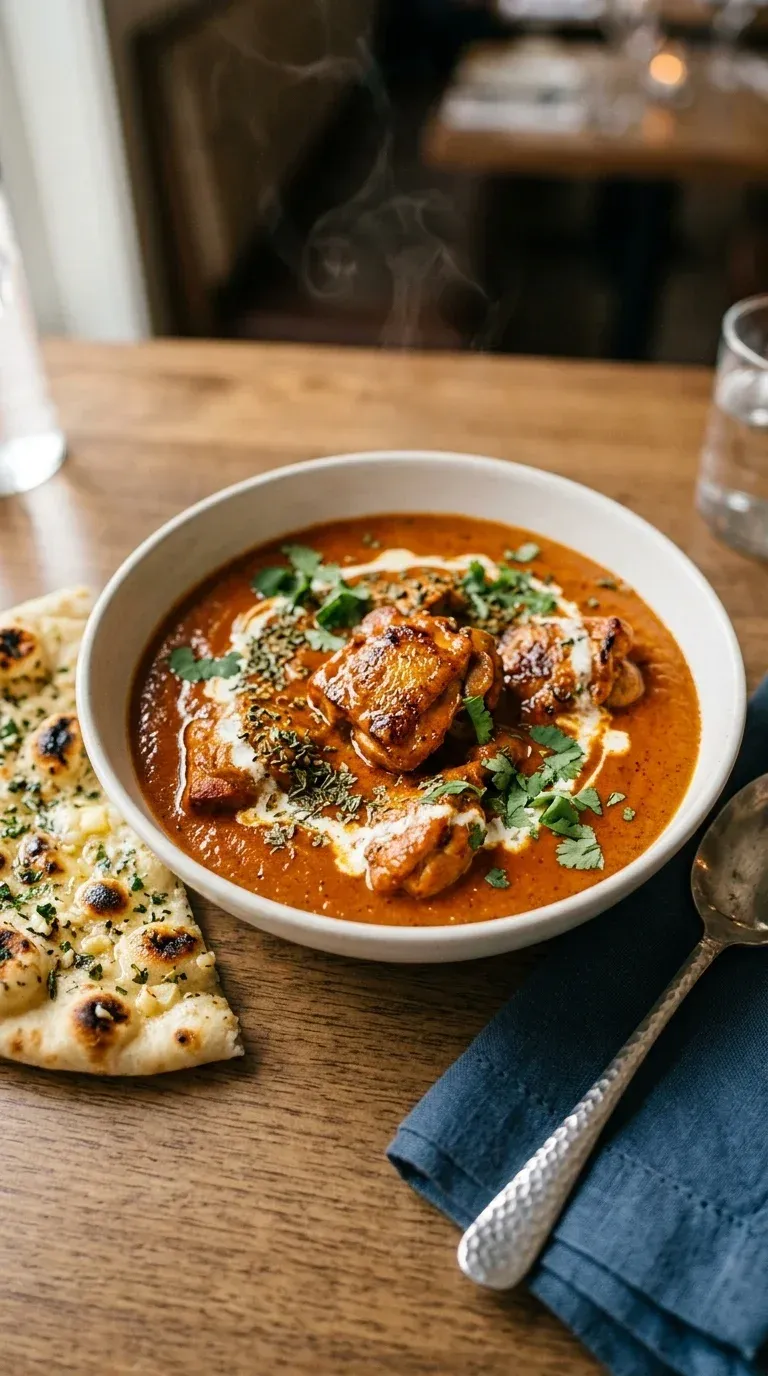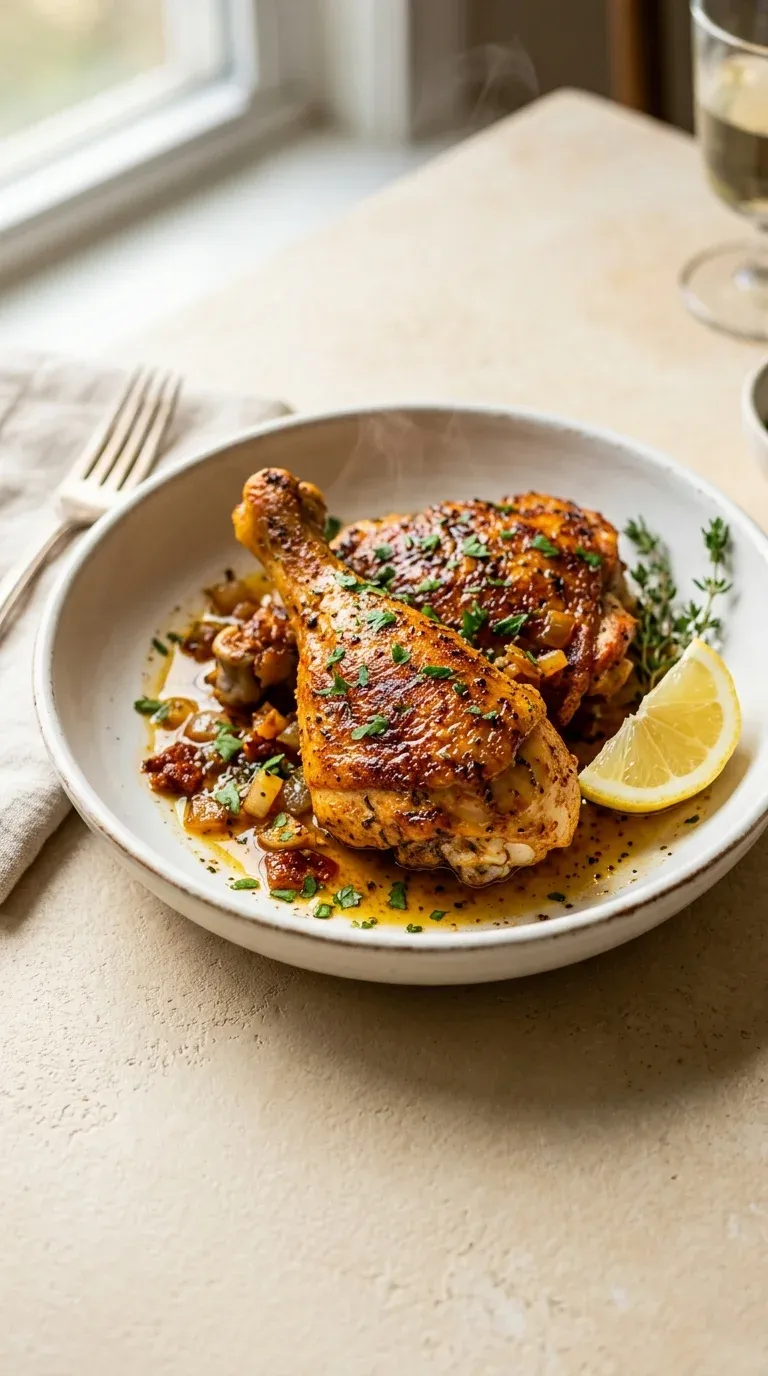
Paprika Chicken Recipe – Easy Warm Meal
Golden-brown skin and a deeply savory center. A simple dinner that doesn't skimp on flavor. Perfect for those chilly evenings.
- Amelia Rose
- Warm Meals
- August 24, 2026
- 3 min read
- Updated November 5, 2026
- Total time
- 30 min
- Servings
- 4 Servings
- Difficulty:
- Easy
Table of contents
I remember when I first started cooking for my family, I used to overthink everything. I thought a fancy dinner needed a dozen pots and pans, but honestly, the best nights were always the simplest. This paprika chicken is one of those recipes that just... works. There is something about the way 8 bone‑in, skin‑on chicken thighs sizzle in a skillet that just settles the nerves, you know?
So, you've got the earthy scent of sweet smoked paprika filling the air, and then that little splash of 1 tbsp fresh lemon juice hits the pan—wow, it just wakes everything up. It's a gentle process, really. Just rubbing the spices into the skin and letting the oven do the heavy lifting.
Yeah, it's not a gourmet feast, but it's honest. It's a warm meal that doesn't ask too much of you but gives back so much comfort. Look, we all have those days where we just need something reliable, and this is exactly that.
The story behind it
Paprika has long been the heartbeat of Hungarian and Spanish kitchens, turning humble ingredients into something vibrant and soulful. This paprika chicken draws from that tradition, utilizing the deep, woody notes of smoked peppers to create a rich crust that seals in moisture. It is a culinary bridge between the rustic countryside and the modern home table.
Historically, the use of bone-in cuts allowed families to stretch a meal further, ensuring that every bit of flavor was extracted during the slow roast. The marriage of warm spices like ground cumin and garlic powder evokes a sense of old-world comfort, where the pacing of a meal was meant to be slow and reflective.
In many cultures, a dish like this isn't just about sustenance; it is about the atmosphere of the hearth. The golden hue of the seasoned chicken represents a tradition of hospitality and warmth, proving that a few well-chosen spices can transform a basic protein into a celebrated centerpiece.
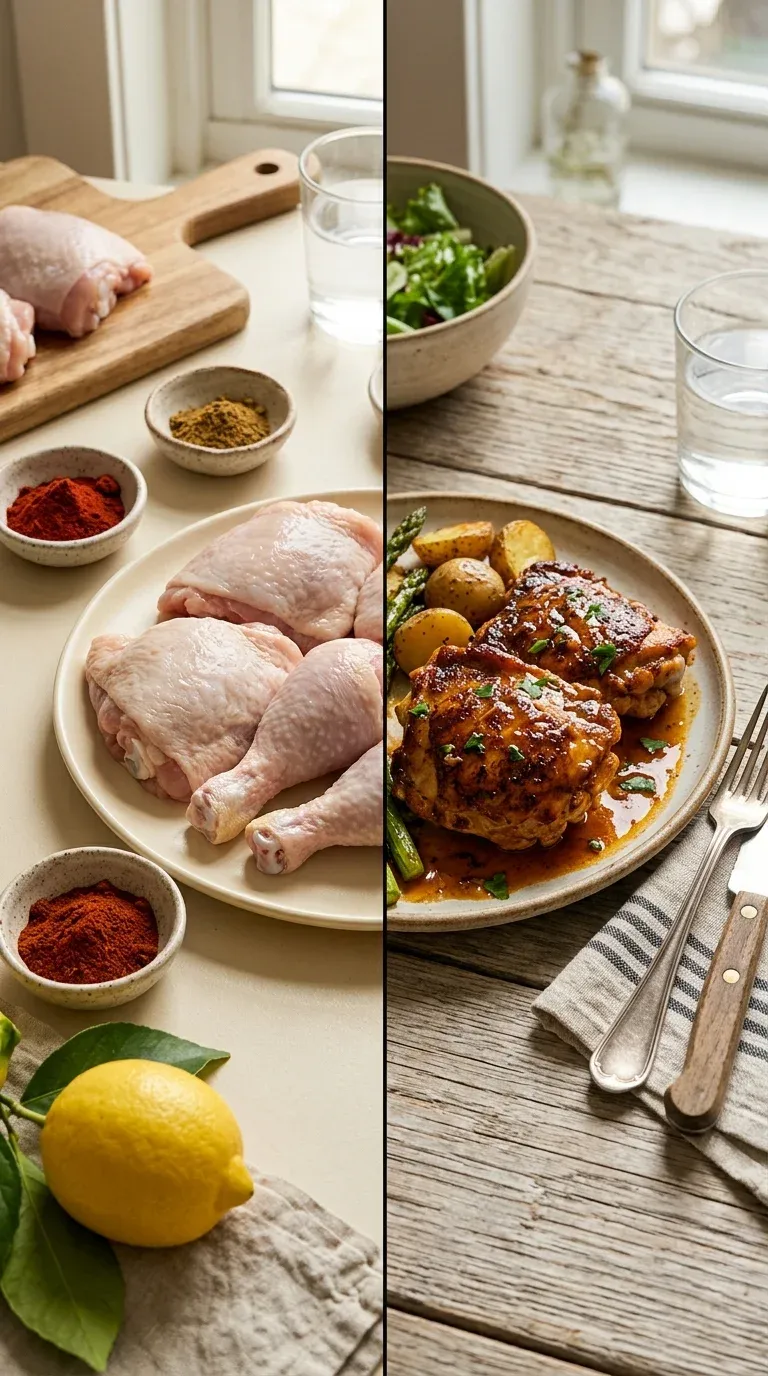
Why You'll Love It
- Honestly, there's something so comforting about the smell of sweet smoked paprika filling the kitchen; it just feels like a hug in a pan.
- I mean, look, the skin gets so wonderfully crisp while the inside stays juicy, which is just the best part of using bone-in, skin-on chicken thighs.
- It's just so simple to put together, so you aren't spending your whole evening hovering over the stove—you actually get to sit and breathe.
- Well, that little bit of fresh lemon juice at the end really wakes everything up, making the whole dish feel bright and polished.
Tips for success
- Dry the skin, a damp skin will steam instead of crisping up.
- Stick with bone-in thighs, because chicken breasts tend to dry out too quickly in this high heat.
- Direct to oven, moving the skillet straight from the stove to the oven seals in the moisture.
Professional secrets
- The searing process creates a Maillard reaction that deeply enhances the smoky paprika flavor.
- Adding butter to the pan drippings creates a simple but luxurious emulsion sauce.
- Using a high-heat finish at 400°F creates a contrast between the crisp exterior and juicy interior.
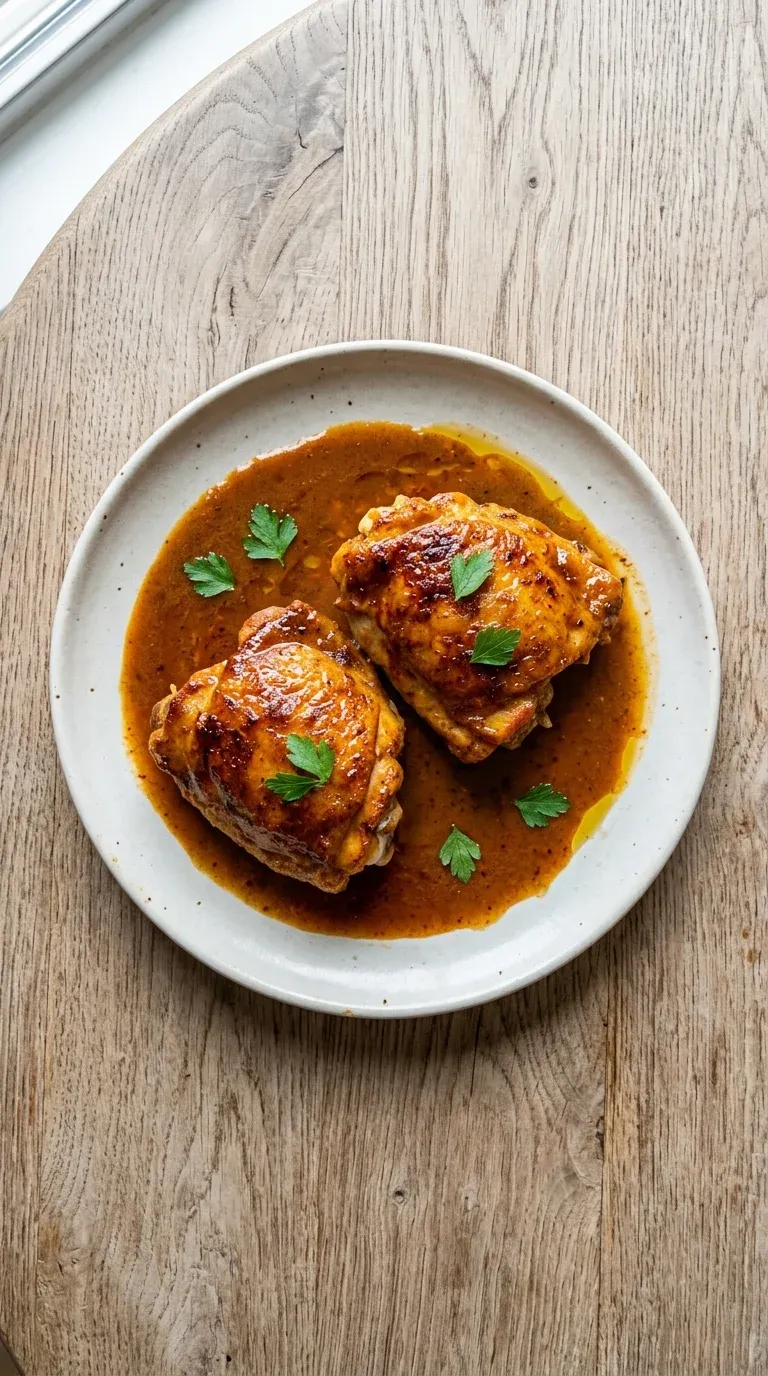
Common mistakes to avoid
- Searing wet chicken, which prevents the skin from getting crispy.
- Overcooking the thighs; always check the internal temperature.
- Crowding the pan, which leads to steaming rather than searing.
Substitutions
- Olive oil: Avocado oil. Works well for high-heat searing.
- Fresh lemon juice: Apple cider vinegar. Provides a similar acidity but with a slight sweetness.
Variations
- Spicy Paprika Chicken: For those who like a bit more kick, add 1 tsp of chipotle powder or a splash of hot sauce to your seasoning mix for a deeper, smoky heat.
- Herb‑Infused Paprika Chicken: If you want something a bit more Mediterranean, just replace that ½ tsp of cayenne with 1 tsp of dried thyme and 1 tsp of dried oregano.
Storage
Keep refrigerated in an airtight container. Do not leave at room temperature for more than 2 hours.
Make ahead
You can season the chicken a few hours in advance and keep it in the fridge, but be sure to pat the skin dry again right before searing.
Leftovers
Store in an airtight container in the freezer for up to 3 months. Thaw in the fridge and reheat gently to keep the meat from toughening.
Serving ideas
- Pair with roasted garlic potatoes for a hearty, classic dinner.
- Serve alongside steamed green beans for a touch of freshness.
- Drizzle every bit of the remaining pan sauce over the meat.
- Add a fresh lemon wedge on the side for a zesty final touch.
Allergy information
Contains poultry. Naturally gluten-free. May contain dairy if butter is used in the optional pan sauce.
Paprika Chicken Recipe – Easy Warm Meal
Golden-brown skin and a deeply savory center. A simple dinner that doesn't skimp on flavor. Perfect for those chilly evenings.
- Prep time
- 10 min
- Cook time
- 20 min
- Total time
- 30 min
- Difficulty
- Easy
- Cuisine
- American
Ingredients
Chicken and Seasoning
Finishing Touches
Instructions
- 1
First things first, take a few paper towels and gently pat those chicken thighs dry. Honestly, it's a small step, but it's the only way to get that skin really crisp.
- 2
In a little bowl, stir together your sweet smoked paprika, cumin, garlic powder, onion powder, that optional pinch of cayenne, sea salt, and freshly ground black pepper. It smells wonderful already, doesn't it?
- 3
Now, just rub that seasoning mix all over the chicken thighs. Be thorough—make sure you cover both the skin and the flesh so every bite is flavorful.
- 4
Go ahead and preheat your oven to 400°F (200°C). This gets the heat ready for the finish.
- 5
Heat the olive oil in your skillet over medium‑high heat. Once it's shimmering—look for those little ripples—place the chicken thighs skin side down. Sear them for about 5 minutes until the skin is a beautiful golden brown.
- 6
Carefully flip the thighs over, pour in the fresh lemon juice—wow, the aroma is great here—and slide the whole skillet right into the oven.
- 7
Bake for 20 minutes. I always use a meat thermometer in the thickest part to make sure it hits 165°F (74°C). No guessing allowed!
- 8
Take the skillet out and let the chicken rest on a platter for about 5 minutes. I know it's tempting to dive in, but this just locks in all those lovely juices.
- 9
If you're feeling fancy, you can pour a bit of the pan sauce into a small pot over low heat, whisk in a teaspoon of butter for a bit of richness, and drizzle it over the top. Oops, I almost forgot to mention how good that is!
- 10
Sprinkle on some chopped fresh parsley and serve it up while it's hot with whatever sides you've picked out.
Nutrition per serving
- 380 kcal
- Calories
- 34 g
- Protein
- 6 g
- Carbs
- 24 g
- Fat
Tips & notes
- The lemon juice added right before the oven helps deglaze the pan and brightens the flavor. - Using bone-in thighs ensures the meat stays tender throughout the roasting process. - A resting period is essential for a juicy result.
Frequently asked questions
Can I use chicken breasts instead of thighs?
You can, but they tend to dry out much faster. If you do, just keep a very close eye on them with your meat thermometer.
What if I don't have an oven-safe skillet?
No worries! Just sear the chicken in your regular pan and then carefully transfer them to a baking dish before popping them in the oven.
How do I store leftovers?
Just put them in an airtight container in the fridge. You can even freeze them for up to 3 months, just be sure to thaw them in the fridge first.