Perfect New York Cheesecake No Water Bath
Skip the fuss and the steam. Get a rich, bakery-style finish with a simple method. Pure, creamy indulgence in every bite.
- Lila Grace
- Sweet Treats
- September 14, 2026
- 4 min read
- Updated November 5, 2026
- Total time
- 1 h 25 min
- Servings
- 12 Servings
- Difficulty:
- Easy
Table of contents
Well, look, I've always loved a good cheesecake, but honestly, the idea of hauling a heavy pan of water into the oven always felt like a bit much for a Tuesday. I remember when I first started baking, I was so terrified of those little cracks appearing on top—ugh, it felt like such a failure, you know? But over the years, I've found my way around it, and this perfect New York cheesecake no water bath is just... yeah, it's the one.
There is something so grounding about the smell of graham cracker crumbs and melted butter filling the kitchen. It's a slow kind of magic. I love the way the 32 oz cream cheese feels when it's perfectly softened, mixing into that glossy, airy batter. It's a quiet process, really, just folding in the sour cream and lemon zest until everything feels just right.
So, if you're looking for that dense, rich texture we all crave but want to keep things simple, this is it. Just a little patience while it chills overnight, and wow, the first slice is always the best part.
The story behind it
The New York cheesecake is more than just a dessert; it is a symbol of American indulgence that evolved from the classic cream cheesecakes of the early 20th century. While cheesecake roots stretch back to ancient Greece, the specific 'New York style' became legendary for its heavier density and richness, achieved by using a higher ratio of cream cheese and often adding sour cream for a distinct, tangy depth.
Culturally, these cakes became staples of the bustling city's Jewish delis and bakeries, where they were served as decadent finales to hearty meals. The pursuit of the perfect, crack-free surface has long been a point of pride for home bakers, leading to various techniques to manage oven heat.
Today, the perfect New York cheesecake no water bath represents a modern shift toward accessibility without sacrificing tradition. It preserves that iconic, creamy weight and sophisticated flavor profile while removing the technical stress of a bain-marie, allowing the focus to remain on the luxurious marriage of cream, sugar, and citrus.
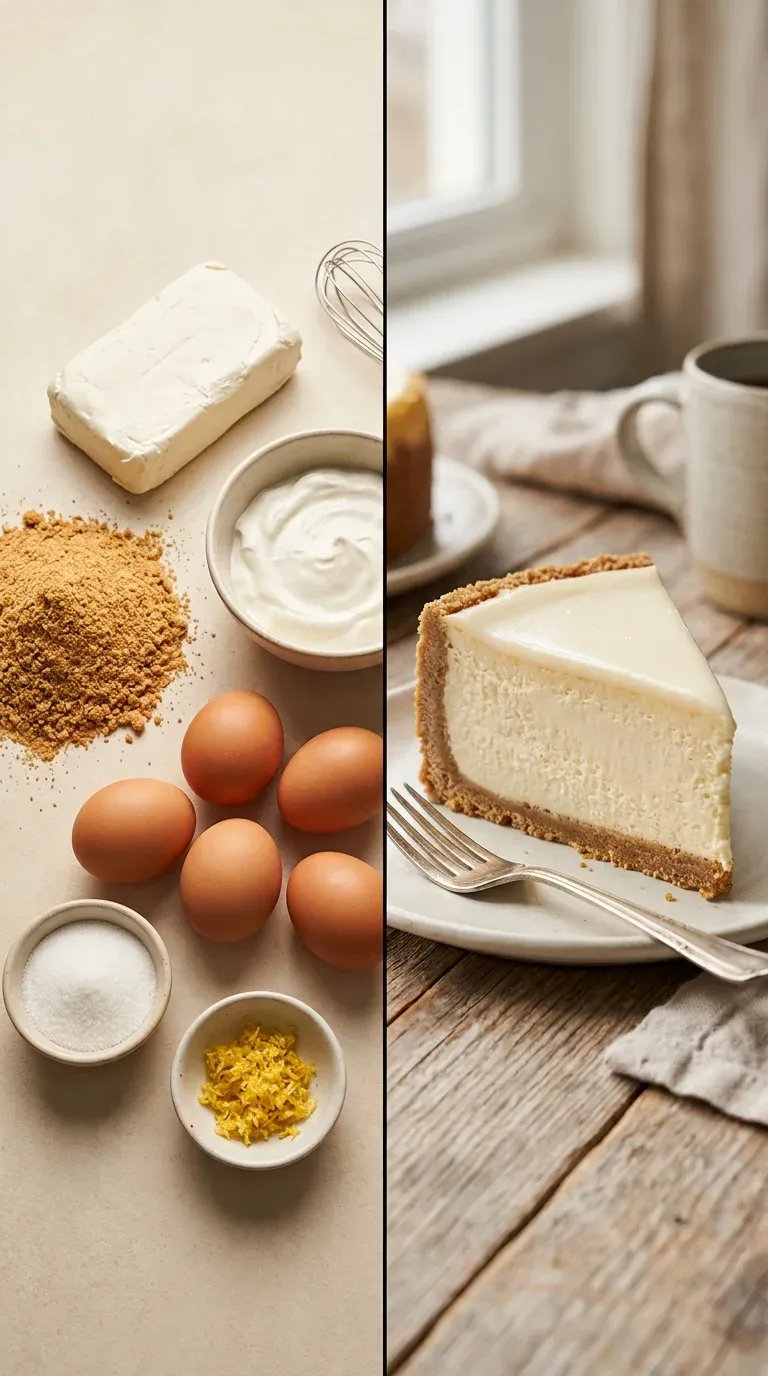
Why You'll Love It
- Honestly, the best part is skipping that fussy water bath; it's just so much simpler but you still get that creamy, dense New York style we all crave.
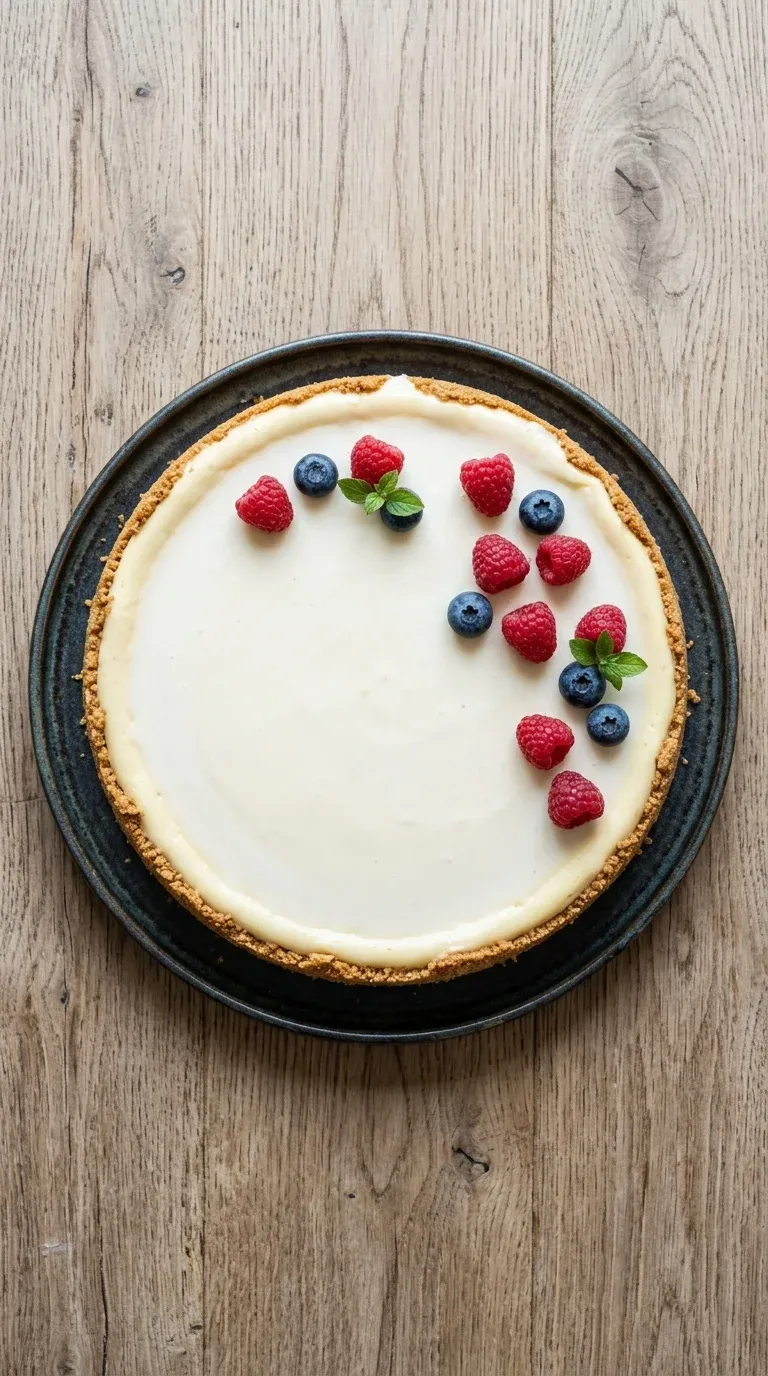
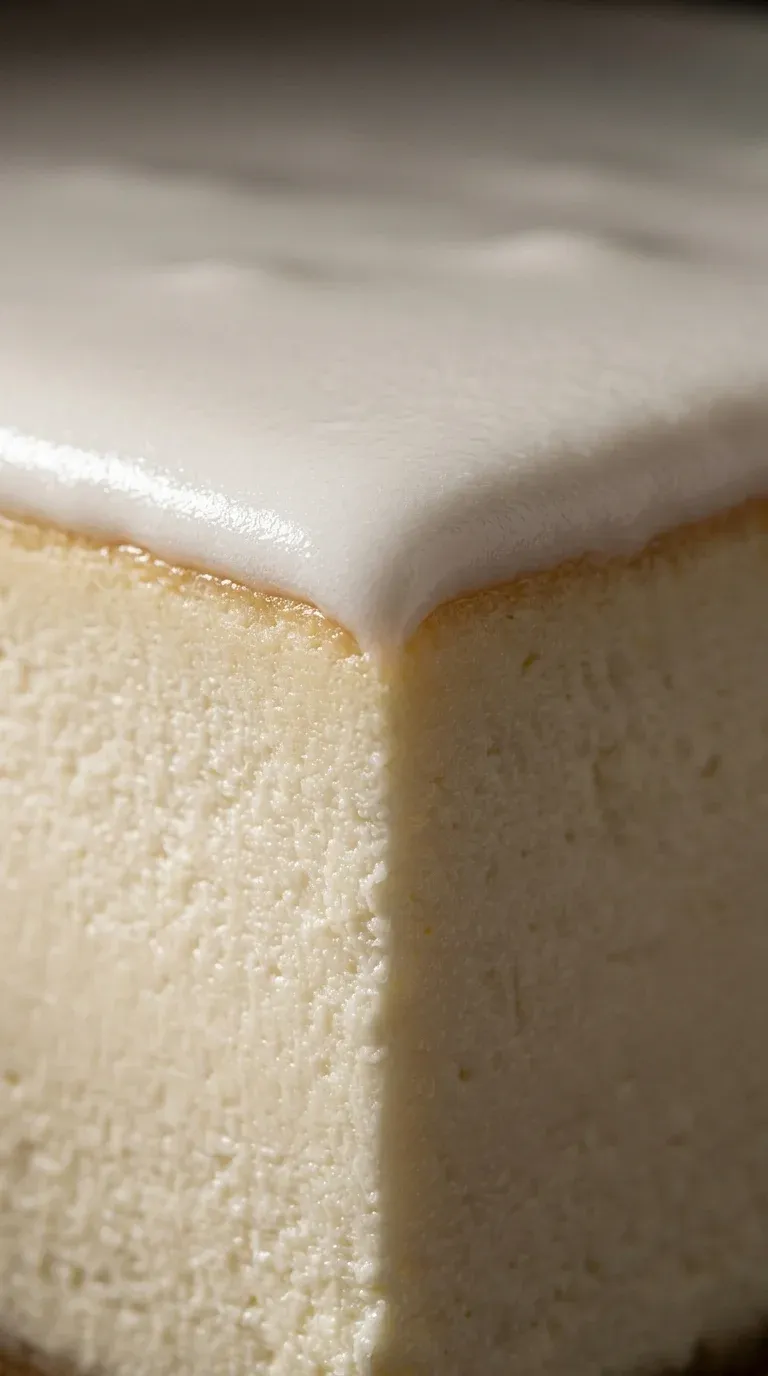
- I love how the thin sour-cream topping adds a little tang that just cuts through the richness, wow, it's really the perfect balance.
- There's something so grounding about the smell of 1 teaspoon vanilla extract and lemon zest wafting through the kitchen while it bakes.
- Well, look, it's just a classic. It feels like a hug in a dessert, especially when you see that smooth, crack-free top.
Tips for success
- Room-temperature eggs, prevents lumps and ensures an even texture.
- The batter tap, tapping the pan on the counter releases air bubbles that cause holes.
- The door-ajar method, cooling slowly at 200°F prevents the top from cracking.
Professional secrets
- The Batter Ring, run a spoonful of batter around the edge after putting it in the oven to create a flatter top.
- The Jiggle Test, baking until the center still tremors ensures the cake stays creamy and doesn't dry out.
- The Overnight Chill, allowing the cake to set for 24 hours deeply develops the rich New York density.
Common mistakes to avoid
- Over-whisking the eggs, which introduces too much air and can cause cracks.
- Baking until the center is firm, which leads to an overcooked, dry cake.
- Removing the cake from the oven too quickly, causing a temperature shock.
Substitutions
- Graham cracker crumbs: Digestive biscuit crumbs. Works perfectly for a similar buttery crust.
- Sour cream: Greek yogurt. Provides a similar tang, though slightly thicker.
Variations
- Lemon Swirl Cheesecake: For a bit of a citrus zing, whisk 1/4 cup lemon curd into the batter before baking, then use a toothpick to create a pretty swirl.
- Chocolate Fudge Cheesecake: Make it decadent by folding 1 cup melted dark chocolate into the batter and topping it with a silky chocolate ganache after it's chilled.
Storage
Keep in a covered container in the fridge for up to 2 days, or freeze for up to 3 months.
Make ahead
This is actually better when made ahead. I recommend baking it the day before and letting it chill overnight in the fridge.
Leftovers
Keep the cheesecake in a covered container in the fridge for up to 2 days. If freezing, wrap it tightly in plastic wrap and then an airtight container for up to 3 months.
Serving ideas
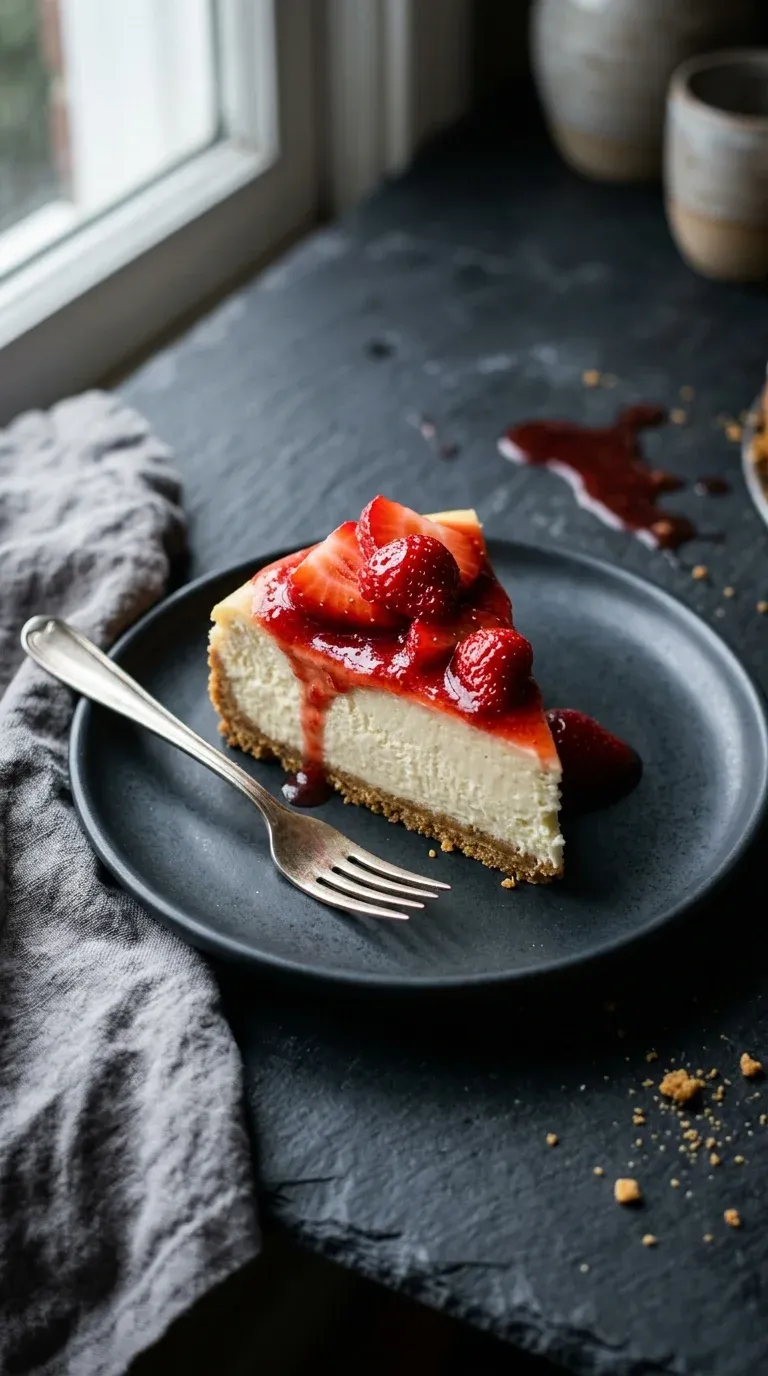
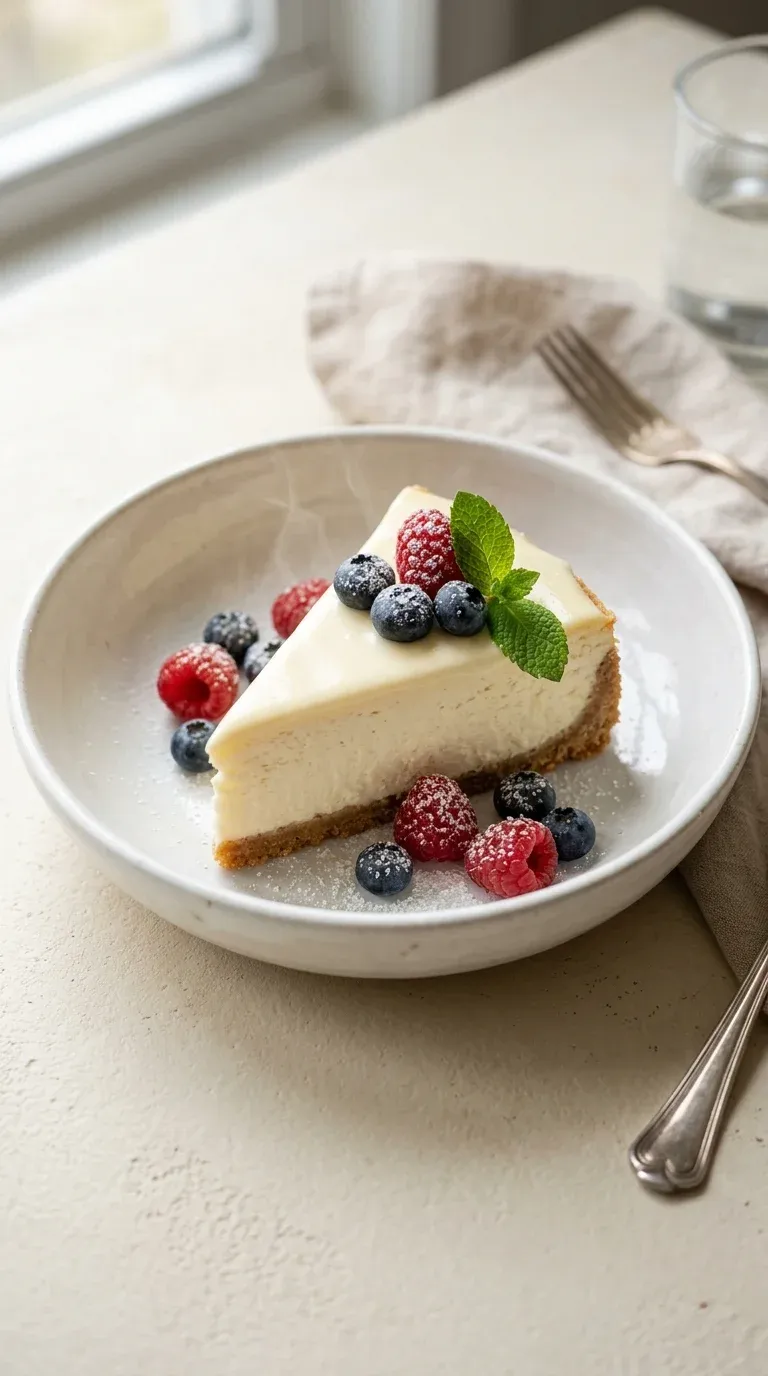
- Top each slice with fresh berries and a drizzle of honey
- Dust with a light sprinkle of powdered sugar and a dollop of whipped cream
- Serve alongside a chilled glass of sparkling wine
- Add a few slices of fresh strawberry and a mint leaf for a summery look
Allergy information
Contains dairy, wheat, and eggs.
Perfect New York Cheesecake No Water Bath
Skip the fuss and the steam. Get a rich, bakery-style finish with a simple method. Pure, creamy indulgence in every bite.
- Prep time
- 30 min
- Cook time
- 55 min
- Total time
- 1 h 25 min
- Difficulty
- Easy
- Cuisine
- American
Ingredients
The Crust
The Filling
The Topping
Instructions
- 1
First things first, preheat your oven to 325°F (162°C). Take your 9‑inch springform pan and lightly grease the bottom with some butter or a bit of non‑stick spray—just to be safe, yeah?
- 2
In a medium bowl, stir together your graham cracker crumbs, 1/4 cup sugar, and that melted butter. You're looking for it to be uniformly moist, kind of like wet sand. Now, press those crumbs firmly into the bottom of the pan and let them go up the sides about 1/2 inch.
- 3
Pop that crust into the refrigerator for about 10 minutes. It just needs a little moment to set while we get the filling ready.
- 4
Using your hand mixer on medium speed, beat the softened cream cheese until it's completely smooth and lump‑free. Gradually add in the 1 1/4 cups granulated sugar, and keep beating it for about 2–3 minutes until it looks all glossy and airy. Wow, it smells great already.
- 5
Gently fold in 1 cup sour cream, 1 teaspoon vanilla extract, and the lemon zest. Just mix until it's combined—no need to overdo it here.
- 6
Add your eggs one at a time, beating lightly after each one. Be careful not to over‑whisk; the batter should be thick, but still pourable. I mean, we want it creamy, not bubbly.
- 7
Pour that lovely filling over your chilled crust. Give the pan a few gentle taps on the counter to get rid of any air bubbles, and then smooth the top out with an offset spatula.
- 8
Bake it in the oven for 50 minutes. You'll know it's ready when the edges are set but the center still has a slight tremor when you jiggle the pan. Just look out for any browning; we don't want to over‑bake this beauty.
- 9
Once the timer goes off, turn the oven down to 200°F (93°C). Leave the cheesecake inside with the door cracked open just a bit for 60 minutes. This lets it cool gradually, which honestly is the secret to avoiding those pesky cracks.
- 10
Move the cake to the refrigerator to chill for at least 4 hours, though I'd suggest overnight if you can wait. Just before you serve, whisk together 1 cup sour cream, 2 tbsp granulated sugar for topping, and 1/2 teaspoon vanilla extract for topping, then spread it thin over the top. Chill it for one last 30 minutes to set.
Nutrition per serving
- 375 kcal
- Calories
- 6 g
- Protein
- 24 g
- Carbs
- 28 g
- Fat
Tips & notes
- Using room-temperature eggs makes the batter much smoother. - The gradual cooling process in the oven is essential for a crack-free surface. - If the center feels a bit soft after the initial chill, just give it another hour in the fridge.
Frequently asked questions
My cheesecake has a little crack on top, is it ruined?
Oh goodness, no! That's why we have the sour-cream topping; it hides everything and tastes wonderful, so don't even worry about it.
Can I use a different kind of crust?
You certainly can, though the 1 3/4 cups graham cracker crumbs give that classic taste. Just make sure you press it in well with the melted butter.
How do I know when it's actually done baking?
Look for the edges to be set, but the center should still have a slight tremor when you jiggle the pan—like a little bit of a wobble, yeah.