Roast Turkey Recipe: Perfectly Cooked Holiday Meal
A simple, foolproof roast turkey recipe for a perfectly juicy and flavorful holiday meal. This guide ensures a beautifully golden-brown bird that will be the star of your table.
- Amelia Rose
- Warm Meals
- December 13, 2025
- 6 min read
- Updated November 5, 2026
- Total time
- 3 h 55 min
- Servings
- 8 Servings
- Difficulty:
- Medium
Table of contents
There’s a certain kind of quiet that settles over the house when a turkey is in the oven. It’s a warm, heavy silence, punctuated only by the gentle hum of the kitchen and the occasional timer beep. This recipe is all about capturing that feeling—the anticipation, the incredible aroma of roasting herbs and butter, the promise of a table surrounded by loved ones. Roasting a turkey can feel like a huge undertaking, I know, but I want to show you how simple and, honestly, how peaceful the process can be. This isn't about complicated techniques; it's about good ingredients, a little patience, and the joy of creating a beautiful centerpiece for your holiday meal.
The story behind it
I remember standing on a little step stool in my grandmother’s kitchen, the air thick with the scent of sage and melting butter. She had this enormous, speckled blue roasting pan that seemed to weigh a ton, and she’d let me help her mix the softened butter with handfuls of herbs from her garden. Her hands, so gentle and knowing, would show me how to carefully lift the turkey skin and tuck the butter mixture underneath. She’d always say, 'This is the secret, my dear. This is where the flavor lives.' That memory is so vivid—the feel of the cool, smooth skin, the earthy smell of the herbs, the warmth radiating from the oven. For me, roasting a turkey isn't just about cooking; it's a tradition, a connection to those moments. It’s one of those true family favorites that carries so much love with it.
Why You'll Adore This Recipe
- Incredibly Juicy & Flavorful: The real magic here is the herb butter that gets tucked right under the skin. It melts as the turkey roasts, basting the meat from the inside out and keeping it unbelievably moist and tender. Every single bite is infused with the cozy flavors of rosemary, sage, and thyme. It’s a simple step that makes a world of difference.
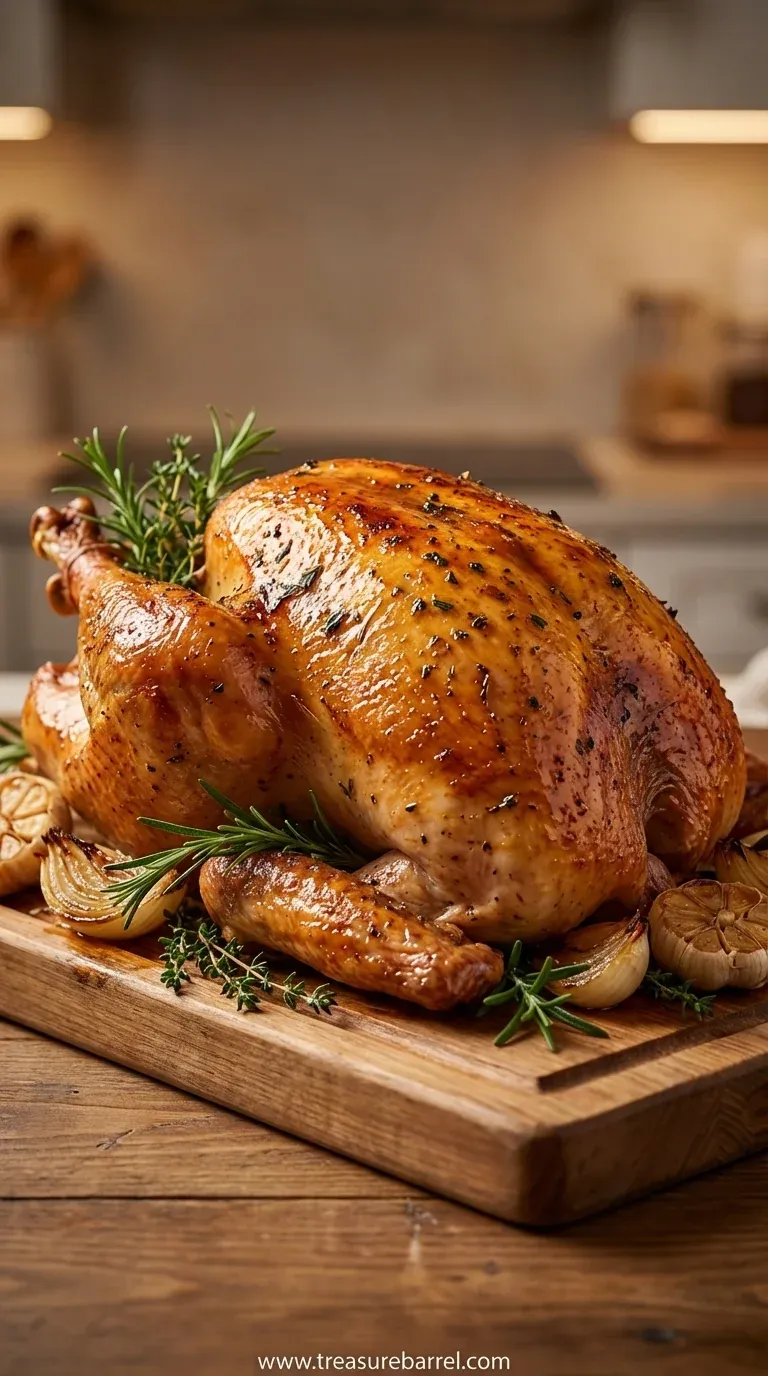
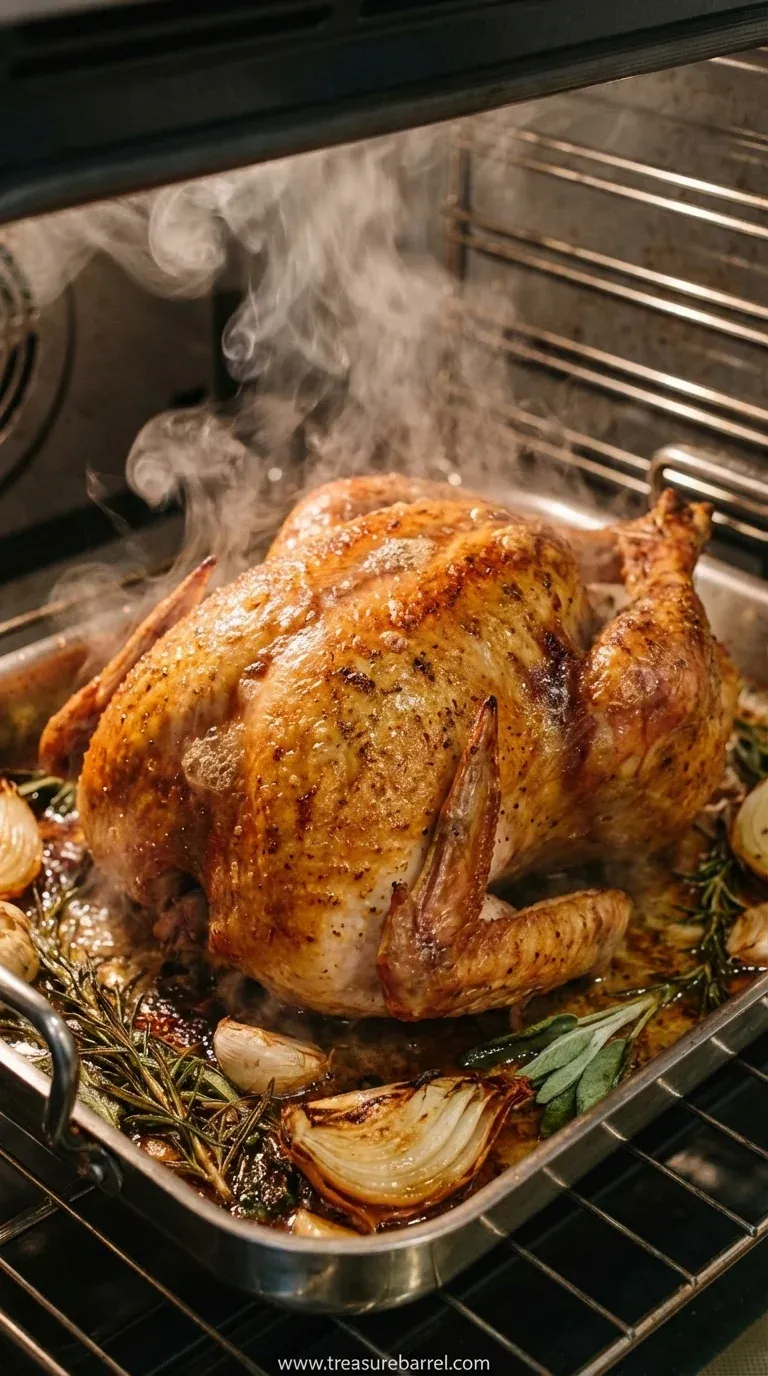
- Beautifully Golden-Brown Skin: We start the oven hot to give the skin a head start on crisping up, then lower the temperature for a slow, even roast. The result is this gorgeous, deeply golden, and shatteringly crisp skin that everyone fights over. It’s that picture-perfect holiday bird you always dream of.
- Surprisingly Simple & Stress-Free: Look, I know a whole turkey can be intimidating, but this recipe strips away all the fuss. There’s no brining, no complicated trussing, just a few core steps that are easy to follow. It’s designed to give you confidence in the kitchen so you can actually enjoy the day. It proves that showstopping meals don't have to be stressful.
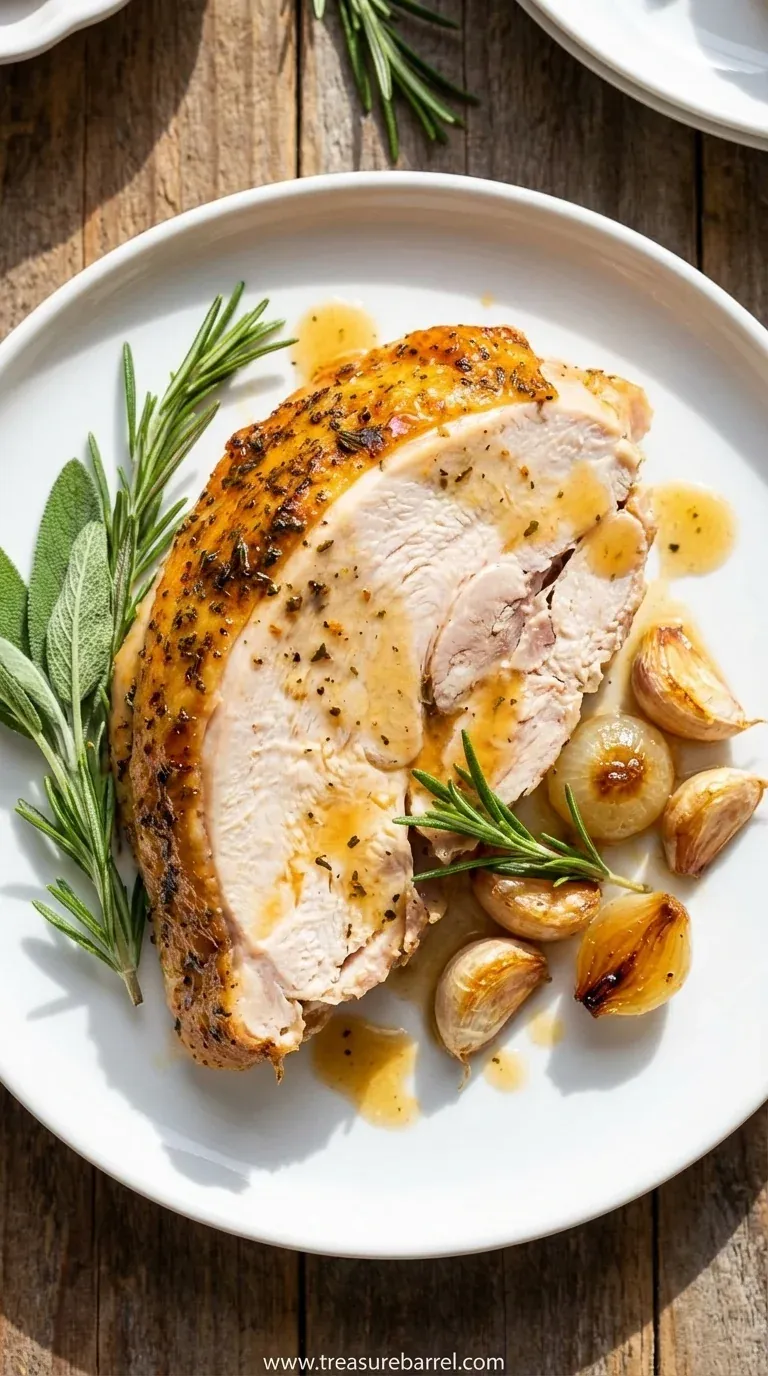
- The Ultimate Holiday Centerpiece: There is nothing quite like the moment you bring a perfectly roasted turkey to the table. The steam, the color, the aroma—it’s pure magic and instantly makes any gathering feel special. This recipe delivers that 'wow' moment every single time, making it one of those cozy classics people will remember for years.
Tips for success
- Pat the Skin Dry: I know I've said it a few times, but it's the most important tip for crispy skin. Use plenty of paper towels and get it as dry as you possibly can before applying the butter.
- Don't Open the Oven Door Too Much: Every time you open the oven, the temperature drops significantly. Try to limit opening it to only when you need to baste the turkey to maintain a consistent cooking environment.
- Resting is Non-Negotiable: Seriously, don't skip the resting period. A minimum of 20 minutes is essential for a juicy, flavorful turkey. This step allows the juices to redistribute throughout the meat.
Professional secrets
- Butter Under the Skin: This is the key difference between a good turkey and a great turkey. It self-bastes the breast meat, which is the leanest and most prone to drying out, ensuring it stays incredibly moist.
- Aromatics in the Cavity: Stuffing the cavity with lemon, onion, and herbs doesn't just flavor the bird from the inside; it releases aromatic steam that perfumes the meat as it roasts.
- Start Hot, Then Go Low: Searing the turkey at a high temperature initially helps to render fat and kickstart the browning of the skin. Reducing the heat allows the meat to cook gently and evenly all the way through.
Common mistakes to avoid
- Cooking a Partially Frozen Turkey: This is a recipe for disaster. It will cook unevenly, leaving some parts raw and others dry. Always ensure it's fully thawed.
- Forgetting to Pat it Dry: A wet turkey will steam, not roast. This prevents the skin from getting that beautiful, crispy texture.
- Skipping the Resting Step: This is the number one mistake! Carving the turkey too soon causes all the delicious juices to run out onto the cutting board, resulting in dry meat.
- Relying on Time, Not Temperature: Ovens vary, and so do turkeys. The only way to know for sure if it's done is by using a meat thermometer.
- Overbasting: While basting is good, opening the oven door too frequently lets all the heat out and can significantly increase your cooking time. Stick to every 45 minutes.
Substitutions
- Unsalted Butter: Olive Oil or Dairy-Free Butter. For a dairy-free option, a good quality olive oil or a dairy-free butter spread works beautifully. The skin might not get as deeply brown, but it will still be crispy and delicious.
- Fresh Herbs: Dried Herbs. If you can't find fresh herbs, you can use dried. Remember the ratio is about 1 teaspoon of dried for every 1 tablespoon of fresh. The flavor will be a little more subtle, but still lovely.
Variations
- Citrus & Herb Version: For a brighter flavor, add the zest of two oranges and one lemon to the herb butter. Stuff the cavity with quartered oranges along with the lemon and onion.
- Smoked Paprika & Garlic Version: Give your turkey a beautiful smoky color and flavor by adding 2 tablespoons of smoked paprika and a few extra cloves of garlic to the butter mixture.
Storage
After the feast, leftovers are one of the best parts! Once the turkey has cooled down, carve all the remaining meat off the bones. Store the meat in airtight containers or resealable bags in the refrigerator for up to 4 days. I like to add a splash of broth or a little bit of gravy to the container to help keep the meat moist when I reheat it. For longer storage, you can freeze the cooked turkey for up to 3 months.
And please, don't throw away that carcass! It's packed with flavor and is perfect for making a rich, homemade turkey stock the next day. Just place the bones in a large pot, cover with water, add some vegetable scraps, and let it simmer for a few hours. This beautiful stock can be the base for so many wonderful soups, just like a comforting chicken stew.
Make ahead
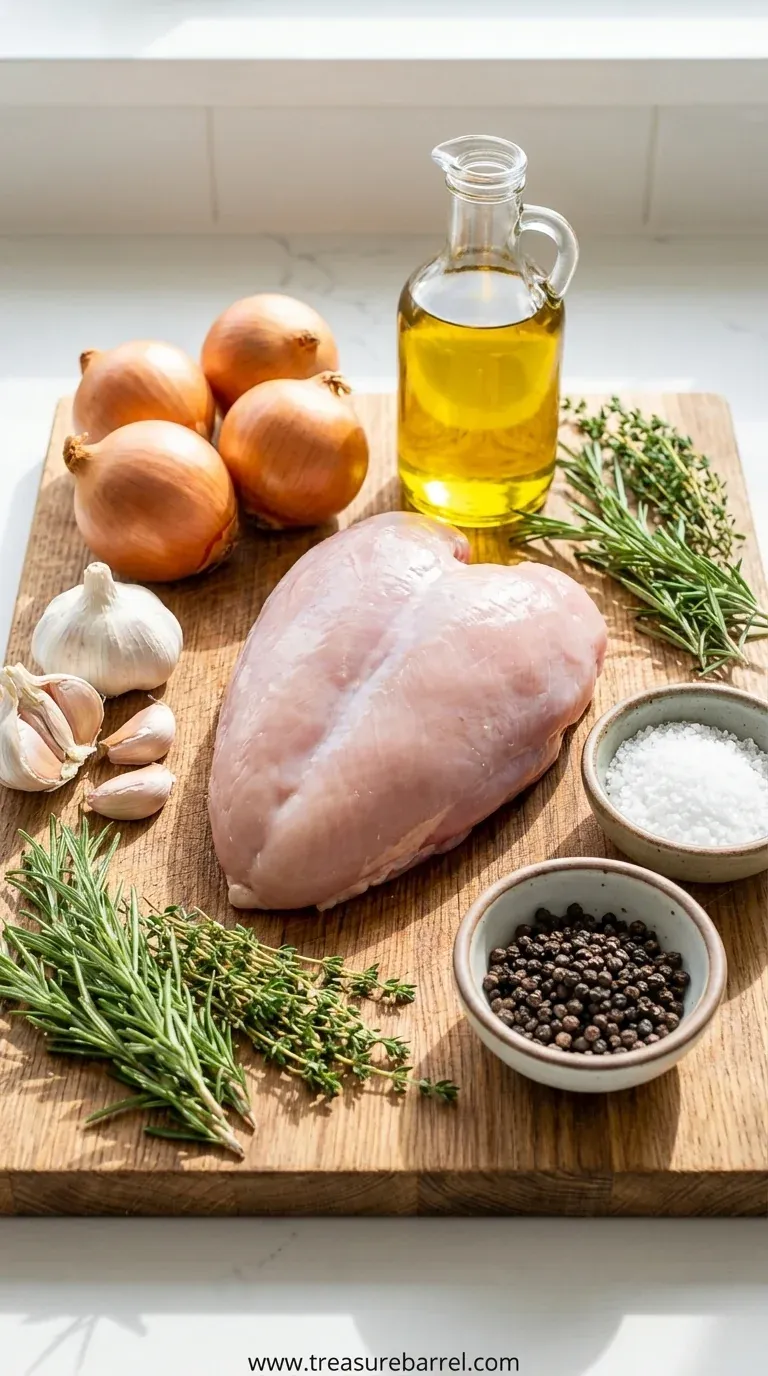
You can absolutely get a head start to make the day of cooking feel more relaxed. The herb butter can be prepared up to 3 days in advance and stored in an airtight container in the refrigerator. Just let it soften on the counter before you need to use it. You can also chop your vegetables for the roasting pan a day ahead. I wouldn't recommend seasoning the turkey itself too far in advance, as it can draw out moisture.
Leftovers
Leftover turkey is a true gift! It makes the most amazing sandwiches with cranberry sauce and a little mayo. I also love to shred it and add it to soups or make a comforting casserole similar to my chicken pot pie. You can also toss it with pasta for a quick meal, which always reminds me of my creamy chicken fettuccine. Reheat it gently with a splash of broth to keep it from drying out.
Serving ideas
- Serve with a classic bread stuffing, baked separately until golden and crisp on top.
- Pair with green bean casserole for a creamy, crunchy side dish.
- Offer both a rich turkey gravy and a zesty, whole-berry cranberry sauce.
- Garnish the final platter with fresh herbs like sage and rosemary, and perhaps some seasonal fruit like figs or small pears.
Allergy information
This recipe is naturally gluten-free. For a dairy-free version, you can easily substitute the unsalted butter with a high-quality dairy-free butter alternative or even olive oil. The flavor will be slightly different but still absolutely delicious. As always, please double-check the labels of all your ingredients, like your broth, to ensure they don't contain any hidden allergens that you or your guests may be sensitive to. Kitchen safety and awareness are always the most important ingredients in any meal, especially when cooking for a crowd.
Roast Turkey Recipe: Perfectly Cooked Holiday Meal
A simple, foolproof roast turkey recipe for a perfectly juicy and flavorful holiday meal. This guide ensures a beautifully golden-brown bird that will be the star of your table.
- Prep time
- 25 min
- Cook time
- 3 h 30 min
- Total time
- 3 h 55 min
- Difficulty
- Medium
- Cuisine
- American
Ingredients
For the Roast Turkey
For the Pan (Optional)
Instructions
- 1
First things first, let's get everything ready. You'll want to preheat your oven to 425°F (220°C) and place a rack in the lower third. Take your turkey and remove the neck and giblets from the cavity—save them for gravy if you like! The most important part here is to pat the turkey incredibly dry with paper towels, both inside and out. Seriously, don't skip this; a dry bird means crispy skin. Season the cavity generously with salt and pepper, then place the quartered onion, halved lemon, and extra herb sprigs inside. This will create a beautiful aromatic steam as it cooks.
- 2
Now for my favorite part, the herb butter. In a small bowl, combine your lovely softened butter, the chopped fresh herbs, minced garlic, salt, and pepper. Mix it all together until it's beautifully combined. The smell is just divine. Now, gently, using your fingers, separate the skin from the turkey breast, creating a little pocket. Take about half of that glorious butter mixture and push it into that pocket, spreading it as evenly as you can over the breast meat. It feels a bit weird, but trust me, this is the secret to a juicy bird. Rub the remaining butter all over the outside of the turkey—the legs, wings, everywhere.
- 3
Time to get roasting. Place the prepared turkey on a rack inside a large roasting pan. If you're using them, scatter the chopped carrots and celery in the bottom of the pan and pour in the broth. This adds moisture and flavor for your gravy later. Place the pan in the preheated oven and roast for 30 minutes at 425°F. Then, reduce the oven temperature to 350°F (175°C). Continue to roast, basting the turkey with the pan juices every 45 minutes or so. For a 12-14 pound turkey, expect it to take about 3 to 3.5 hours total. This is a great time to relax and maybe explore other recipes for your next gathering.
- 4
The turkey is done when an instant-read thermometer inserted into the thickest part of the thigh reads 165°F (74°C). Carefully transfer the turkey from the pan to a large cutting board. Now, this next step is crucial: let it rest. Tent it loosely with foil and let it sit for at least 20-30 minutes before you even think about carving. This allows all the juices to settle back into the meat. Skipping this step is the number one reason for dry turkey! While it's resting, you can use those amazing pan drippings to make your gravy. Once rested, carve and serve it up, knowing you just made the most beautiful holiday meal.
Nutrition per serving
- 520 kcal
- Calories
- 65 g
- Protein
- 2 g
- Carbs
- 28 g
- Fat
Tips & notes
- **A Note on Thawing:** Please, plan ahead for thawing your turkey! A frozen turkey needs several days in the refrigerator to thaw safely. Never thaw it on the counter. A safe, slow thaw ensures the turkey cooks evenly and is safe to eat. - **No Roasting Rack? No Problem:** If you don't have a rack for your roasting pan, you can create a 'vegetable rack' on the bottom of the pan with thickly sliced onions, carrots, and celery. This elevates the bird, allowing air to circulate, and it also beautifully flavors the pan drippings for your gravy. It’s an old-school trick that works perfectly. - **The Importance of Room Temp:** Letting the turkey sit on the counter for about an hour before it goes into the oven helps it cook more evenly. A freezing cold bird will take longer to cook, and the breast meat might dry out before the thighs are done. This little bit of patience pays off.
Frequently asked questions
How big of a turkey should I buy?
A good rule of thumb is to plan for about 1 to 1.5 pounds of turkey per person. This accounts for the bone weight and ensures you have enough for the meal, plus some for glorious leftovers. So, for 8 guests, a 12-pound turkey is a great choice. If your family really loves leftovers for sandwiches and soups, aiming for the 1.5-pound mark is always a safe and delicious bet.
How do I know when my turkey is fully cooked?
The most reliable way is to use an instant-read meat thermometer. Cooking times are just an estimate, but a thermometer gives you proof. You want to insert it into the thickest part of the thigh, making sure not to touch the bone. The turkey is done when the temperature reaches 165°F (74°C). The juices should also run clear when you poke it. Don't guess—a thermometer is a cook's best friend for this!
What should I do if the skin is getting too dark before the turkey is cooked?
Oh, that's an easy fix! If you notice the skin, especially over the breast, is getting perfectly golden brown but you still have a ways to go on the cooking time, just make a little tent. Take a piece of aluminum foil and loosely place it over the top of the turkey. This will shield the skin from the direct heat, preventing it from burning while the rest of the bird finishes cooking through. Easy peasy.
Should I brine the turkey before roasting?
Honestly, you absolutely can, but with this recipe, I don't find it necessary. The herb butter slathered under the skin does an amazing job of keeping the meat incredibly moist and seasoned from the inside out. Brining is a great technique, but it adds an extra, time-consuming step. This recipe is designed to be simpler and less fussy while still giving you a wonderfully juicy result. But if you have a brining tradition you love, go for it!
Can I stuff my turkey?
I really recommend cooking your stuffing in a separate baking dish. When you pack stuffing into the turkey's cavity, it becomes dense and requires a much longer cooking time to reach a food-safe temperature. By the time the stuffing is cooked, the turkey breast is often dry and overdone. Baking it separately ensures the stuffing gets deliciously crispy edges and the turkey cooks perfectly. It's just a safer and more delicious way to go.
How do I make gravy from the pan drippings?
The pan drippings are liquid gold! After you remove the turkey to rest, pour all the juices from the roasting pan into a measuring cup or fat separator. Let the fat rise to the top. You can then spoon off the fat, leaving you with the concentrated, flavorful drippings. You'll use a few tablespoons of that fat to make a roux with flour in the roasting pan on the stovetop, then whisk in the drippings and some broth to create the most amazing gravy.
What's the best way to store leftover turkey?
Once everyone has eaten, you'll want to carve the remaining meat off the bones and store it in airtight containers in the refrigerator. Don't just pop the whole carcass in there. It will stay fresh for about 3 to 4 days. Storing it properly keeps it from drying out and makes it so easy to grab for sandwiches, salads, or to throw into a cozy soup, kind of like my corn chowder.