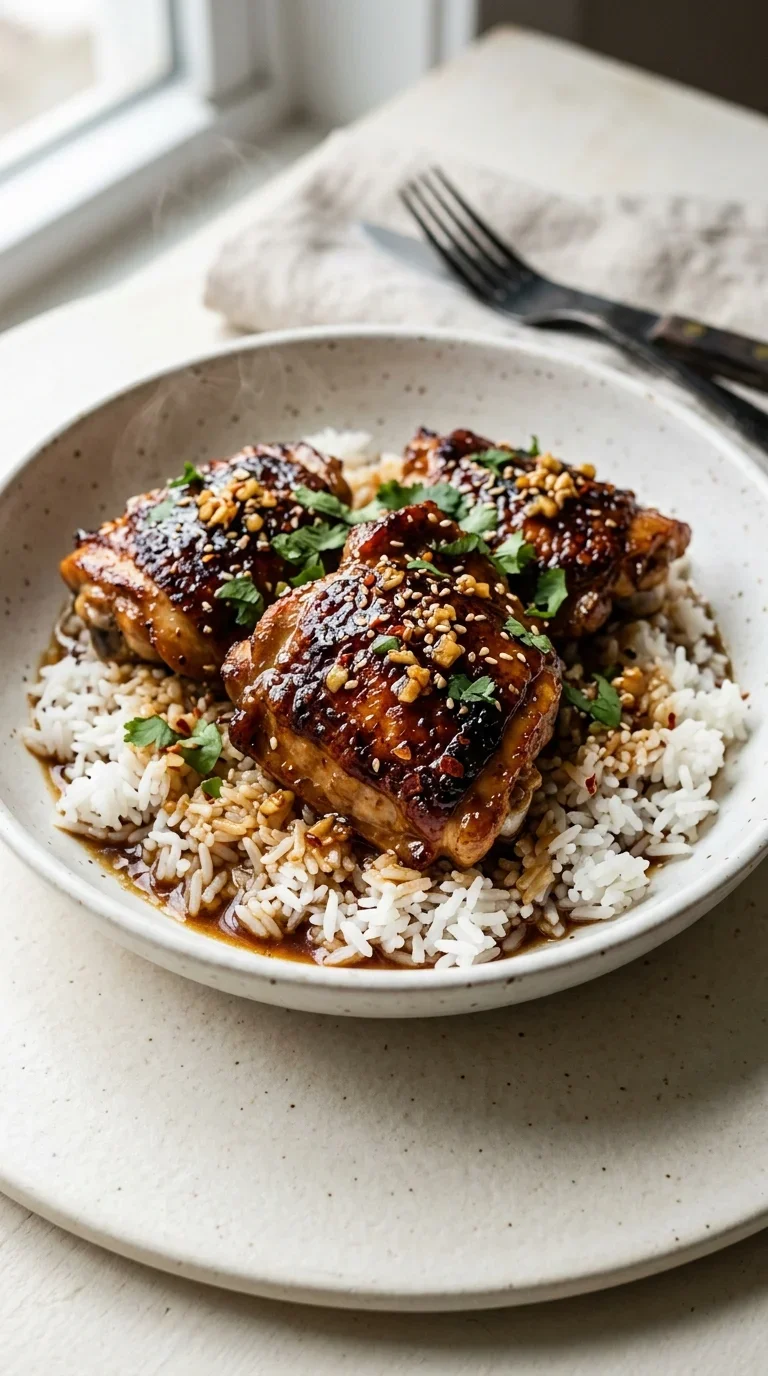
The marriage of honey, garlic, and soy sauce is a reflection of the broader East Asian culinary tradition of balancing contrasting flavor profiles. In many cultures, the combination of sweetness and saltiness is used to create a deep, satisfying 'umami' experience that appeals to a wide range of palates. Using honey provides a floral depth and a natural thickening quality that differs from refined sugars.
Sticky honey garlic chicken thighs draw inspiration from traditional stir-fry and braising techniques where a glaze is reduced until it coats the protein in a shimmering layer. This method of finishing the meat in its own sauce ensures that the juices are locked in while the exterior develops a rich, concentrated flavor.
Historically, the use of garlic and ginger in these types of glazes served not only as flavor enhancers but as aromatic bases that provided warmth and health benefits. By combining these with the salty punch of soy sauce and the acidity of rice vinegar, a timeless balance is achieved that has made this style of cooking a global comfort favorite.
Why You'll Love It
-
- Honestly, that moment when the honey and soy sauce bubble up into a glossy glaze is just magic. It makes the whole kitchen smell like a warm hug.
-
- I love how the 8 skin‑on, bone‑in chicken thighs get that lovely crisp skin before soaking up all the savory goodness. It's just so satisfying.
-
- Well, it's a quick comfort meal that doesn't feel rushed, so it's perfect for those long Tuesdays when you just need something reliable.
-
- Wow, the contrast of the sweet honey against the zing of the rice vinegar is just lovely. It really lingers on the tongue in the best way.
"Honestly, this is the only way I make chicken now. The glaze is just perfect—my husband asks for it every single week!"
Essential Ingredient Guide
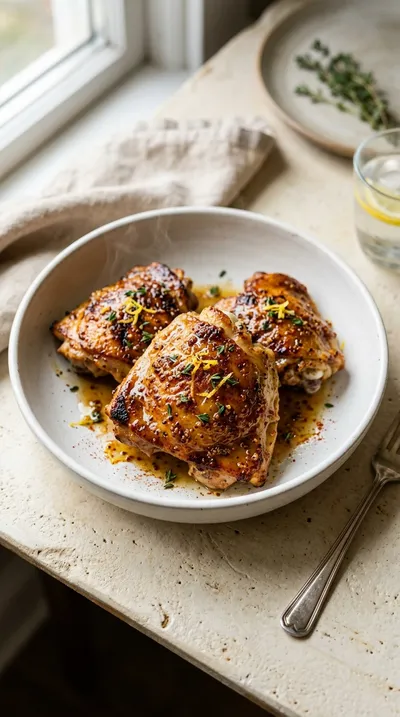
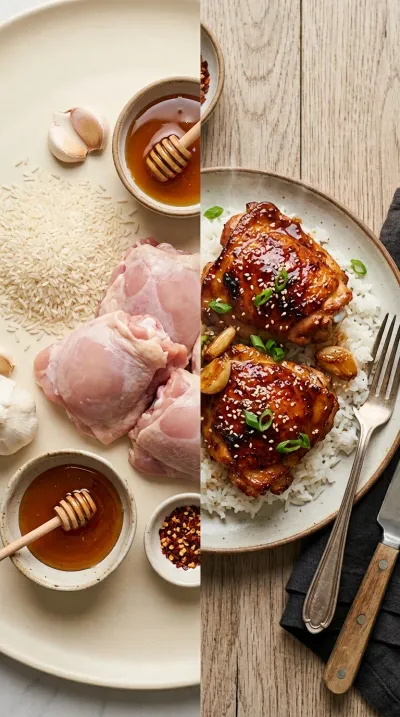
- 8 skin‑on, bone‑in chicken thighs (about 2 pounds): I always prefer bone-in because it stays so juicy. Just make sure to pat them dry with a paper towel so you get that beautiful golden sear.
- 4 cloves garlic, minced: Fresh is best here, truly. I remember when I tried using the jarred kind, and it just wasn't the same—nothing beats the scent of fresh garlic hitting hot oil.
- ½ teaspoon crushed red pepper flakes (optional): Now, this is just for a little bit of a tickle on the tongue. If you're cooking for kids, you can leave it out, but I personally love that tiny bit of heat.
- 1 teaspoon sea salt: A simple bit of seasoning on the skin is all you need to start. It helps draw out the moisture so the chicken gets really crisp.
- 2 tablespoons rice vinegar: This provides that subtle tang that cuts through the richness of the honey. It's a small amount, but it really balances everything out.
- ¼ cup honey: This is what gives us that gorgeous, sticky lacquer. I mean, it's the star of the show for that glossy finish we're after.
Complete Cooking Process
-
Ingredient Readiness:
I like to have my 4 cloves garlic, minced and 1 teaspoon fresh ginger, grated ready to go in little piles. Getting the cornstarch slurry mixed in a small bowl beforehand means you aren't rushing once the pan is hot.
-
Flavor Development:
The real magic happens when the garlic and ginger hit the pan for those 30 seconds. Then, pouring in the mixture of honey, soy sauce, and rice vinegar lets the chicken simmer and soak up all those deep, savory notes.
-
Texture Control:
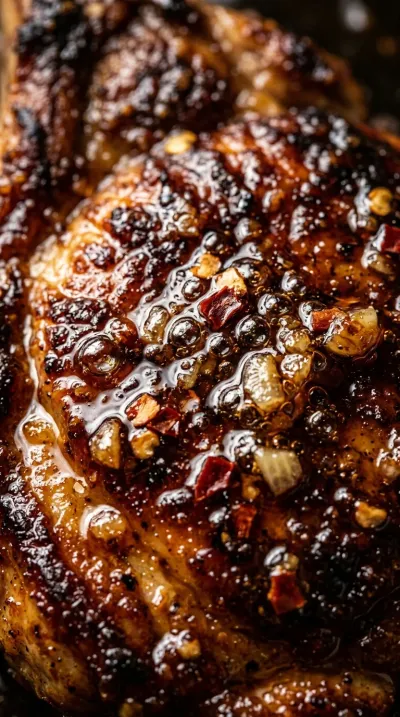
Searing the skin-side down for 6–7 minutes is key for that crunch. Then, adding the cornstarch slurry at the very end transforms the sauce from a thin liquid into a thick, glossy glaze.
-
Finishing Touches:
Once the chicken hits 165°F, I let them rest for a moment under some foil. I love pouring that extra sticky sauce right over the top just before adding the green onions.
-
Serving Timing:
These are best served right away while the glaze is still shimmering. It's just so much better when the sauce is hot and clinging to the chicken.
-
Pat the chicken dry with paper towels before seasoning for extra crisp skin.
-
Use a cast‑iron skillet because the heat retention gives you a much better sear.
-
Wait to add the cornstarch slurry until the end to keep your glaze smooth and clump-free.
-
Check the internal temperature with a thermometer to ensure they hit exactly 165°F.
Pro Tips
You've got this, just take your time and enjoy the process.
 Family Favorites
Meat Lovers Pizza Casserole Recipe
A comforting baked dish that brings pizza night flavors together in one easy casserole.
Better For You Treats
I like to keep things balanced, and this meal is surprisingly grounded with 20g of protein per serving. Since we use low‑sodium soy sauce, it's a bit gentler on the heart while still tasting like a treat.
Ways to Make it Your Own
If you're feeling bold, try adding 1 tablespoon chili garlic sauce for a spicy kick. Or, for something a bit more tropical, swap the 2 tablespoons water for 2 tablespoons coconut milk and a pinch of lime zest.
Serving Suggestions
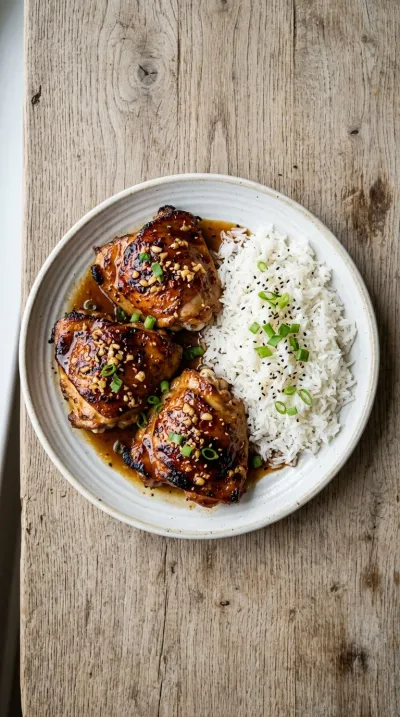
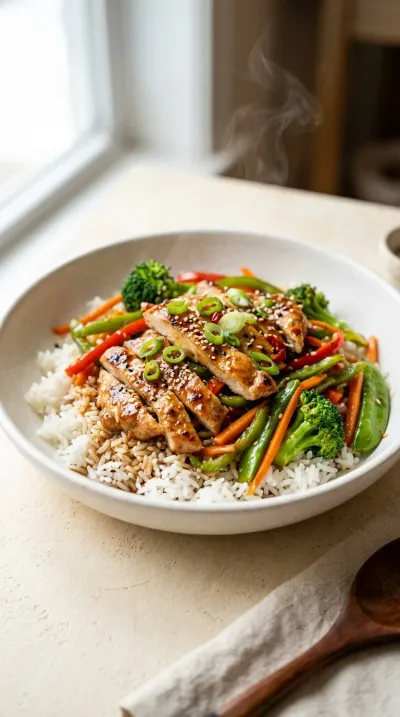
I usually serve mine over a bed of fluffy jasmine rice with some steamed broccoli. If you want something a bit fresher, a side of sliced cucumber with lime vinaigrette is just lovely.
Frequently Asked Questions
→ What if my sauce isn't thickening enough?
Oh, don't worry! Just let it simmer for another minute or two, or whisk in a tiny bit more cornstarch slurry if it's still too runny.
→ Can I use boneless thighs instead?
You certainly can, but you'll lose that lovely skin and it'll cook much faster, so just keep a close eye on them so they don't dry out.
→ How do I store the leftovers?
Just pop them in an airtight container in the fridge. They keep well, but just be sure they don't sit out on the counter for more than 2 hours.
Nutrition Facts
per serving
250
Calories
20g
Protein
15g
Carbs
15g
Fat
Taste Profile
A balanced harmony of sweet honey and savory soy with a warm garlic finish.
Ingredient Substitutions
Don't have an ingredient? Try these alternatives
Provides a similar sweetness with a slightly different earthy tone.
A great option for making the dish gluten-free.
A decent substitute if you're out, though it's a bit more pungent.
Recipe Variations
Try these delicious twists on the original
Spicy Sesame Honey Garlic Chicken Thighs
For those who like a bit more heat, add 1 tablespoon chili garlic sauce to the sauce mix. I love to finish this version with an extra drizzle of toasted sesame oil and more crushed red pepper flakes.
Coconut Milk Honey Garlic Chicken Thighs
Give it a tropical twist by replacing the 2 tablespoons water with 2 tablespoons coconut milk and adding 1 teaspoon lime zest. Just reduce the cornstarch slurry slightly so it stays a bit more fluid.
Common Mistakes to Avoid
Learn from others' mistakes for perfect results
- Not patting the chicken dry, which leads to steaming instead of searing.
- Adding the cornstarch slurry too early, which can cause it to clump or burn.
- Overcooking the garlic and ginger, which makes the sauce taste bitter.
Meal Prep & Storage
Make Ahead Tips
You can prep the sauce in a jar up to 3 days in advance. Just keep the chicken separate until you're ready to sear.
Leftover Ideas
Store in an airtight container in the fridge. Reheat gently in a pan with a splash of water to loosen the glaze, or in the microwave if you don't mind the skin losing its crisp.
Perfect Pairings
Serve this with...
Cooking Timeline
Season the chicken and heat the skillet oil.
Sear chicken skin-side down, then flip and finish cooking.
Sauté garlic and ginger, then pour in the sauce mixture.
Simmer chicken in sauce and thicken with cornstarch slurry.
Check temperature, rest the meat, and add garnishes.
 Warm Meals
Beef Ragu Pasta Recipe in Tomato Sauce
A rich and hearty pasta dish with slow-cooked beef ragu in a savory tomato sauce.
Sticky Honey Garlic Chicken Thighs
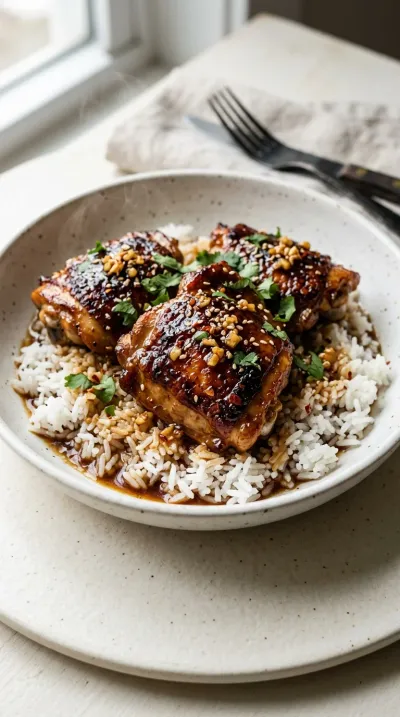
Tender chicken thighs glazed in a glossy mix of honey, garlic, and soy sauce that clings to every bite. These sticky honey garlic chicken thighs offer a wonderful balance of sweet and savory that feels like a warm hug on a plate.
Timing
Prep Time
10 Minutes
Cook Time
20 Minutes
Total Time
30 Minutes
Recipe Details
Ingredients
The Chicken
-
01
8 skin‑on, bone‑in chicken thighs (about 2 pounds)
-
02
1 teaspoon sea salt
-
03
½ teaspoon freshly ground black pepper
-
04
2 tablespoons vegetable oil
The Honey Garlic Glaze
-
01
¼ cup honey
-
02
¼ cup low‑sodium soy sauce
-
03
2 tablespoons rice vinegar
-
04
2 tablespoons water
-
05
1 teaspoon sesame oil
-
06
½ teaspoon crushed red pepper flakes (optional)
-
07
4 cloves garlic, minced
-
08
1 teaspoon fresh ginger, grated
Thickening & Garnish
-
01
1 tablespoon cornstarch
-
02
1 tablespoon cold water
-
03
2 green onions, sliced (for garnish)
-
04
1 tablespoon toasted sesame seeds (for garnish)
Instructions
Start by seasoning your 8 skin‑on, bone‑in chicken thighs with 1 teaspoon sea salt and ½ teaspoon freshly ground black pepper on both sides. Just a light touch, honestly, to make sure the flavor gets in there.
Get your skillet going over medium‑high heat and stir in 2 tablespoons vegetable oil. Wait until it's shimmering—that's how you know it's ready.
Place those thighs skin-side down. Now, just let them be for about 6–7 minutes until the skin is golden brown and crisp. Flip them over and cook the other side for another 4–5 minutes. Wow, the smell is already wonderful.
Turn the heat down to medium. Toss in your 4 cloves garlic, minced and 1 teaspoon fresh ginger, grated. Sauté these for just 30 seconds; you only want them fragrant, not burnt.
While that's happening, grab a small bowl and whisk together your ¼ cup honey, ¼ cup low‑sodium soy sauce, 2 tablespoons rice vinegar, 2 tablespoons water, 1 teaspoon sesame oil, and ½ teaspoon crushed red pepper flakes (optional).
Carefully pour that sauce mixture right into the skillet over the chicken. Make sure the thighs are partially submerged. Let it simmer for 5–6 minutes, turning them once, so the chicken really soaks up all those flavors.
Now for the magic. Mix 1 tablespoon cornstarch with 1 tablespoon cold water to make a little slurry, then stir it into the pan. Cook for another 2–3 minutes until the sauce thickens into a glossy glaze that coats the back of your spoon.
Just to be safe, check that the chicken reaches an internal temperature of 165°F (74°C). If it's not quite there, just give it another minute.
Transfer your thighs to a plate and tent them loosely with foil to keep them warm. I mean, don't forget to pour that remaining hot sauce right over the top!
Finish it off with a sprinkle of 2 green onions, sliced and 1 tablespoon toasted sesame seeds. Look at that shine!
Notes & Tips
-
1
Pat the chicken dry with paper towels before seasoning for a much crispier skin.
-
2
Adding the cornstarch slurry at the very end prevents any clumps from forming.
-
3
A cast-iron skillet is my favorite here because it holds heat so well for a better sear.
Tools You'll Need
-
Large cast‑iron skillet or heavy‑bottomed pan for a perfect sear
-
Small bowl for mixing the cornstarch slurry
-
Measuring spoons and measuring cup for precision
-
Wooden spoon or spatula for stirring
-
Tongs for flipping the chicken
-
Instant-read thermometer to ensure safety
Must-Know Tips
-
Dry Skin, Pat the chicken with paper towels first to ensure the skin crisps up instead of steaming.
-
Slurry Timing, Add the cornstarch mixture last for a smooth, professional-looking glaze.
-
Pan Choice, Use cast-iron if you have it; the heat retention makes a world of difference.
Professional Secrets
-
Sautéing the garlic and ginger for exactly 30 seconds creates a fragrant base without bitterness.
-
Tenting the meat with foil allows the juices to redistribute while you prep the garnish.
-
Using cold water for the cornstarch slurry ensures it dissolves perfectly before hitting the heat.
What readers are saying
Community reviews from home cooks like you
Perfect for a busy weeknight. I really liked how the 8 skin‑on, bone‑in chicken thighs (about 2 pounds) and 1 teaspoon sea salt came together. Saving this for later.
I was surprised how good this turned out. I really liked how the 8 skin‑on, bone‑in chicken thighs (about 2 pounds) and 1 teaspoon sea salt came together. Great addition to my recipe rotation.
I wanted to love this dish, but it didn't quite work for me. It took slightly longer than the recipe said. I think with some tweaks it could be really good.
Nice base recipe. The pounds) flavor was nice, but i would reduce the salt a little. I might try it again with some adjustments.
Perfect for a busy weeknight. I really liked how the 8 skin‑on, bone‑in chicken thighs (about 2 pounds) and 1 teaspoon sea salt came together. Perfect as written.
This was a hit with my family. I really liked how the 8 skin‑on, bone‑in chicken thighs (about 2 pounds) and 1 teaspoon sea salt came together. I swapped one ingredient and it still worked. Perfect as written.
The flavors were spot on. I really liked how the 8 skin‑on, bone‑in chicken thighs (about 2 pounds) and 1 teaspoon sea salt came together. Will be making this regularly.
This was a hit with my family. I really liked how the 8 skin‑on, bone‑in chicken thighs (about 2 pounds) and 1 teaspoon sea salt came together. Thanks for sharing this one!
This exceeded my expectations. I really liked how the 8 skin‑on, bone‑in chicken thighs (about 2 pounds) and 1 teaspoon sea salt came together. Already shared it with a friend.
Will definitely make this again. I really liked how the 8 skin‑on, bone‑in chicken thighs (about 2 pounds) and 1 teaspoon sea salt came together. I swapped one ingredient and it still worked. Saving this for later.
I was surprised how good this turned out. I really liked how the 8 skin‑on, bone‑in chicken thighs (about 2 pounds) and 1 teaspoon sea salt came together. I would reduce the salt a little. Thanks for sharing this one!
My new favorite way to make Sticky Honey Garlic Chicken Thighs. I really liked how the 8 skin‑on, bone‑in chicken thighs (about 2 pounds) and 1 teaspoon sea salt came together. I would reduce the salt a little. Already shared it with a friend.
Absolutely loved this recipe! I really liked how the 8 skin‑on, bone‑in chicken thighs (about 2 pounds) and 1 teaspoon sea salt came together. I swapped one ingredient and it still worked. Perfect as written.
Good, but not amazing. The pounds) flavor was nice, but next time i'll double the sauce. I might try it again with some adjustments.
The flavors were spot on. I really liked how the 8 skin‑on, bone‑in chicken thighs (about 2 pounds) and 1 teaspoon sea salt came together. Perfect as written.
I wanted to love this dish, but it didn't quite work for me. I found it a bit sweet for my taste. I think with some tweaks it could be really good.
It was okay, with a few tweaks. The pounds) flavor was nice, but next time i'll double the sauce. I might try it again with some adjustments.
This exceeded my expectations. I really liked how the 8 skin‑on, bone‑in chicken thighs (about 2 pounds) and 1 teaspoon sea salt came together. Already shared it with a friend.
Absolutely loved this recipe! I really liked how the 8 skin‑on, bone‑in chicken thighs (about 2 pounds) and 1 teaspoon sea salt came together. I added a bit more seasoning next time. Perfect as written.

Recipe by
Maya QuinnMaya loves fast, cozy meals ⏱️🍲, easy weeknight magic ✨🍛, and snacks that hug your soul 🤗🥪. She’s all about comfort in a hurry 🥣💛.
Get Delicious Recipes Weekly
Join 25,000+ home cooks getting our best recipes straight to their inbox.
Free forever • No spam • Unsubscribe anytime