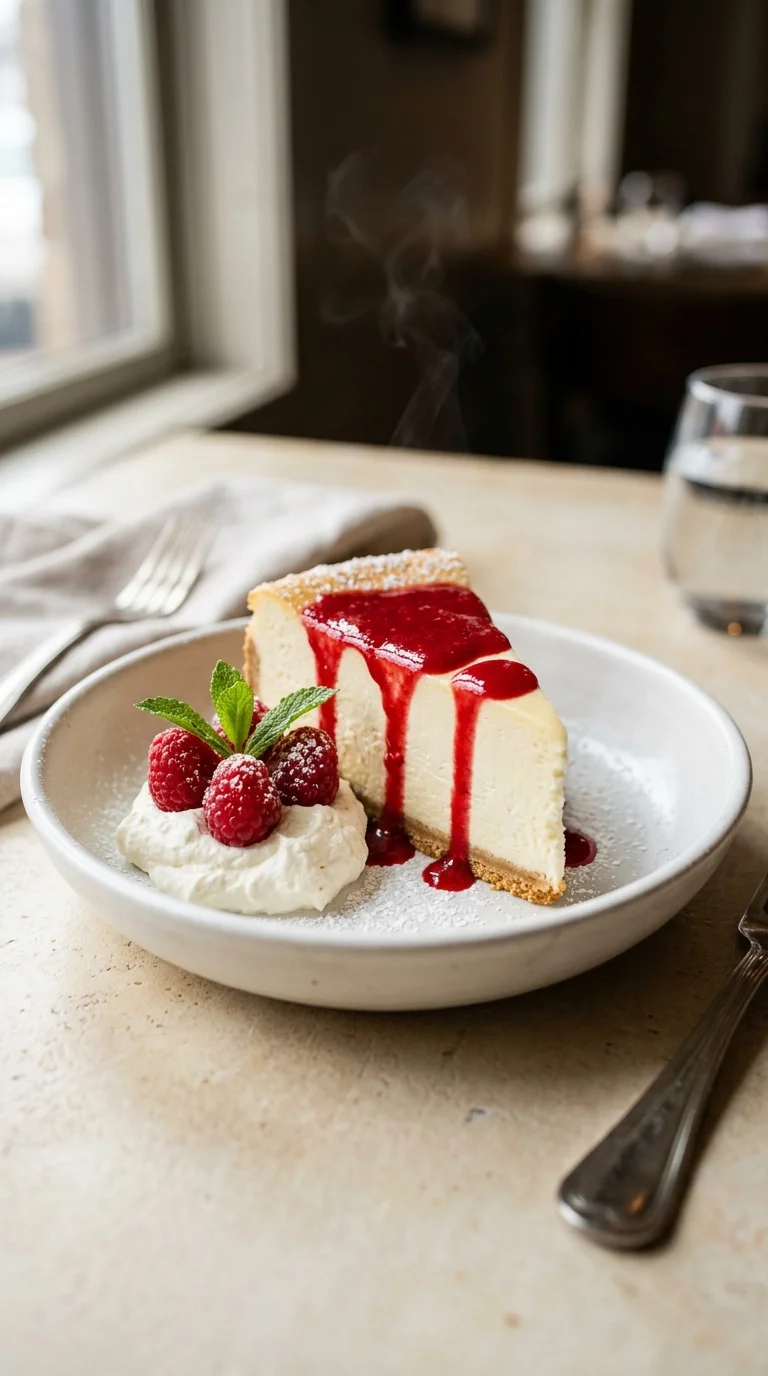
The cheesecake as we know it today is a fascinating evolution of ancient traditions. While the Greeks likely enjoyed a primitive form of curd cake, the modern iteration gained its footing in New York during the early 20th century. This American classic shifted toward a denser, creamier profile, moving away from the lighter ricotta bases common in Europe.
For decades, the water bath—or bain-marie—was considered the only way to achieve a smooth surface, as it shielded the delicate eggs and cream cheese from the harsh, direct heat of the oven. This technique mirrored the French tradition of slow-cooking custard to prevent curdling.
However, home bakers eventually discovered that by controlling the oven temperature and implementing a gradual cooling period, they could achieve a professional result without the cumbersome setup. This easy no water bath cheesecake represents that shift toward accessibility, blending the rich history of the dessert with the practical needs of a modern kitchen.
Today, it stands as a symbol of celebration and hospitality, often serving as the centerpiece for holiday tables and family gatherings across the country.
Why You'll Love It
-
- Honestly, the best part is skipping that fussy water bath; it's just so much less stress when you have guests coming over.
-
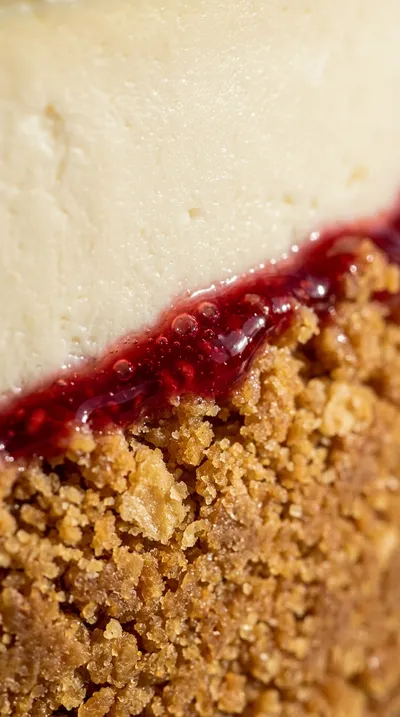
- It has this wonderful, silky texture that just melts in your mouth, and the buttery graham cracker crumbs add such a nostalgic crunch.
-
- I remember when I used to worry about cracks, but this gentle cooling method keeps the top smooth as a mirror, wow.
-
- It's just a grounded, classic dessert that feels like a hug in a pan, and yeah, it's surprisingly easy to pull off.
"I've tried a dozen recipes, but this is the only one that actually stays crack-free. Just so creamy and wonderful!"
Essential Ingredient Guide
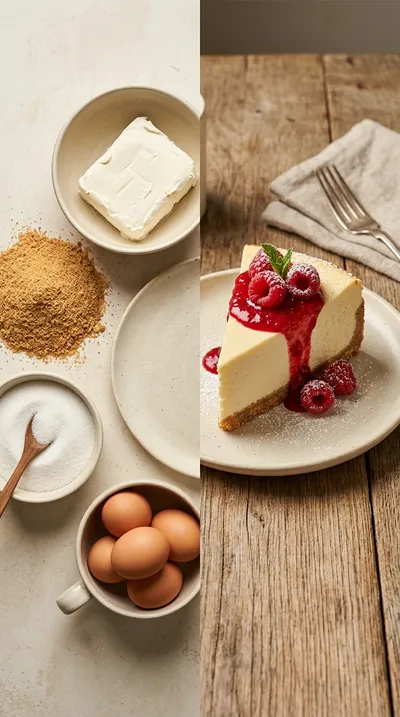
- 32 oz (4 packages) cream cheese, softened: This is the heart of the cake, so please, make sure it's truly softened. If it's too cold, you'll get little lumps, and ugh, nobody wants that in their silky filling.
- 4 large eggs, room temperature: I always leave mine on the counter for a bit. Room temperature eggs blend in so much smoother, which helps keep the batter airy and light.
- 1 cup sour cream, room temperature: This adds a lovely, subtle tang that cuts through the richness. It's what gives the cheesecake that professional, creamy finish we all love.
- 2 tsp vanilla extract: Just a little bit of vanilla brings a warm, floral sweetness to the mix. It's a small detail, but it makes the whole house smell like a bakery.
- 1 ½ cups graham cracker crumbs: These create that golden, sandy base. I like to press them in firmly so the crust holds its shape when you slice into it.
- 1 cup granulated sugar: This provides the main sweetness, but we don't overdo it. It's just enough to balance the tartness of the cream cheese and sour cream.
Complete Cooking Process
-
Ingredient Readiness:
Well, the secret is really in the tempering. Making sure the 32 oz (4 packages) cream cheese, 4 large eggs, and 1 cup sour cream are all room temperature prevents any lumps.
-
Flavor Development:
The flavor really deepens when you beat the granulated sugar into the cream cheese until it's fluffy. Then, the 2 tsp vanilla extract adds that final, comforting aromatic note.
-
Texture Control:
To keep it from cracking, we mix the eggs in just until incorporated. Over-mixing introduces too much air, and look, we want a dense, creamy silkiness, not a sponge cake.
-
Finishing Touches:
Once it's baked, the magic happens in the gradual cool. Leaving it in the oven with the door ajar for an hour lets the cheesecake settle softly without those pesky cracks.
-
Serving Timing:
Patience is key here, honestly. Let it chill in the fridge for at least 4 hours, or even overnight, so the flavors can marry and the texture sets perfectly.
-
Press the graham cracker crumbs evenly and chill for 10 minutes to avoid a soggy crust.
-
Beat the filling just until the eggs are incorporated to prevent air bubbles and cracks.
-
Cool the cake slowly in the oven at 50°F (10°C) above room temperature for a smooth surface.
-
Line the bottom of your 8-inch springform pan with parchment paper for a stress-free release.
Pro Tips
You've got this, just take your time and enjoy the process!
 Home Baking
High Protein Beef Pepperoni Pizza Rolls
Crispy, cheesy, protein‑rich pizza rolls made with beef pepperoni and a tender homemade dough.
Better For You Treats
Now, this is definitely a rich treat, so I usually enjoy it in small portions. If you're feeling mindful, you can replace the cream cheese with a fat-free version, though the texture might change a bit.
Ways to Make it Your Own
I love playing with flavors! You could swirl in ½ cup melted dark chocolate for a chocolate twist, or fold in 1 tbsp lemon zest and 2 tbsp fresh lemon juice for something bright and citrusy.
Serving Suggestions
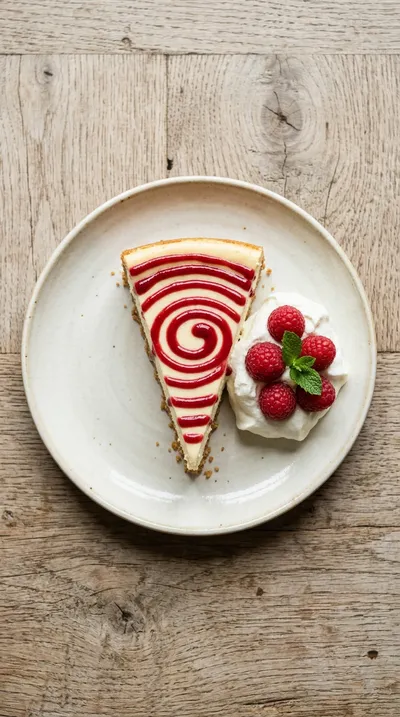
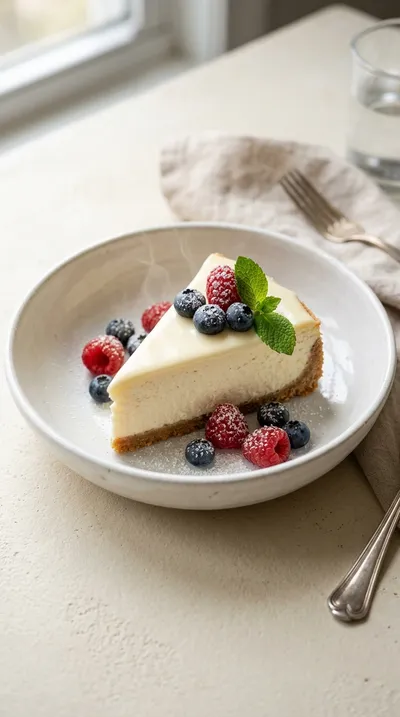
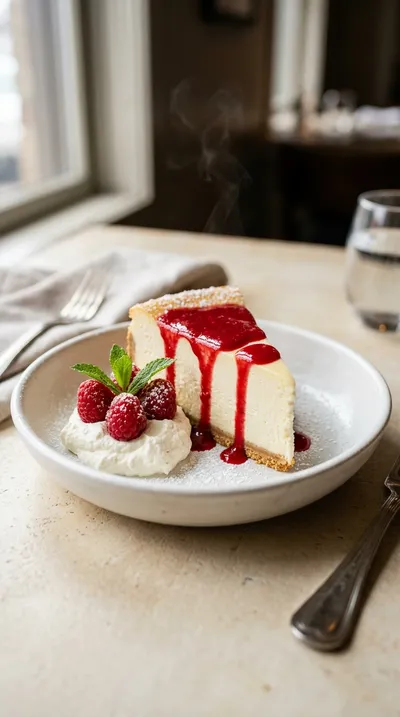
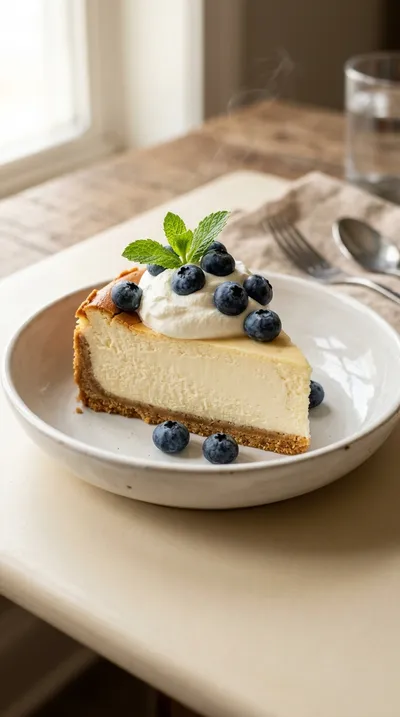
For a little pop of color, a drizzle of warm raspberry coulis is just lovely. Or, keep it classic with a dollop of whipped cream and some fresh berries on top.
Frequently Asked Questions
→ Can I really bake this without a water bath?
Yes, you absolutely can! Just follow the baking time and the gradual cooling step in the oven, and it'll come out just fine.
→ What should I do if my cream cheese isn't soft enough?
Oops, don't worry. You can pop the packages in the microwave for a few short bursts, but be careful not to melt it.
→ How do I store leftovers so they stay fresh?
Keep your slices in the fridge for up to 5 days. If you're planning ahead, you can wrap them tightly and freeze them for up to 3 months.
Nutrition Facts
per serving
620
Calories
8g
Protein
38g
Carbs
45g
Fat
Taste Profile
A rich, creamy sweetness balanced by a hint of tang from the sour cream.
Ingredient Substitutions
Don't have an ingredient? Try these alternatives
Works beautifully for a slightly different crunch.
Adds a bit more tang and a slightly thicker consistency.
Recipe Variations
Try these delicious twists on the original
Chocolate Swirl Cheesecake
For a little something extra, add ½ cup melted dark chocolate to the batter and swirl it through with a knife before baking.
Lemon‑Zest Cheesecake
If you like things a bit brighter, fold in 1 tbsp lemon zest and 2 tbsp fresh lemon juice into the filling.
Common Mistakes to Avoid
Learn from others' mistakes for perfect results
- Over-mixing the eggs, which introduces too much air and causes cracking.
- Using cold cream cheese, which leads to a lumpy batter.
- Removing the cake from the oven too quickly, causing a sudden temperature drop.
Meal Prep & Storage
Make Ahead Tips
This is actually better made ahead! I recommend refrigerating it overnight so it sets fully and the flavors settle.
Leftover Ideas
Store any remaining slices in the refrigerator for up to 5 days. You can also freeze them individually wrapped for up to 3 months.
Perfect Pairings
Serve this with...
Cooking Timeline
Preheat oven and prep the pan with parchment.
Mix crust ingredients and press into pan; chill.
Beat cream cheese and sugar, then mix in eggs and sour cream.
Bake for 45 minutes until there is a slight jiggle.
Cool in the oven with the door ajar for 1 hour.
The Best Easy No Water Bath Cheesecake
A silky smooth delight featuring a buttery graham cracker crumbs crust and a rich center. This easy no water bath cheesecake skips the fuss but keeps all the luxury of a classic dessert.
Timing
Prep Time
20 Minutes
Cook Time
50 Minutes
Total Time
70 Minutes
Recipe Details
Ingredients
Crust
-
01
1 ½ cups graham cracker crumbs
-
02
½ cup unsalted butter, melted
-
03
½ cup packed light brown sugar
Filling
-
01
32 oz (4 packages) cream cheese, softened
-
02
1 cup granulated sugar
-
03
4 large eggs, room temperature
-
04
2 tsp vanilla extract
-
05
1 cup sour cream, room temperature
Instructions
First things first, go ahead and preheat your oven to 325°F (163°C). I always line the bottom of my 8‑inch springform pan with a bit of parchment paper—it just makes the release so much easier and saves a lot of stress later.
In a mixing bowl, stir together your 1 ½ cups graham cracker crumbs, ½ cup unsalted butter, melted, and ½ cup packed light brown sugar. You're looking for those crumbs to be nicely moistened; they should clump together just right when you press them.
Now, press that lovely crumb mixture firmly into the bottom of your prepared pan. I like to use the back of a tablespoon or a flat-bottomed glass to get it really even. Pop it in the fridge for about 10 minutes just to let it set.
In a large bowl, beat the 32 oz (4 packages) cream cheese, softened, on medium speed. Honestly, just make sure it's smooth and crumb-free. Gradually add in the 1 cup granulated sugar and keep beating until it feels light and fluffy.
Add the 4 large eggs, room temperature, one at a time. Mix just until they are incorporated—look, don't over-mix here or you'll lose that airy quality. Stir in the 2 tsp vanilla extract and 1 cup sour cream, room temperature, until everything is combined.
Carefully pour that creamy filling over your chilled crust and use a spatula to smooth out the top. It's such a satisfying part of the process.
Slide the pan into the oven and bake for 45 minutes. This timing is key because it ensures the cheesecake sets without a water bath. You'll know it's ready when there's just a slight jiggle in the center and the top is a pretty golden brown.
Turn off the oven, but don't take the cake out yet. Leave the door slightly ajar and let it cool inside for 1 hour. It's a slow process, yeah, but it's the best way to avoid those pesky cracks.
Once it's cooled, take it out and put it in the refrigerator uncovered for at least 4 hours—though, if you can wait overnight, that's even better for a perfect set.
Finally, release the cheesecake from the springform pan, slice it up, and serve. If you have leftovers, just keep them chilled in the fridge.
Notes & Tips
-
1
The slow cool-down in the oven is the real secret to a smooth top.
-
2
Make sure your cream cheese and eggs are truly at room temperature to avoid lumps.
-
3
Chilling the crust for 10 minutes prevents the filling from soaking in too much.
Tools You'll Need
-
8‑inch springform pan for a perfect round shape
-
Mixing bowls for prepping the crust and filling
-
Hand mixer or stand mixer to get that fluffy texture
-
Spatula for smoothing the top
-
Measuring cups and spoons for accuracy
-
Oven for baking
-
Aluminum foil for covering during storage
Must-Know Tips
-
Press firmly, press the crumbs evenly and chill for 10 minutes before adding the filling to avoid a soggy crust.
-
Don't over-mix, beat the filling just until the eggs are incorporated to prevent air bubbles that cause cracks.
-
Cool slowly, leave the cake in the oven with the door ajar to maintain a smooth, crack-free surface.
Professional Secrets
-
Using room temperature ingredients ensures a seamless emulsion without lumps.
-
The 'oven-door-ajar' method mimics the gradual temperature drop of a professional cooler.
-
Avoiding a water bath is possible here by carefully monitoring the jiggle and limiting bake time to 45 minutes.
What readers are saying
Community reviews from home cooks like you
Will definitely make this again. I really liked how the 1 ½ cups graham cracker crumbs and ½ cup unsalted butter, melted came together. Highly recommend giving it a try.
I wanted to love this dish, but it didn't quite work for me. The texture was a touch off, but the flavor saved it. I think with some tweaks it could be really good.
This was a hit with my family. I really liked how the 1 ½ cups graham cracker crumbs and ½ cup unsalted butter, melted came together. Saving this for later.
Pretty good overall. The crumbs flavor was nice, but it took slightly longer than the recipe said. I might try it again with some adjustments.
Pretty good overall. The crumbs flavor was nice, but i found it a bit sweet for my taste. I might try it again with some adjustments.
I wanted to love this dish, but it didn't quite work for me. I found it a bit sweet for my taste. I think with some tweaks it could be really good.
Pretty good overall. The crumbs flavor was nice, but the texture was a touch off, but the flavor saved it. I might try it again with some adjustments.
My new favorite way to make The Best Easy No Water Bath Cheesecake. I really liked how the 1 ½ cups graham cracker crumbs and ½ cup unsalted butter, melted came together. The texture was a touch off, but the flavor saved it. Perfect as written.

Recipe by
Sofia BelleSofia bakes with love 🧁💛, sweet smells filling her home 🍪🏡, and flour on her hands 🤲✨. She believes every loaf 🍞 and cake 🎂 tells a story of wa ...
Get Delicious Recipes Weekly
Join 25,000+ home cooks getting our best recipes straight to their inbox.
Free forever • No spam • Unsubscribe anytime