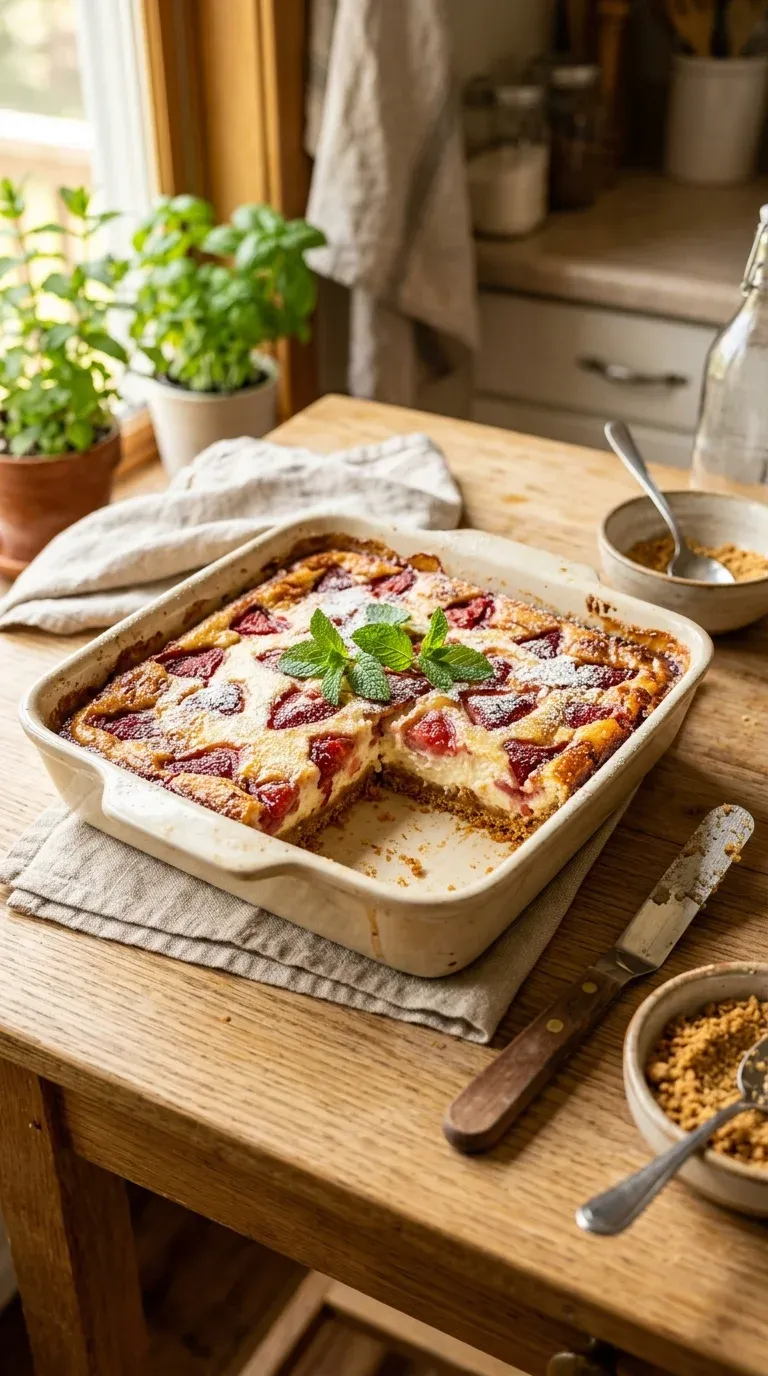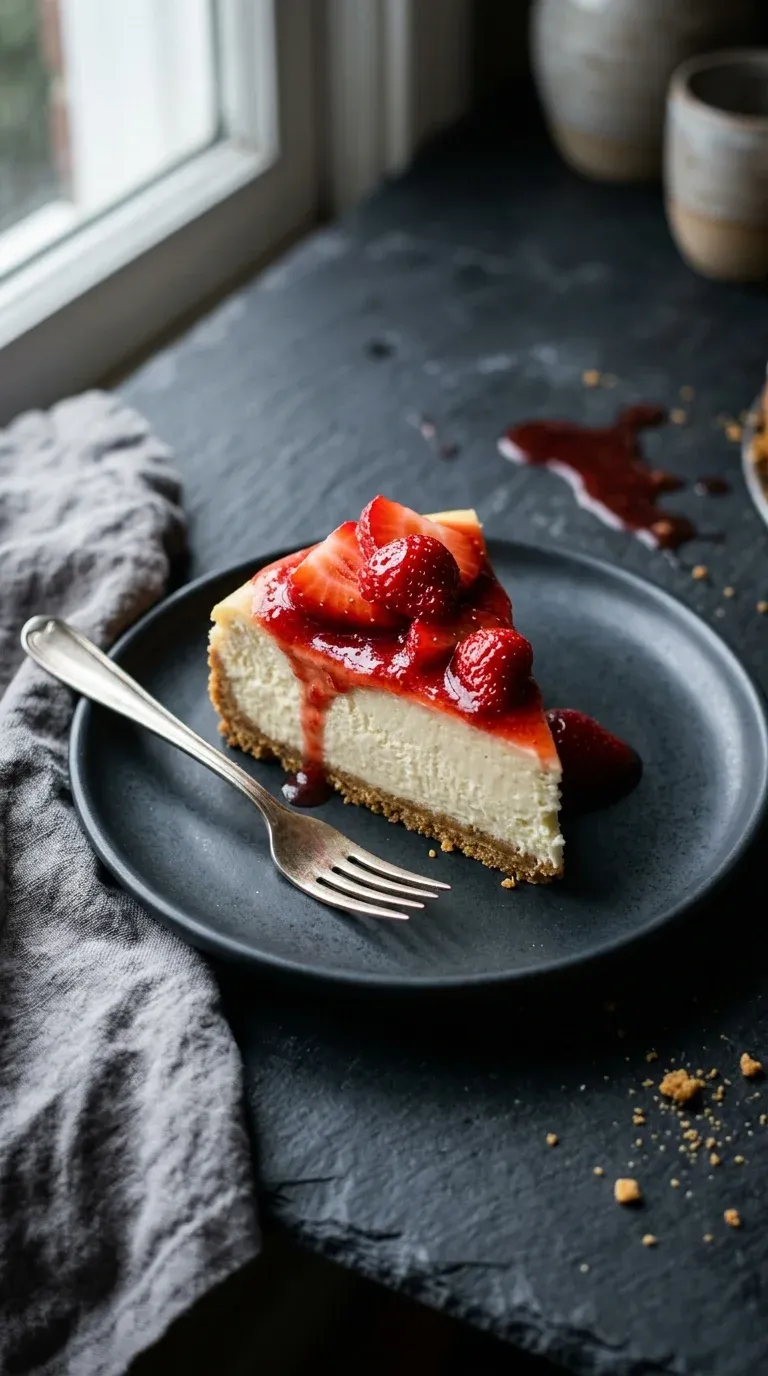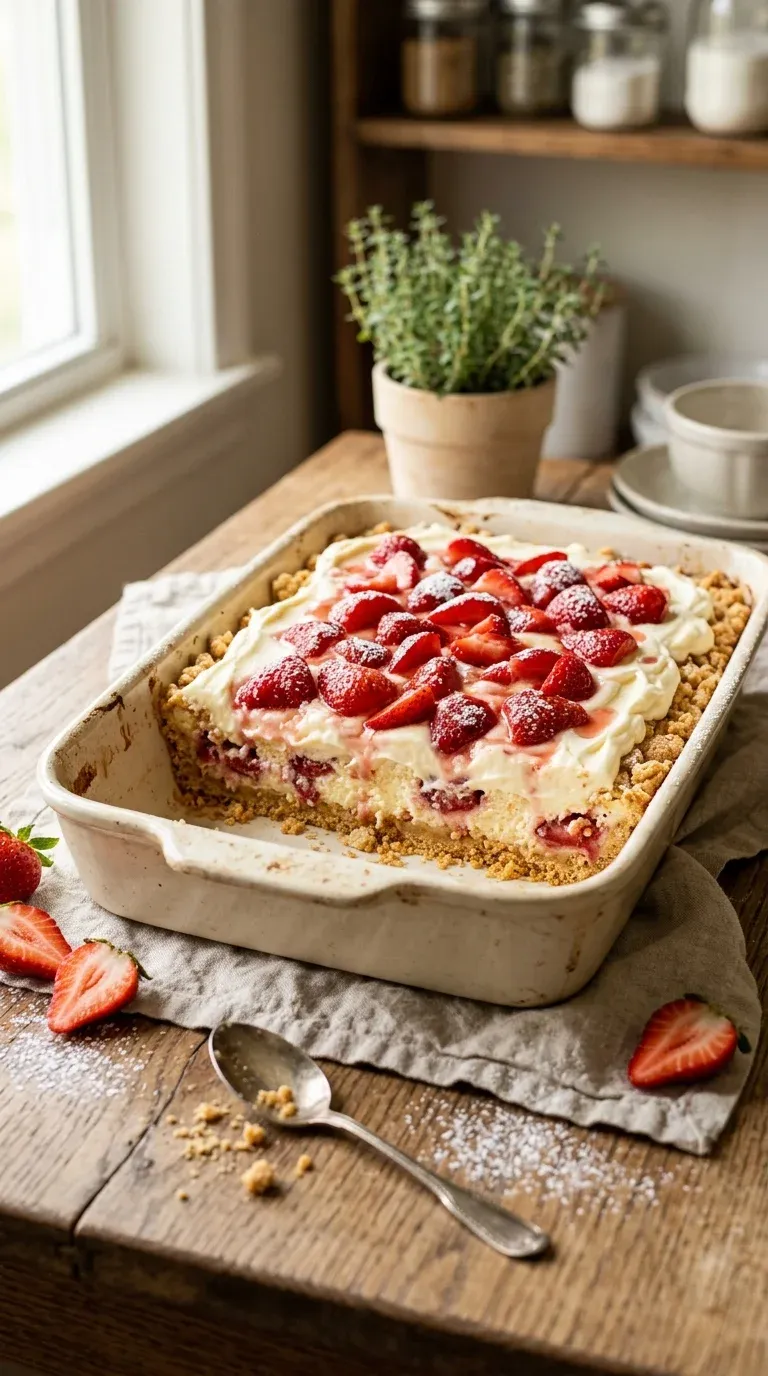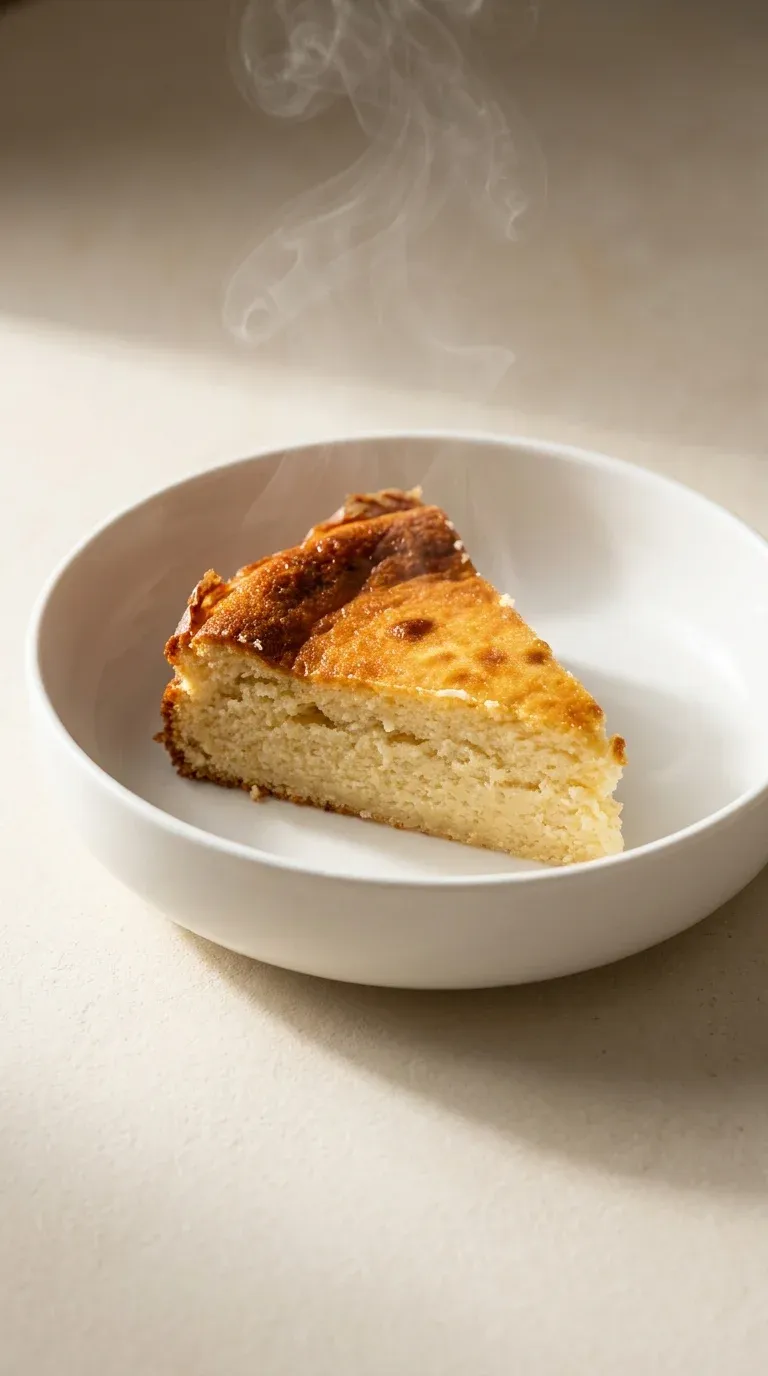
Creamy Yogurt Cake – 3‑Ingredient No‑Flour Recipe
No flour? No problem. This three-ingredient wonder is a game-changer for quick baking. You'll love how moist and rich it turns out.
- Lila Grace
- Sweet Treats
- July 4, 2026
- 3 min read
- Updated November 5, 2026
- Total time
- 45 min
- Servings
- 8 Servings
- Difficulty:
- Easy
Table of contents
Well, look, sometimes the simplest things are just... better. I remember when I first tried making a dessert without any flour; I was a bit nervous, honestly. I kept thinking, "How on earth is this going to hold together?" But then the smell of sweetness started filling the kitchen, and I just knew it was working.
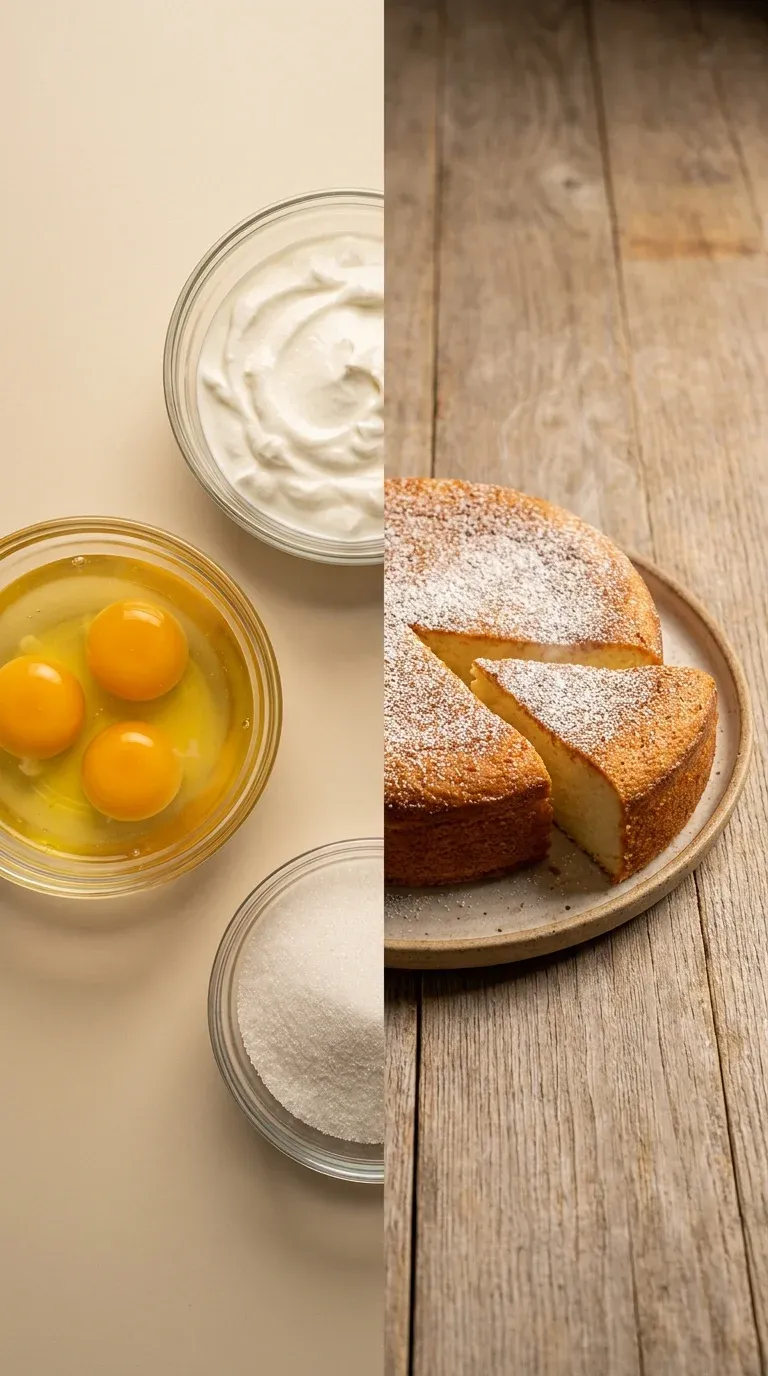
There's something so calming about the way 1 cup (245g) full-fat plain yogurt, 3 large eggs, and 1 cup (200g) granulated sugar come together. You don't need a mountain of ingredients or a fancy technique. It's just a quiet afternoon in the kitchen, the hum of the mixer, and a bit of patience while it bakes.
Yeah, this yogurt cake is exactly that—a little slice of peace. It's soft, it's moist, and it doesn't demand anything from you other than a few minutes of your time. It's just... lovely.
The story behind it
The concept of the flourless yogurt cake draws from a long tradition of European custard-style cakes and Mediterranean desserts where dairy and eggs provide the primary structure. In many village kitchens, the ability to create a dessert from what was already in the larder—simple yogurt and eggs—was a mark of practical wisdom.
This particular style of yogurt cake relies on the emulsification of fats and proteins to create a dense yet creamy crumb. Without the gluten found in wheat, the result is closer to a baked cheesecake or a firm flan, offering a sophisticated profile that feels lighter than a traditional sponge cake.
Historically, using full-fat yogurt was the standard, as the richness provided the necessary stability for the cake to rise and set. This approach celebrates the purity of ingredients, letting the natural tang of the yogurt balance the sweetness of the sugar.
It remains a beloved staple for those seeking a gluten-free alternative that doesn't sacrifice the comforting, nostalgic feeling of a homemade treat.
Why You'll Love It
- Honestly, it's just a miracle that 1 cup (245g) full-fat plain yogurt, 3 large eggs, and 1 cup (200g) granulated sugar can make something this creamy.
- I remember when I first tried flourless baking; it felt like a little bit of magic seeing it rise without any grain at all, so soft and pillowy.
- Well, it is just so wonderfully simple, meaning you spend less time scrubbing bowls and more time enjoying a quiet slice of cake.
- Look, it has this gentle, nostalgic sweetness that reminds me of the kind of treats my grandmother used to keep on the counter.
Tips for success
- Yogurt Choice, Always use full-fat yogurt or the cake might turn out a bit dry.
- Baking Time, Start checking for doneness at 35 minutes to avoid overbaking.
- Temperature, Ensure eggs are at room temperature for a smoother emulsion.
Professional secrets
- Aeration is key—beating the eggs and sugar for the full time creates the lift since there's no flour.
- Avoid overbaking; the moist crumb is what makes this cake special.
- Adding a touch of vanilla extract can elevate the simple base without changing the chemistry.
Common mistakes to avoid
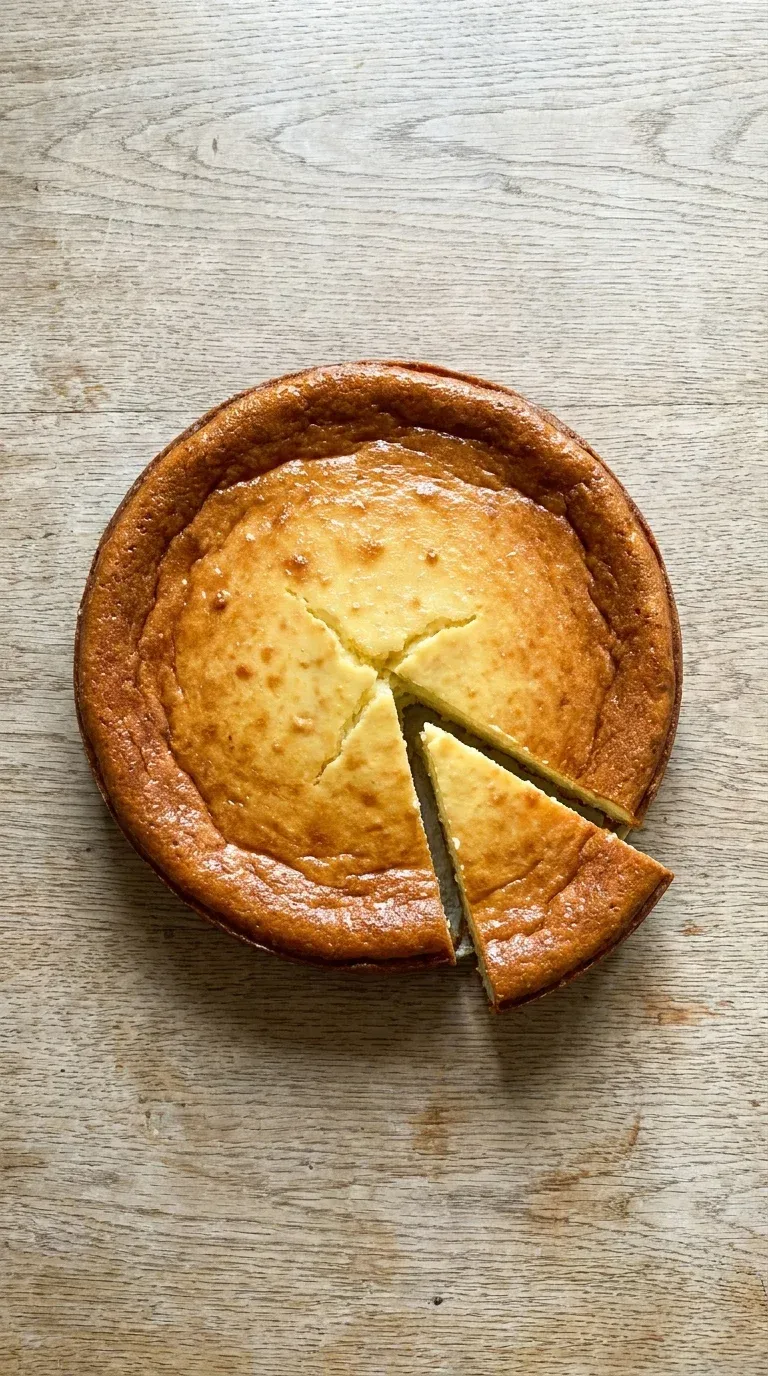
- Using low-fat yogurt, which can make the cake dry and less creamy.
- Overbaking the cake beyond the 40-minute mark.
- Adding too much flour because the batter looks thin (it's supposed to be!).
Substitutions
- Greek Yogurt: Full-fat Plain Yogurt. Greek yogurt is thicker and usually gives a better result, but regular full-fat plain yogurt works too.
- Granulated Sugar: Honey or Maple Syrup. This will change the texture and sweetness; you may need to adjust the quantity.
Variations
- Lemon Yogurt Cake: For a bright and zesty twist, simply add the zest of 1 lemon and 1 tablespoon of lemon juice to your batter. It really wakes up the flavor.
- Chocolate Yogurt Cake: Stir in 2 tablespoons of unsweetened cocoa powder before baking. If you've got a real sweet tooth, feel free to add an extra tablespoon of sugar.
Storage
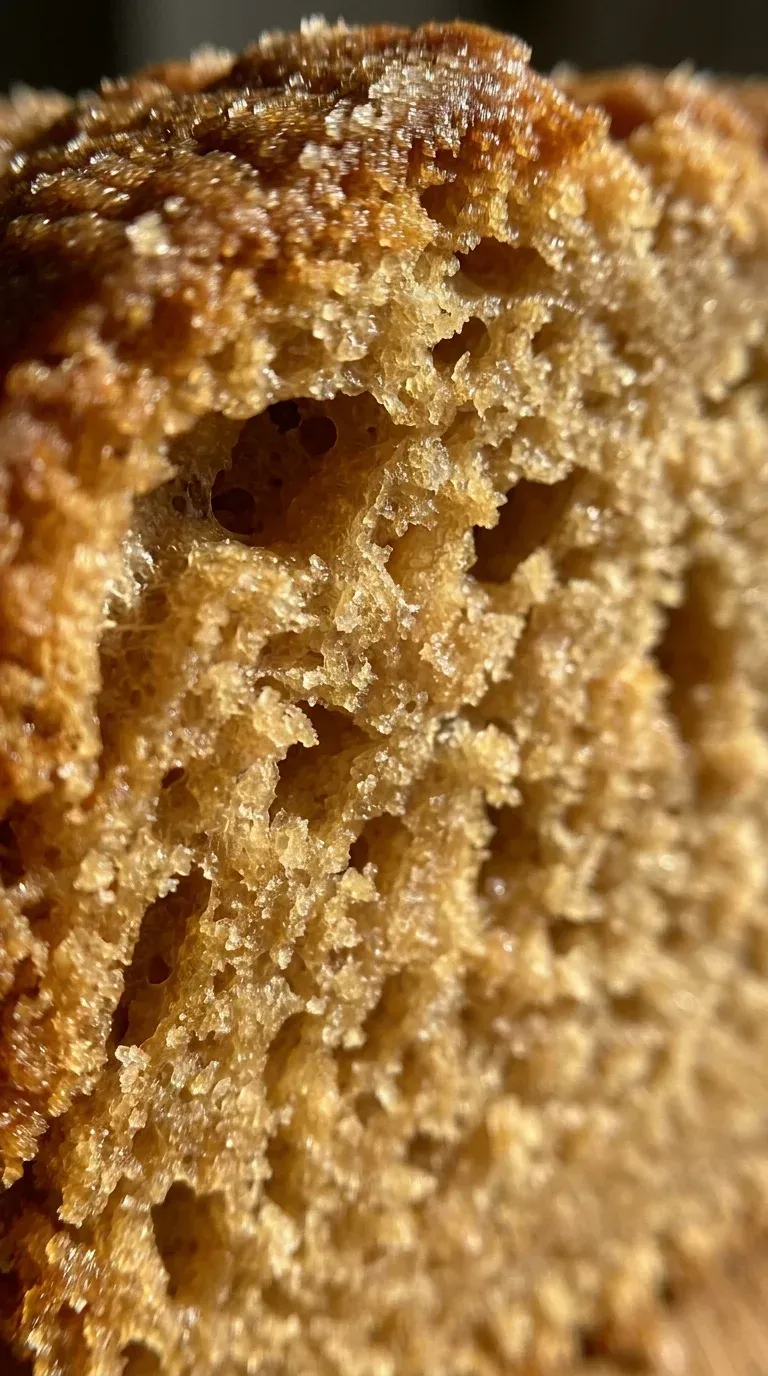
Keep any leftover cake in an airtight container at room temperature for up to 2 days, or wrap it tightly and freeze for a month.
Make ahead
You can bake this cake ahead of time and store it in the fridge, but for the best creamy texture, serve it at room temperature.
Leftovers
Store leftover slices in an airtight container in the fridge or at room temperature for 2 days.
Serving ideas
- Dust with powdered sugar for a simple and elegant look
- Serve with a handful of fresh berries
- Add a dollop of whipped cream on each slice
- Enjoy it alongside a hot cup of tea or coffee
Allergy information
Contains dairy and eggs. This recipe is naturally gluten-free, but always check your yogurt label for cross-contamination.
Creamy Yogurt Cake – 3‑Ingredient No‑Flour Recipe
No flour? No problem. This three-ingredient wonder is a game-changer for quick baking. You'll love how moist and rich it turns out.
- Prep time
- 5 min
- Cook time
- 40 min
- Total time
- 45 min
- Difficulty
- Easy
- Cuisine
- American
Ingredients
Main Ingredients
Instructions
- 1
First things first, let's get that oven warming up to 350°F (175°C). Now, take your 9-inch round cake pan and grease it well, then toss in a bit of flour or—honestly, my favorite way—just line the bottom with a circle of parchment paper. It makes getting the cake out so much easier, believe me.
- 2
Grab a large mixing bowl and combine your 1 cup (245g) full-fat plain yogurt and 1 cup (200g) granulated sugar. Use your electric mixer on medium speed and beat them together for about 1-2 minutes. You're looking for the sugar to be well incorporated and the mixture to look a little lighter in color. It's a lovely start.
- 3
Now, add your 3 large eggs one by one. Be sure to beat the batter well after each egg so it's fully blended before you add the next one. Oh, and don't forget to scrape down the sides of the bowl with your spatula every now and then; we want everything evenly mixed.
- 4
Keep beating that batter for another 2-3 minutes. You want it to look light, airy, and well-combined. Now, look, the batter is going to be quite thin—don't let that worry you! That's just how this recipe behaves.
- 5
Carefully pour your batter into the prepared cake pan. I usually use a rubber spatula to spread it out evenly so it bakes across the pan just right.
- 6
Pop it in the oven and bake for 35-40 minutes. I always check it with a toothpick in the center; once it comes out clean or with just a few moist little crumbs, it's done.
- 7
This is the hard part—patience. Let the cake cool right in the pan for about 10-15 minutes before you carefully invert it onto a wire rack to cool completely.
- 8
Once it's completely cooled down, you can slice it up and enjoy. Yeah, it's really that simple.
Nutrition per serving
- 310 kcal
- Calories
- 11 g
- Protein
- 32 g
- Carbs
- 14 g
- Fat
Tips & notes
- Full-fat yogurt is really the secret here for that rich, creamy feel. - The batter is naturally thin, so don't be tempted to add flour. - Using parchment paper is a lifesaver for this specific texture.
Frequently asked questions
Why is my batter so thin?
Oh, don't worry! That's completely normal for a flourless cake, and it will thicken up beautifully as it bakes.
Can I use low-fat yogurt instead?
Well, you can, but I really wouldn't. The full-fat yogurt is what makes it so creamy and prevents it from getting dry.
How do I store the leftovers?
Just pop it in an airtight container on the counter for a couple of days, or wrap it tightly and freeze it for up to a month if you're saving it for later.