
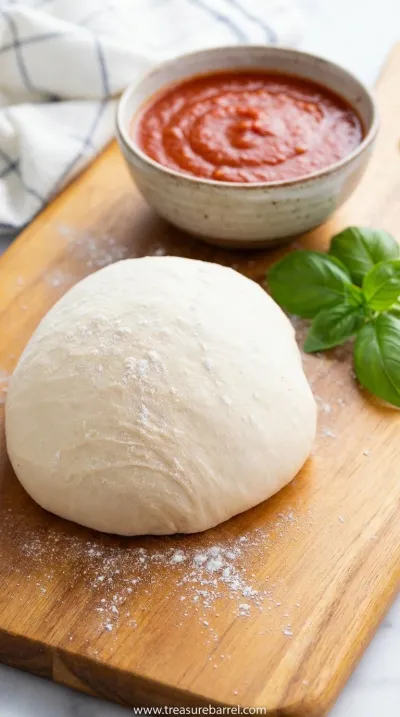
I remember my dad making pizza on Friday nights. He wasn't a fancy cook, but he had this one thing down. Our kitchen would fill with the warm, bready scent of rising dough, and the whole house felt cozy and safe. He'd let me press my fingers into the pillowy mound, leaving little dimples that would slowly puff back up. It’s one of those core memories, you know? Now, I do the same. This dough is part of our family favorites tradition. It’s the foundation for so many happy evenings, a simple canvas for whatever toppings we’re in the mood for. It reminds me that the best things are often the simplest, a beautiful lesson learned from a bowl of flour and water.
Why You'll Love This Dough
-
Incredibly Simple - I mean, really. The steps are so straightforward, and there's no complicated technique involved. It’s the perfect entry point into the world of home baking, and it builds so much confidence.
-
Perfect Texture - It creates a crust that's the best of both worlds: beautifully soft and chewy on the inside with a lovely, lightly crisp bottom. It’s sturdy enough to hold all your favorite toppings without getting soggy. Wow, it’s just so good.
-
Amazingly Forgiving - Oops, did you forget about it for an extra 20 minutes? It’s okay. Did you knead it a little too much or too little? It’ll probably still turn out great. This dough has a gentle, forgiving nature that I just adore.
-
Freezer-Friendly - This is a game-changer for busy weeknights. I often make a double batch and freeze half. Knowing I have homemade pizza dough ready to go makes pulling together simple suppers feel like a breeze.
Honestly, I was always so intimidated by yeast doughs, but this recipe made it feel effortless. The texture is just perfect.
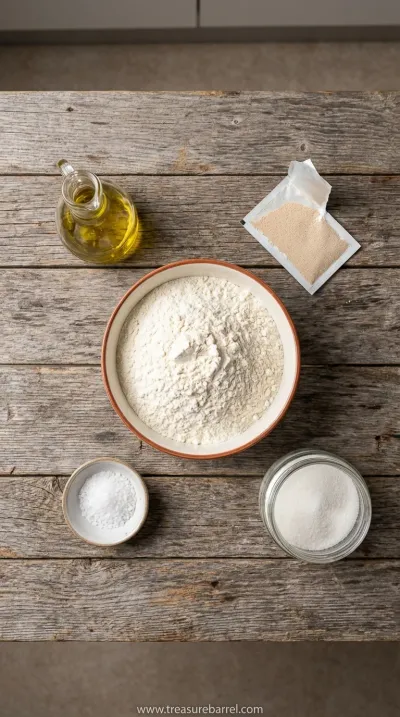
Essential Ingredient Guide
- All-Purpose Flour: You honestly don't need anything fancy here. Good old all-purpose flour gives this dough a wonderful softness and chew that is just perfect for a classic homemade pizza. I find that unbleached works best, as it gives it a slightly more rustic flavor and texture, but regular is perfectly fine too. It's the simple, reliable heart of the recipe.
- Active Dry Yeast: This is what gives our dough life, its beautiful rise and airy texture. Make sure your yeast is fresh! An easy way to check is to see if it gets nice and foamy when you proof it in the warm water and sugar. That little cloud of bubbles is the sign that everything is working just as it should, a quiet promise of a delicious pizza to come.
- Warm Water: The temperature here is pretty important, but don't stress about it. You want it to feel like a comfortably warm bath—not too hot, not too cold. If it's too hot, it can harm the yeast, and if it's too cool, the yeast will be slow to wake up. Just aim for that 'just right' feeling on your wrist; it's a simple touch that makes all the difference.
 Home Baking
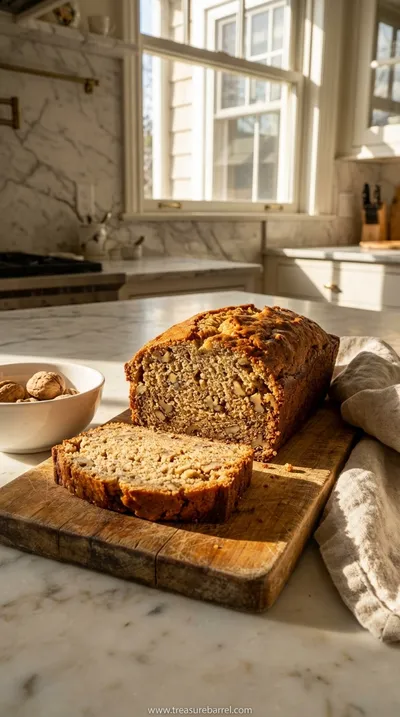
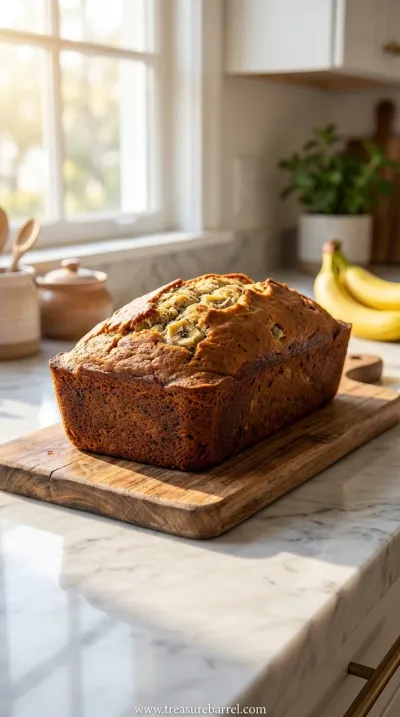
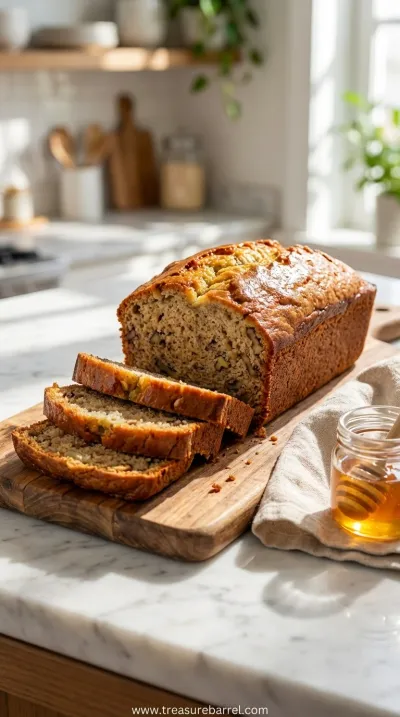
Best Banana Bread Recipe: Moist & Delicious
A classic, incredibly moist homemade banana bread. The perfect easy treat for any day.
Complete Cooking Process
-
Activating the Yeast:
This first step always feels like a little science experiment, and I love it. You're essentially waking up the yeast with a gentle bath of warm water and a little sugar to snack on. Watching it bloom and become foamy is so satisfying. It's this quiet, magical moment that promises a beautiful dough is on its way. It's the foundation of all the flavor and airiness to come, a small but vital beginning to your pizza journey.
-
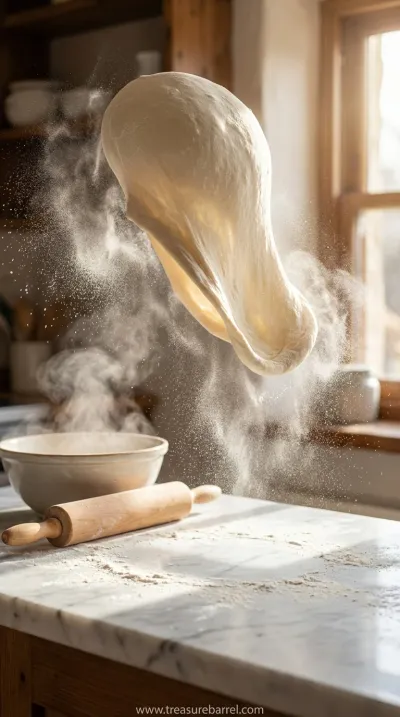
Mixing and Kneading:
This is where you get to connect with the dough. Whether you're using a stand mixer or your own two hands, the goal is the same: to develop the gluten and create a smooth, elastic ball. I personally love kneading by hand on a lightly floured counter. The rhythmic push and fold is so therapeutic, and you can feel the dough transform from a shaggy mess into something silky and alive. It’s a process that shouldn't be rushed; let it be your moment of calm.
-
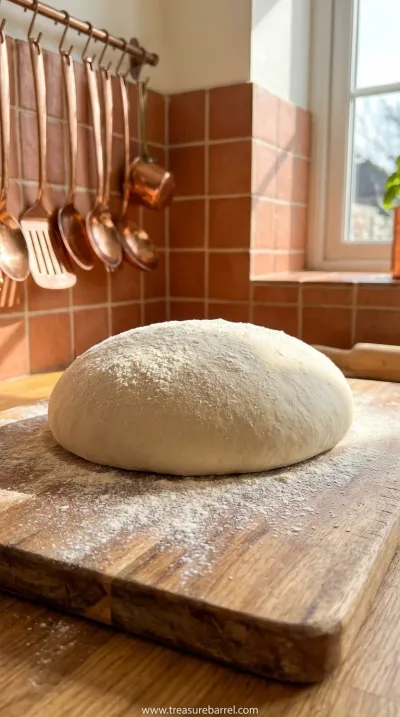
The First Rise:
Patience is the key ingredient here. You just tuck the dough into a lightly oiled bowl, cover it, and let it rest in a warm, cozy spot. It’s like putting a baby down for a nap. When you come back, wow, it will have doubled in size, all puffy and full of air. This is where the dough develops its flavor and its light, chewy texture. Don't skip this part; it's what makes the pizza crust so special and delicious.
Frequently Asked Questions
→ Can I make this dough without a stand mixer?
Absolutely! In fact, that's how I first learned to make it, and it's my favorite way. Kneading by hand is such a lovely, tactile experience. It takes about 8-10 minutes of steady kneading on a floured countertop. You'll get a real feel for when the dough is ready—it will transform from sticky and shaggy to smooth and elastic right under your hands. It’s a great little workout and so rewarding.
→ Why didn't my dough rise?
Oh, that’s such a frustrating feeling. Most of the time, the culprit is the yeast. It might have been old, or the water might have been too hot, which can kill it. Always check the expiration date on your yeast packet! Also, make sure the spot where you're letting it rise is warm enough. If your kitchen is chilly, you can place the bowl in an oven that's turned off with just the oven light on to create a cozy environment.
→ Can I make this dough ahead of time?
Yes, and it's a fantastic time-saver! After the first rise, you can punch the dough down, wrap it tightly in plastic wrap, and store it in the refrigerator for up to 3 days. The slow, cold fermentation actually develops a more complex, delicious flavor. Just be sure to let it sit at room temperature for about 30-60 minutes before you try to shape it. It makes pizza night so much easier.
→ What's the best way to get a crispy crust?
A super hot oven is key! I preheat my oven to its highest setting, around 500°F (260°C), with a pizza stone or steel inside for at least 45 minutes. When you slide the pizza onto that screaming hot surface, the bottom crust crisps up immediately. Also, using a bit of cornmeal on your pizza peel helps create a barrier and adds a nice, subtle crunch. It really elevates the whole experience into something like those wonderful rustic bites we all love.
→ Can I use whole wheat flour in this recipe?
You certainly can. For a heartier texture and flavor, try replacing up to half of the all-purpose flour with whole wheat flour. Keep in mind that whole wheat flour absorbs more moisture, so you might need to add an extra tablespoon or two of water to get the right consistency. The dough will be a bit denser, but it’s delicious and makes for a very satisfying, wholesome pizza. Many great recipes use this method.
→ How do I freeze the dough?
Freezing this dough is so easy. After the first rise, punch it down and divide it into portions for individual pizzas. Lightly coat each ball with olive oil, then wrap it tightly in plastic wrap and place it inside a freezer-safe bag. It will keep for up to 3 months. To use it, just let it thaw overnight in the refrigerator, then let it rest on the counter for an hour to come to room temperature before shaping. This makes for some great quick comfort food.
→ My dough is too sticky. What should I do?
Don't panic! A slightly sticky dough is actually a good thing—it means it's well-hydrated and will bake up with a lovely, open texture. If it's truly unmanageable, resist the urge to dump a lot of flour on it at once. Instead, add just a tablespoon of flour at a time while you're kneading until it becomes smooth and easy to handle. Your hands and the work surface should also be lightly floured to help.
→ Is sugar necessary for the yeast?
The sugar acts as a little snack to help kickstart the yeast activity, ensuring it gets nice and foamy. However, the yeast will also feed on the starches in the flour. You can technically leave it out, but the rise might be a little slower. I find that a small amount of sugar or honey also adds a very subtle depth to the flavor of the finished crust, making it a true cozy classic.
Nutrition Facts
per serving
250
Calories
7g
Protein
45g
Carbs
5g
Fat
Taste Profile
A classic, savory, bready flavor with a subtle richness from olive oil. A perfect neutral canvas.
Ingredient Substitutions
Don't have an ingredient? Try these alternatives
Using bread flour will result in a slightly chewier and crispier crust due to its higher protein content. You can substitute it one-for-one.
You can use an equal amount of honey or maple syrup to help activate the yeast. It may add a very subtle hint of flavor to the dough.
Recipe Variations
Try these delicious twists on the original
Herbed Dough Variation
Add 1-2 teaspoons of dried herbs like oregano, basil, or an Italian seasoning blend to the flour for an extra layer of flavor baked right into the crust.
Garlic Dough Variation
For a savory garlic kick, mix 1 teaspoon of garlic powder or 1-2 cloves of very finely minced fresh garlic into the dough along with the salt.
Common Mistakes to Avoid
Learn from others' mistakes for perfect results
- Using water that is too hot or too cold, which can kill or fail to activate the yeast.
- Not kneading the dough enough, resulting in a dense crust.
- Adding too much flour during kneading, which can make the dough dry and tough.
- Not letting the dough rise long enough, which leads to a flat, less flavorful crust.
Meal Prep & Storage
Make Ahead Tips
This dough is perfect for making ahead. You can prepare it through the first rise, then store it in the refrigerator for up to 3 days. It can also be frozen for up to 3 months. This makes spontaneous pizza nights incredibly easy and stress-free.
Leftover Ideas
Leftover baked pizza can be stored in the refrigerator. Reheat slices in a hot skillet with a lid to re-crisp the bottom and melt the cheese, or in an oven or air fryer. Unused raw dough can be stored as described in the make-ahead section.
Perfect Pairings
Serve this with...
Cooking Timeline
Proof the yeast.
Mix the dough ingredients.
Knead the dough until smooth and elastic.
Let the dough rise in a warm place until doubled.
Shape, top, and bake your pizza.
Easy Homemade Pizza Dough From Scratch
Make perfect easy homemade pizza dough from scratch with this simple recipe.
Timing
Prep Time
15 Minutes
Cook Time
1 Hour 30 Minutes (includes rising time)
Total Time
1 Hour 45 Minutes
Recipe Details
Ingredients
For the Dough
-
01
1 ½ cups warm water (105-115°F)
-
02
2 ¼ teaspoons active dry yeast (1 standard packet)
-
03
1 teaspoon granulated sugar
-
04
2 tablespoons olive oil, plus more for greasing
-
05
1 ½ teaspoons fine sea salt
-
06
3 ½ to 4 cups all-purpose flour, plus more for dusting
Instructions
First things first, let's wake up the yeast. In a large bowl (or the bowl of your stand mixer), pour in the warm water. Sprinkle the yeast and sugar over the top. Give it a gentle little stir and then just let it be for about 5 to 10 minutes. You're looking for it to get foamy and bubbly, kind of like the top of a root beer float. This is how you know your yeast is alive and ready to work its magic for you. If nothing happens, ugh, your yeast might be old, and it's best to start over with a fresh packet.
Once your yeast is nice and bubbly, it's time to add the other ingredients. Stir in the olive oil and salt. Then, begin adding the flour, one cup at a time, mixing until a shaggy dough starts to form. If you're using a stand mixer, attach the dough hook and let it run on low speed. If you're doing this by hand, just use a wooden spoon to bring it all together. The goal here is just to get everything incorporated before the real work of kneading begins; don't worry if it looks a bit messy at this stage.
Now for the fun part! Turn the dough out onto a lightly floured surface and knead for about 8-10 minutes. You want to push the dough away from you with the heel of your hand, then fold it over and give it a quarter turn. Repeat this calming, rhythmic motion until the dough becomes smooth, elastic, and just a little bit tacky. It should spring back slowly when you poke it. This process builds the gluten structure, which is the secret to that perfect chewy bite everyone loves.
Lightly grease a clean bowl with a little olive oil. Place your beautiful ball of dough inside and turn it over once to coat it lightly with oil. This simple step prevents a dry skin from forming on top. Cover the bowl with a clean kitchen towel or plastic wrap and set it in a warm, draft-free place to rise for about 1 to 1.5 hours, or until it has gloriously doubled in size. Look, you can now gently press out the air, and it's ready to be shaped into your favorite pizza!
Notes & Tips
-
1
For an extra flavorful crust, you can let the dough do a slow rise in the refrigerator. After kneading, place it in the oiled, covered bowl and refrigerate for 1-3 days. The flavor development is really something special.
-
2
Don't be afraid to use your hands to stretch the dough. Using your fingertips and knuckles is much gentler than a rolling pin and helps preserve the lovely air bubbles that make the crust light and chewy.
-
3
If your kitchen is cold, you can create a warm spot for the dough to rise by placing the covered bowl in an oven that is turned off but has the light on. It creates the perfect, gentle warmth.
Tools You'll Need
-
Large Mixing Bowl: You'll need a nice, roomy bowl for mixing the ingredients and for letting the dough rise. Glass or ceramic bowls hold heat well, which can help the rising process along beautifully.
-
Stand Mixer (Optional): A stand mixer with a dough hook can make the kneading process completely hands-off. It’s a wonderful tool if you have one, but honestly, kneading by hand is so satisfying and connects you to the process.
-
Bench Scraper: This simple tool is surprisingly helpful. It's great for dividing the dough and for cleaning up any sticky bits from your work surface. I feel like a real baker whenever I use mine.
-
Measuring Cups and Spoons: Accuracy is key, especially when working with yeast. Having a reliable set of measuring cups and spoons ensures your dough has the perfect balance of ingredients to rise beautifully.

Recipe by
Sofia BelleSofia bakes with love 🧁💛, sweet smells filling her home 🍪🏡, and flour on her hands 🤲✨. She believes every loaf 🍞 and cake 🎂 tells a story of wa ...
Get Delicious Recipes Weekly
Join 25,000+ home cooks getting our best recipes straight to their inbox.
Free forever • No spam • Unsubscribe anytime