Skillet Bang Bang Chicken Thighs
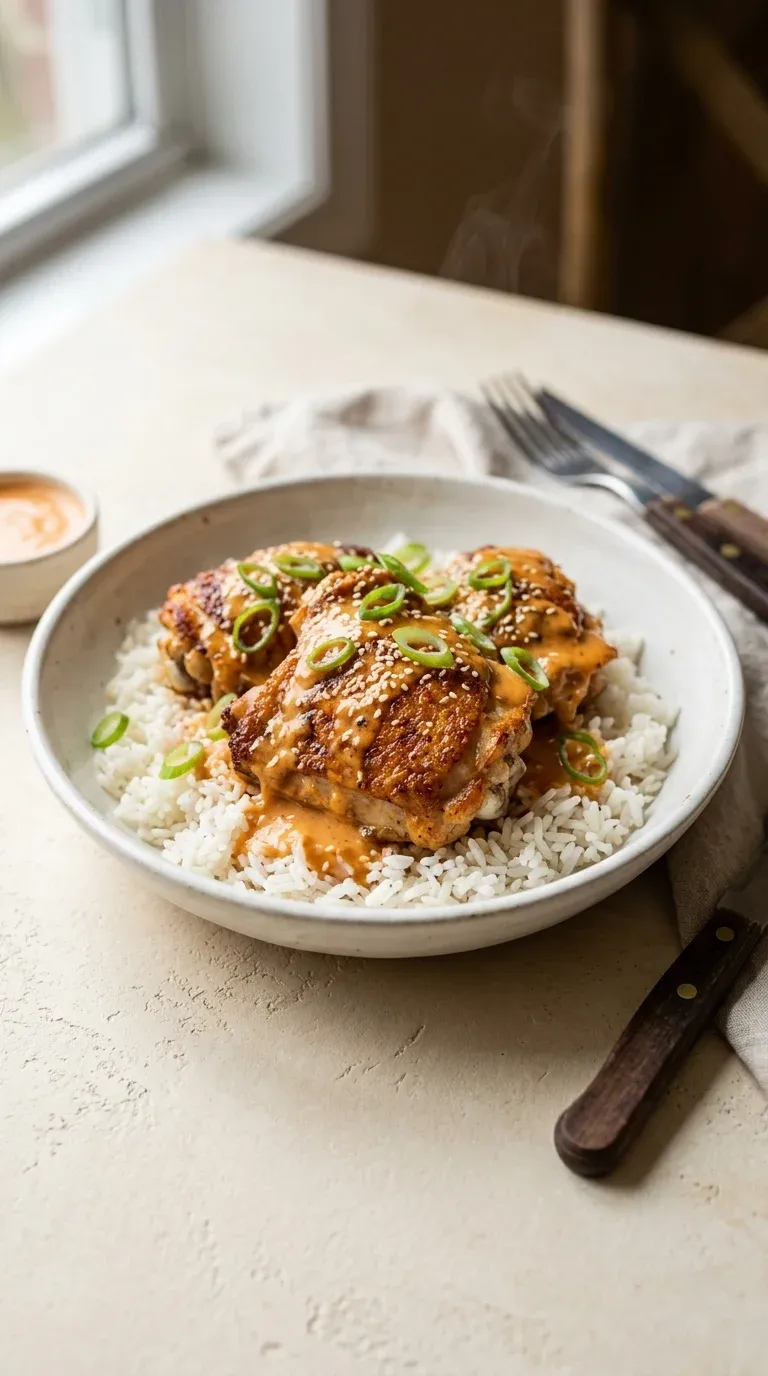
Crispy skin meets a bold, sweet-and-spicy glaze. This one-pan wonder is ready in just thirty minutes. It is pure comfort in every bite.
- Maya Quinn
- Quick Comfort
- August 24, 2026
- 4 min read
- Updated November 5, 2026
- Total time
- 30 min
- Servings
- 4 Servings
- Difficulty:
- Easy
Table of contents
Well, look, there are some nights where you just don't have the heart for a million pots and pans, you know? That's where these skillet bang bang chicken thighs come in. I remember when I first started experimenting with Sriracha and honey in my own kitchen; I was just looking for something that felt a bit exciting but still grounded, and wow, this hit the spot.
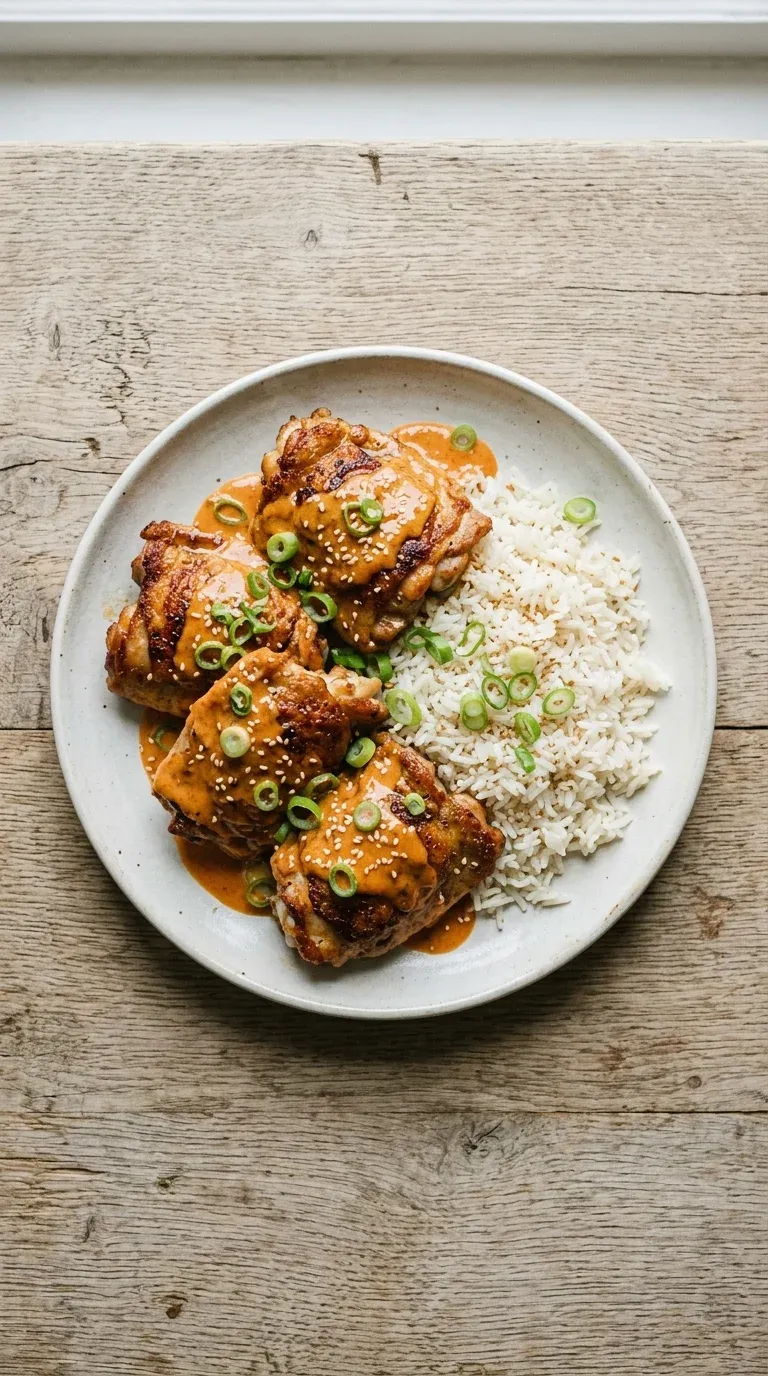
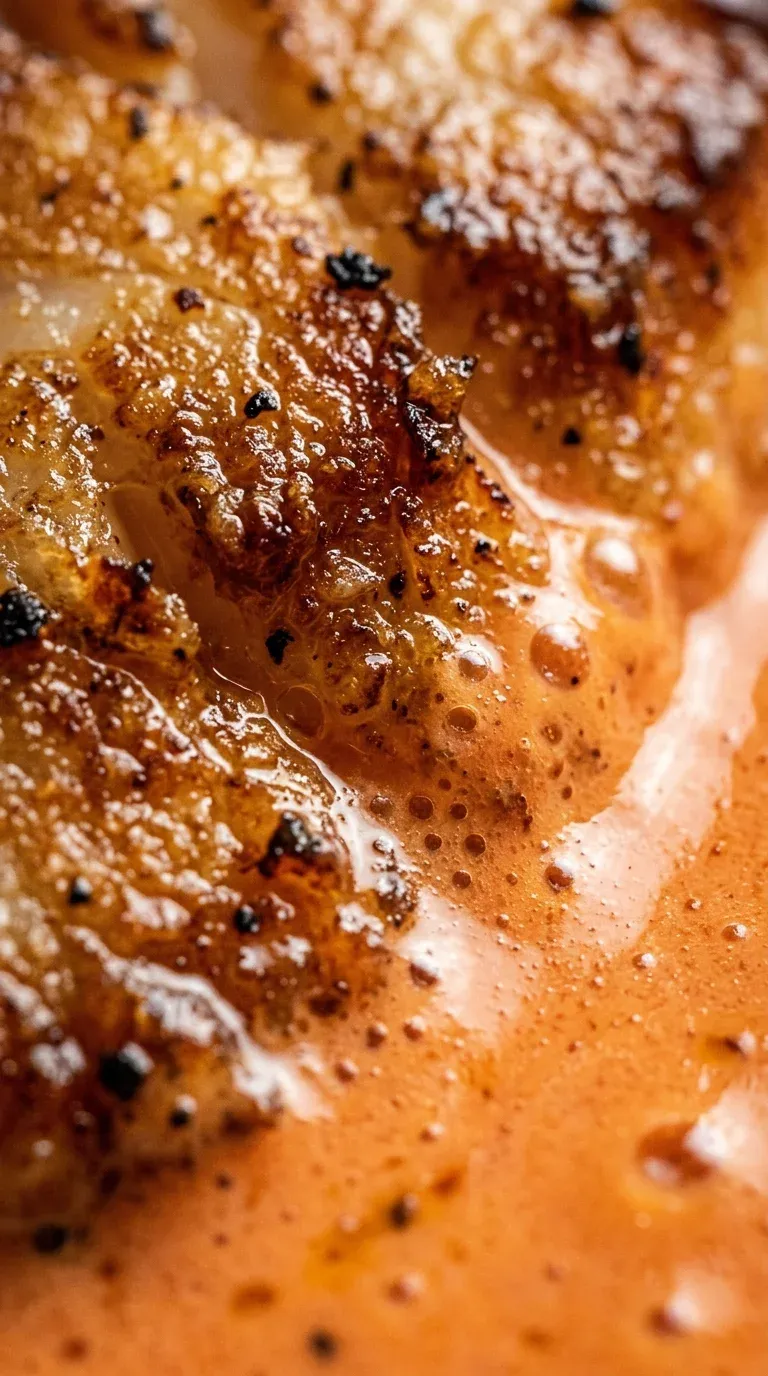
There is something so soothing about the sound of bone‑in skin‑on chicken thighs sizzling in a heavy pan. Honestly, that moment when the skin turns deep golden brown... it just makes the whole house feel like a home. I love the way the creamy mayonnaise and rice vinegar meld together into that glossy sauce that clings to every piece of meat.
So, yeah, it's a simple meal, but it feels special. Just a little bit of heat, a touch of sweetness from the honey, and that lovely aromatic kick of grated fresh ginger. It's just... comforting, really.
The story behind it
The concept of 'Bang Bang' flavors traces back to the fusion of East Asian ingredients and American appetites, most notably popularized by the creamy, spicy shrimp appetizers found in seaside restaurants. It represents a marriage of contrasting profiles—the sharp heat of chili, the mellow sweetness of honey or sugar, and the rich, cooling base of a creamy emulsion.
Adapting this profile for skillet bang bang chicken thighs moves the flavor from a cocktail party appetizer to a hearty family meal. By using a cast iron skillet, the chicken achieves a sear that mirrors traditional roasting, while the sauce reduction creates a glaze that is deeply rooted in the tradition of stir-fry finishing techniques.
Across many cultures, the combination of ginger and garlic serves as the foundational 'aromatic' base, providing a warmth that balances the richness of the poultry. This dish is a modern reflection of that timeless balance, blending global pantry staples into a single, cohesive experience.

Why You'll Love It
- Honestly, there is just something about the way 4 bone‑in skin‑on chicken thighs get that deep golden brown crust in a skillet that feels like a warm hug.
- The sauce is just... wow. It is a creamy, spicy blend of 1/2 cup mayonnaise and 2 tbsp Sriracha sauce that clings to the meat perfectly.
- I mean, it only takes about 30 minutes total, so it is just right for those evenings when you are tired but still want something that tastes like you spent hours on it.
- Well, look, the balance of 2 tbsp honey and 1 tbsp rice vinegar gives it this sweet and tangy zip that my family always asks for again.
Tips for success
- Skin-on thighs, They protect the meat from drying out and create a delightful crisp texture.
- Don't crowd the pan, Cook in batches if you need to so each piece gets a caramelized crust.
- Sauce reserve, Keep a splash of sauce for a final drizzle to add a burst of flavor.
Professional secrets
- Patting meat dry removes surface moisture, allowing the Maillard reaction to happen faster for a better crust.
- Using the pan drippings to start the sauce adds an extra layer of depth to the Bang Bang flavor.
- Tenting with foil allows the meat to rest and redistribute juices without cooling down too quickly.
Common mistakes to avoid
- Adding chicken to a cold pan, which prevents the skin from crisping.
- Crowding the skillet, which leads to steaming instead of browning.
- Overcooking the sauce, which can cause the mayonnaise to break or separate.
Substitutions
- Sriracha: Sambal Oelek. A bit more vinegary and less sweet, but works great.
- Honey: Maple Syrup. Adds a slightly different sweetness that pairs well with the ginger.
- Mayonnaise: Greek Yogurt. For a tangier, slightly lighter sauce.
Variations
- Vegan Bang Bang Tofu Skillet: Swap out the chicken for extra–firm tofu slices. Pan–fry them until they're golden brown, then toss them in that same creamy Bang Bang sauce for a lovely plant–based version.
- Low–Carb Bang Bang Chicken with Almond Flour Crust: If you're watching carbs, coat your thighs in a mix of almond flour and panko before searing. You'll get a wonderful crunchy coating that stays juicy on the inside.
Storage
Leftovers are fine in the fridge, but don't leave them at room temperature for more than 2 hours. They can also be frozen in an airtight container for up to 3 months.
Make ahead
You can prep the sauce in advance and keep it in the fridge, but for the best results, sear the chicken and toss it in the sauce just before serving.
Leftovers
Store in an airtight container in the fridge. I'd suggest reheating them in a pan over medium heat to try and bring back some of that skin's crispness.
Serving ideas
- Serve over a bed of steamed jasmine rice to absorb the sauce
- Pair with a side of cucumber slaw with lime vinaigrette
- Top with extra toasted sesame seeds for a nutty crunch
- Garnish with fresh chopped cilantro for an aromatic finish
Allergy information
Contains egg (mayonnaise) and soy (soy sauce).
Skillet Bang Bang Chicken Thighs
Crispy skin meets a bold, sweet-and-spicy glaze. This one-pan wonder is ready in just thirty minutes. It is pure comfort in every bite.
- Prep time
- 10 min
- Cook time
- 20 min
- Total time
- 30 min
- Difficulty
- Easy
- Cuisine
- American
Ingredients
Chicken Preparation
Bang Bang Sauce
Garnish
Instructions
- 1
Start by patting those chicken thighs really dry with paper towels. Honestly, it's the secret to the crunch. Once they're dry, season them generously with the kosher salt, black pepper, and garlic powder.
- 2
Heat up your 2 tablespoons of olive oil in a large skillet over medium‑high heat. You're looking for it to be shimmering, but look, don't let it start smoking or it'll taste bitter.
- 3
Carefully place the thighs skin‑side down. Let them sear for about 6–7 minutes. You want that skin to turn a beautiful, deep golden brown and get properly crispy.
- 4
Flip them over and cook for another 5–6 minutes. Use your thermometer to make sure the internal temperature reaches 165°F (74°C). If the skin isn’t quite where you want it, just give it an extra minute. Wow, the smell at this point is just wonderful.
- 5
Move the cooked thighs over to a plate and tent them loosely with foil. We'll keep them warm and cozy while we whip up the sauce.
- 6
Turn the heat down to medium. Right in that same dry skillet, whisk together your mayo, Sriracha, honey, rice vinegar, sesame oil, grated ginger, minced garlic, and that optional tsp of soy sauce.
- 7
Bring the sauce to a gentle simmer, stirring constantly. Let it thicken up for about 2 minutes. Oops, if it gets a bit too thick, just stir in 1 tablespoon of water until it looks just right.
- 8
Return the chicken to the skillet. Toss them around so the sauce clings beautifully to the meat, and cook for another 1–2 minutes just to heat everything through.
- 9
Plate the chicken into warmed bowls. I love to sprinkle on the toasted sesame seeds and sliced green onions for a little pop of color and crunch.
- 10
Serve it up immediately with some fluffy steamed jasmine rice and a crisp cucumber slaw. Just lovely.
Nutrition per serving
- 480 kcal
- Calories
- 34 g
- Protein
- 14 g
- Carbs
- 32 g
- Fat
Tips & notes
- The skin is key—it keeps the meat juicy while giving you that satisfying crunch. - Be careful not to crowd your pan; if you do, the chicken will steam instead of sear. - Keep some sauce on the side for a little extra drizzle at the end.
Frequently asked questions
What if my chicken skin isn't getting crispy?
Oops, that usually happens if the pan isn't hot enough or if the chicken was damp. Just make sure the olive oil is shimmering and give it an extra minute without moving the meat.
Can I make this sauce less spicy?
Of course! Just use a little less than the 2 tbsp Sriracha sauce. You can always stir in more at the end if you decide you want a bit more kick.
How do I store any leftovers?
Just pop them in an airtight container in the fridge. If you're planning for later, they actually stay good in the freezer for up to 3 months.