
The croissant's journey began not in France, but in Austria, where the kipferl—a crescent-shaped pastry—was a staple. It wasn't until Marie Antoinette, an Austrian princess who became Queen of France, introduced the pastry to the French court that it evolved into the flaky, butter-rich delicacy we know today. Bakers in Paris refined the technique, creating the laminated dough that results in hundreds of crisp, delicate layers. This process, known as laminating, involves folding butter into the dough multiple times to create those signature air pockets that puff up beautifully in the oven.
Why You'll Love It
-
Nothing beats the smell of fresh-baked croissants filling your kitchen
-
The satisfaction of creating those perfect, flaky layers from scratch
-
Way more affordable than buying them from a fancy bakery
-
Perfect for impressing guests or treating yourself on a slow morning
"I never thought I could make croissants at home, but this recipe made it feel possible. They were buttery, flaky perfection!"
Essential Ingredient Guide
- High-quality butter: Look for European-style butter with higher fat content—it makes all the difference in creating those crisp, flavorful layers. Cold, but still pliable, is what you're after.
- Bread flour: The higher protein content gives the dough the strength it needs to hold all those delicate layers without tearing. All-purpose works, but bread flour is the secret to the best structure.
- Active dry yeast: Fresh yeast gives the dough its gentle lift and that faint, yeasty aroma that makes croissants so distinctive. Make sure it's active and bubbly when you proof it.
- A pinch of sugar: Just enough to feed the yeast and balance the richness, not to make them sweet. It helps with browning too, giving you that beautiful golden color.
- A bit of milk: Adds tenderness to the crumb and helps with browning. Whole milk gives the best flavor, but any will work in a pinch.
- Egg wash: That glossy, dark gold finish doesn't happen by accident. A simple egg wash brushed on right before baking is the key.
Complete Cooking Process
-
Ingredient Readiness:
Everything should be cool—the butter firm but bendable, the flour chilled, even the bowl you mix in. Temperature control is everything here. I sometimes chill my rolling pin, too, on really warm days.
-
Flavor Development:
The flavor builds slowly—during the initial rise, as the yeast works, and then again during the overnight rest in the fridge. That patience lets the gluten relax and the butter firm up, which is what gives you control over the layers.
-
Texture Control:
This happens during the folding and rolling. Each turn creates another layer of butter trapped between dough. If the butter starts to soften too much, you lose definition. If it's too cold, it can tear the dough. It's a dance, really.
-
Finishing Touches:
The final proof is where you see them truly become croissants. They'll puff up, feel light, and jiggle slightly. That's when you know they're ready for the oven. The egg wash right before baking gives them that professional shine.
-
Serving Timing:
Croissants are best served warm from the oven, when the butter is still fragrant and the layers are at their crispiest. Though, honestly, I've been known to enjoy one cold the next morning, too—they have a different, still lovely, tenderness.
-
Work in a cool kitchen—if it's hot, the butter will melt and the layers won't be as defined.
-
Use a ruler! Consistent measurements for rolling make for even, professional-looking layers.
-
Don't skip the chill time between folds. It's not just a suggestion—it's essential for keeping the butter cold.
-
A sharp knife or pizza cutter makes clean cuts for shaping, so the layers can rise evenly.
Pro Tips
I've learned that rushing croissants never ends well. The dough tells you when it's ready—when it's cold but pliable, when it's proofed enough to feel like a soft pillow. You just have to listen. And honestly, even if they're not perfect the first time, they'll still taste wonderful. The process itself is a kind of meditation, all rolling and folding and waiting. It's one of those recipes that teaches you as much about patience as it does about baking. Like that time I tried making a foolproof banana bread and learned that some things are worth taking slow.
The essence of the dish:
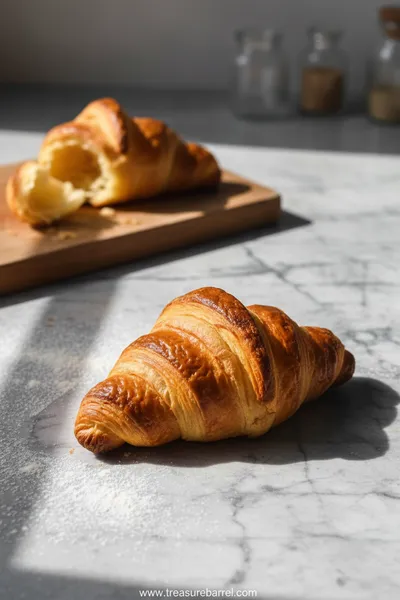
It's all about the layers. That crisp, shattering exterior giving way to a soft, airy, slightly chewy interior with hundreds of buttery seams. It's a textural experience as much as a flavor one.
A fun fact or historical angle:
The crescent shape is said to symbolize the Ottoman Empire's flag, celebrating the victory of the Austrians over the Turks in the 17th century. The French then made it their own with their masterful pastry techniques.
Flavor or sensory focus:
The smell is the first thing you'll notice—that warm, buttery, slightly yeasty aroma that fills the whole house. Then the sound of the crisp shell cracking as you break it open, and finally the rich, delicate flavor that just melts away.
You Must Know
-
Temperature is everything. If the butter melts into the dough, you lose the flaky layers.
-
Patience is not optional. Rushing the rising or chilling times will change the texture completely.
-
Shaping matters. A neat, tight roll helps the croissant keep its structure as it bakes.
-
Oven temperature needs to be hot enough to create steam quickly, which helps the layers separate and puff up.
Frequently Asked Questions
→ Can I use all-purpose flour instead of bread flour?
You can, and it will still work, but the croissants might be a bit less structured and more tender. Bread flour gives you that chewy pull that makes them so satisfying. If you only have all-purpose, maybe add an extra tablespoon to help with the gluten development.
→ My butter leaked out while baking. What went wrong?
Oh, that's happened to me too. Usually it means the butter got too warm during the folding process, or the dough wasn't chilled enough between turns. Next time, make sure everything stays cool, and don't be afraid to pop the dough back in the fridge for a bit if it feels soft.
→ How do I know when they're proofed enough?
They should look puffy and jiggle slightly when you gently shake the tray. If you press lightly with a finger, the indentation should slowly spring back. If it springs back quickly, they need more time. If it doesn't spring back at all, they might be over-proofed.
→ Can I freeze the shaped croissants before baking?
Absolutely. After shaping, freeze them solid on a tray, then transfer to a bag. When you're ready, let them thaw and proof overnight in the fridge, then bring to room temperature before baking. It's a great way to have fresh croissants on demand.
→ Why are my croissants dense instead of flaky?
This usually points to not enough layers being created during the folding, or the butter and dough being too warm and blending together. It could also be from under-proofing—they need that time to rise and become light.
→ What's the best way to reheat leftover croissants?
A quick warm-up in a low oven (around 300°F) for 5-10 minutes brings back the crispness. The microwave will make them soft and steamy, which isn't what you're after. Honestly, I sometimes just eat them room temperature with a bit of jam—still lovely.
Nutrition Facts
per serving
310
Calories
5g
Protein
32g
Carbs
18g
Fat
Taste Profile
Rich, buttery, and subtly yeasty with a clean, crisp finish.
Ingredient Substitutions
Don't have an ingredient? Try these alternatives
The croissants will be slightly less chewy but still delicious. You might need a bit less liquid.
The layers might be slightly less defined and the flavor less rich, but it will still work.
Recipe Variations
Try these delicious twists on the original
Chocolate Croissants (Pain au Chocolat)
Place two sticks of dark chocolate at the base of each rectangle before rolling into a straight log instead of a crescent.
Almond Croissants
Brush baked croissants with simple syrup, split them open, and fill with almond cream. Top with sliced almonds and bake again until golden.
Common Mistakes to Avoid
Learn from others' mistakes for perfect results
- Using warm butter or a warm kitchen, which causes the layers to melt together.
- Rushing the proofing time, resulting in dense croissants.
- Rolling the dough too thin, which can tear the layers.
- Not sealing the butter block properly, leading to butter leaking out.
Meal Prep & Storage
Make Ahead Tips
The dough can be prepared through the final fold and chilled for up to 2 days before shaping and baking. You can also freeze the shaped, unbaked croissants for up to a month.
Leftover Ideas
Day-old croissants are wonderful sliced in half and toasted, or used for bread pudding or banana bread pudding. They make a fantastic base for a savory breakfast sandwich, too.
Perfect Pairings
Serve this with...
Cooking Timeline
Mix dough, let rise, perform first three folds. Chill overnight.
Shape croissants, proof for 2 hours, then bake. Enjoy warm.
Classic French Croissants 101 Guide
Learn to make wonderfully flaky, homemade classic French croissants with our easy guide, perfect for breakfast or as a special treat.
Timing
Prep Time
45 Minutes
Cook Time
20 Minutes
Total Time
12 Hours (includes chilling and proofing)
Recipe Details
Ingredients
For the Dough (Détrempe)
-
01
500g bread flour, plus extra for dusting
-
02
10g salt
-
03
50g granulated sugar
-
04
10g active dry yeast
-
05
300ml whole milk, cold
-
06
50g unsalted butter, softened
For the Butter Block (Beurrage)
-
01
280g cold unsalted European-style butter (high fat content)
For Assembly
-
01
1 egg, beaten with a splash of milk (for egg wash)
Instructions
Make the dough: In a large bowl, whisk together the flour, salt, and sugar. In a small bowl, dissolve the yeast in the cold milk and let it sit for 5 minutes until foamy. Add the yeast mixture and the softened butter to the dry ingredients. Mix until a shaggy dough forms. Turn out onto a floured surface and knead for about 5-7 minutes until smooth and elastic. It should be a little firm. Place in a lightly oiled bowl, cover, and let rise for 1-1.5 hours, or until doubled in size.
Prepare the butter block: While the dough rises, place the cold butter between two sheets of parchment paper. Pound and roll it out into a neat 7x7 inch square. Chill until firm.
First fold (Lock-in): After the first rise, punch down the dough. On a floured surface, roll it out into a 10x10 inch square. Place the chilled butter block in the center diagonally, so the points of the butter square face the sides of the dough square. Fold the corners of the dough over the butter, enveloping it completely. Pinch the seams to seal.
First turn: Turn the dough packet so a sealed seam faces you. Gently roll it out into a long rectangle, about 8x24 inches. Be patient and use even pressure. Fold the dough in thirds, like a letter. This is one 'turn.' Wrap in plastic and chill for at least 30 minutes.
Second and third turns: Repeat the rolling and folding process two more times, chilling the dough for 30 minutes between each turn. After the final turn, wrap the dough tightly and refrigerate for at least 4 hours, or ideally overnight.
Shape the croissants: Roll the chilled dough out on a floured surface into a long rectangle, about 10x30 inches. It should be about 1/4 inch thick. Using a sharp knife or pizza cutter, trim the edges neatly. Cut the rectangle in half lengthwise. Then, cut each strip into triangles with a 5-inch base.
Roll and proof: Make a small notch in the center of the base of each triangle. Gently stretch the triangle slightly, then starting from the base, roll it up towards the tip. Place the croissants on a parchment-lined baking sheet, curving the ends slightly to form the crescent shape. Cover lightly with oiled plastic wrap and let proof in a warm, draft-free place for 1.5-2 hours, until puffy and jiggly.
Bake: Preheat oven to 400°F (200°C). Brush the croissants gently with the egg wash. Bake for 15-20 minutes, rotating the pan halfway through, until deeply golden brown. Transfer to a wire rack to cool slightly. Serve warm. The smell is just incredible.
Notes & Tips
-
1
The long chill is non-negotiable for flavor and texture development.
-
2
If the dough resists rolling, let it rest for 5-10 minutes at room temperature to relax the gluten.
-
3
Don't worry if your first batch isn't perfect—croissants are a skill that improves with practice.
-
4
For an extra treat, you can add a few dark chocolate batons to the triangles before rolling.
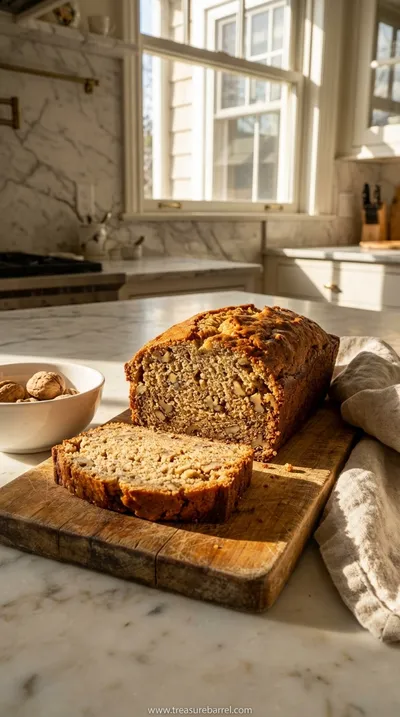 Home Baking
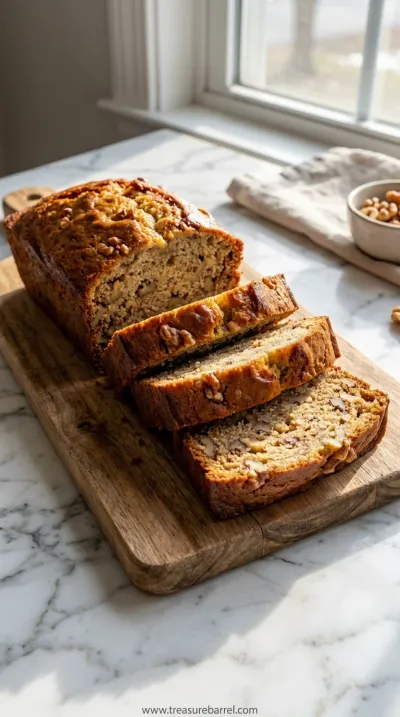
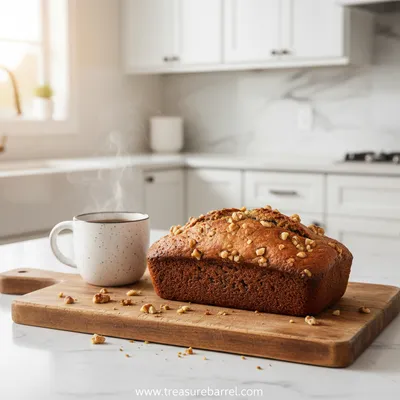
Best Banana Bread Recipe: Moist & Delicious
A classic, incredibly moist homemade banana bread. The perfect easy treat for any day.
Tools You'll Need
-
Stand mixer with dough hook (optional, but helpful)
-
Rolling pin
-
Ruler
-
Sharp knife or pizza cutter
-
Large baking sheets
-
Parchment paper
-
Pastry brush
Must-Know Tips
-
Keep everything cold, especially the butter. Work quickly but gently during the folding stages.
-
Let the dough rest in the fridge between folds. This prevents the gluten from getting tough and keeps the butter cold.
-
Use a light touch when rolling. You're coaxing the layers, not forcing them.
Professional Secrets
-
A cold marble slab is ideal for rolling as it keeps the dough cool.
-
A bit of vinegar in the egg wash can help with browning.
-
Steam in the first few minutes of baking helps the 'oven spring'—you can spray the oven walls with water or place a pan of hot water on the bottom rack.

Recipe by
Sofia BelleSofia bakes with love 🧁💛, sweet smells filling her home 🍪🏡, and flour on her hands 🤲✨. She believes every loaf 🍞 and cake 🎂 tells a story of wa ...
Get Delicious Recipes Weekly
Join 25,000+ home cooks getting our best recipes straight to their inbox.
Free forever • No spam • Unsubscribe anytime