
The origins of the Oreo cheesecake bite trace back to the classic American cheesecake, a dessert that found its way onto dinner tables in the early 1900s. Over time, home bakers began to experiment with the iconic Oreo cookie, blending it into a creamy filling for a quick, handheld treat. This evolution reflects both the love for convenience and the enduring appeal of chocolate‑and‑cream flavors.
Why You'll Love It
-
- No oven needed, perfect for warm days
-
- Light on sugar yet rich in flavor
-
- Bite‑size makes portion control easy
-
- Easy to customize with toppings
"These bites are my go‑to snack—light, creamy, and absolutely satisfying!"
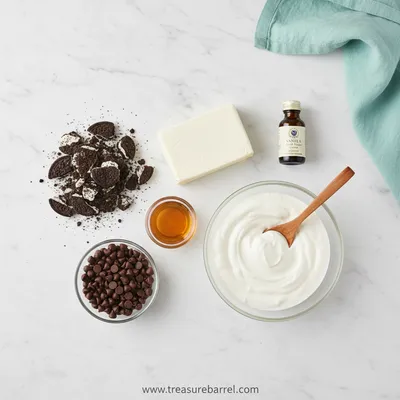
Essential Ingredient Guide
- Oreo cookies (or similar chocolate sandwich cookie): Choose cookies that are crisp; they provide the buttery base and a hint of chocolate crunch.
- Cream cheese (light version if desired): Room‑temperature cheese blends smoothly, giving the filling that silky texture.
- Greek yogurt: Adds tang and lightness while boosting protein.
- Maple syrup or honey: A natural sweetener that balances the slight tang of yogurt.
- Lemon zest: A tiny dash lifts the richness with a fresh citrus note.
- Vanilla extract: Just a splash deepens the overall flavor without overpowering.
Complete Cooking Process
-
Ingredient Readiness:
Gather all components, crush the cookies, and let the cream cheese soften on the counter. This ensures a uniform blend without lumps.
-
Flavor Development:
Mix the crushed cookies with melted butter to form the base, then fold in the creamy filling; the aromas meld as the sweetener melts slightly.
-
Texture Control:
Press the base firmly into mini liners, then chill to set; this gives each bite a firm yet tender crumb.
-
Finishing Touches:
Top each bite with a drizzle of melted dark chocolate or a sprinkle of cocoa powder for a glossy finish.
-
Serving Timing:
Serve after at least 30 minutes of chilling; the bites hold their shape and the flavors are fully integrated.
-
Use a food processor for ultra‑fine cookie crumbs.
-
Chill the filling mixture briefly before layering for smoother spreading.
-
Add a pinch of sea salt to the chocolate drizzle for contrast.
-
Store in a single layer to prevent sticking.
Pro Tips
Well, these tiny desserts are forgiving, but a little attention goes a long way. I’ve found that letting the filled molds rest on a cold plate before refrigeration helps keep the crust crisp. Also, when you’re ready to serve, a gentle tap on the bottom of the liner releases the bite cleanly—no crumbling, no drama. It’s a small ritual that makes the whole experience feel like a quiet celebration.
The essence of the dish:
A creamy, tangy filling layered over a buttery, chocolatey crumb—each bite delivers a silky mouthfeel balanced by a subtle crunch.
A fun fact or historical angle:
The Oreo cookie was first introduced in 1912, and its black‑and‑white design was inspired by the elegant chocolate candies of European confectioners.
Flavor or sensory focus:
You’ll notice the cool, slightly tangy bite of Greek yogurt against the sweet, chocolate‑rich base, finished with a whisper of citrus zest.
You Must Know
-
Use chilled liners for easy release
-
Do not over‑mix the filling
-
Taste before adding extra sweetener
Frequently Asked Questions
→ Can I use gluten‑free cookies?
Absolutely—swap the Oreo cookies for a gluten‑free chocolate sandwich cookie, keeping the same crumb ratio.
→ How long can I keep them?
Store in an airtight container in the refrigerator for up to three days; they stay creamy and firm.
→ Can I make them vegan?
Yes, replace cream cheese with a vegan cream cheese alternative and use maple syrup instead of honey.
→ Do they need to be chilled?
Chilling is essential to set the crust and allow the filling to firm up for clean removal.
→ What topping works best?
A light drizzle of melted dark chocolate or a sprinkle of crushed nuts adds texture and visual appeal.
→ Can I add fruit?
A few fresh berries on top just before serving add brightness without overwhelming the base.
Nutrition Facts
per serving
120
Calories
3g
Protein
15g
Carbs
6g
Fat
Taste Profile
Creamy with a gentle chocolate finish
Ingredient Substitutions
Don't have an ingredient? Try these alternatives
Provides a slightly lower fat content while maintaining creaminess.
Adds sweetness with a milder flavor profile.
Recipe Variations
Try these delicious twists on the original
Spicy Version
Add a pinch of cayenne and drizzle with chocolate infused with chili for a subtle heat.
Mediterranean Style
Swap chocolate for a honey‑yogurt swirl and top with crumbled feta and olives.
Common Mistakes to Avoid
Learn from others' mistakes for perfect results
- Over‑mixing the filling, which can cause a watery texture.
- Skipping the chill step, resulting in a crumbly base.
- Using hot melted chocolate for the drizzle, which can melt the filling.
Meal Prep & Storage
Make Ahead Tips
You can prepare the crust and filling separately, store them in the fridge, and assemble just before serving; the bites will still set beautifully.
Leftover Ideas
Refrigerate and enjoy within three days; they stay firm and flavorful.
Perfect Pairings
Serve this with...
Cooking Timeline
Crush cookies, melt butter, combine for crust.
Press crust into liners and chill briefly.
Blend filling ingredients until smooth.
Spoon filling onto crusts and smooth tops.
Chill to set, then drizzle chocolate or add toppings.
 Sweet Treats
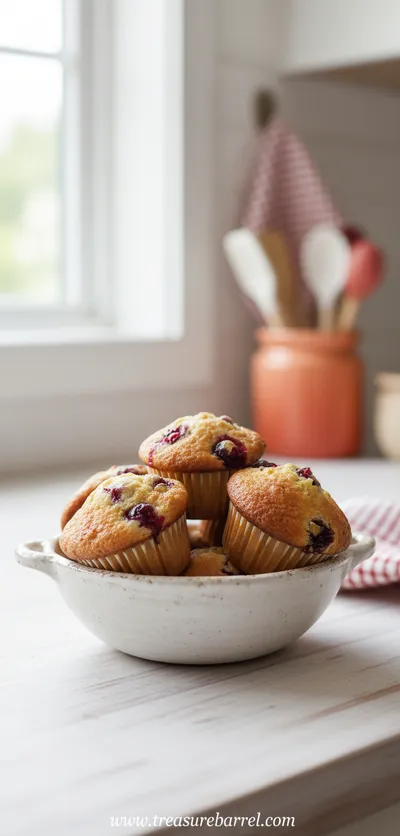
Cranberry Orange Muffins
Tender muffins bursting with orange zest and tart cranberries, ideal for a comforting morning treat.
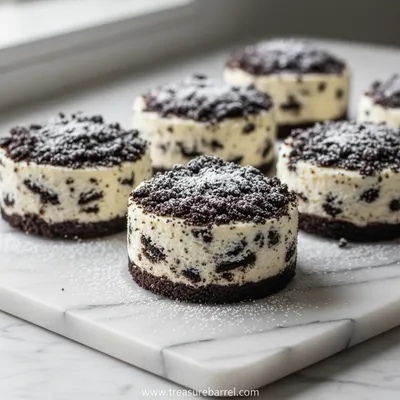
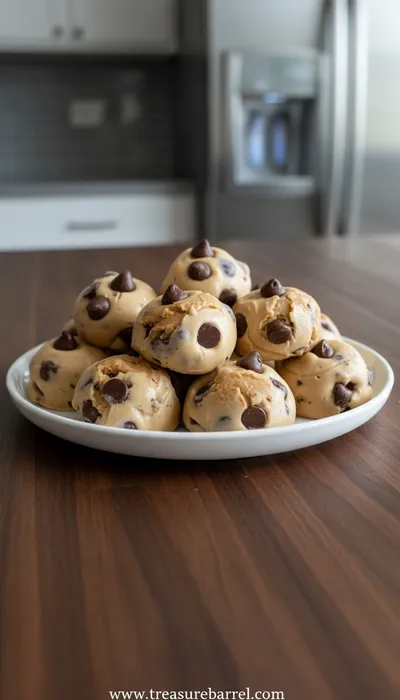
No-Bake Oreo Cheesecake Bites – Healthy Bite‑Size Dessert
A quick, no‑bake Oreo cheesecake bite that feels indulgent yet carries a lighter, healthier twist—perfect for a moment of sweet comfort without the fuss.
Timing
Prep Time
15 Minutes
Cook Time
0 Minutes
Total Time
45 Minutes
Recipe Details
Ingredients
Crust
-
01
1 ½ cups crushed Oreo cookies (about 20 cookies)
-
02
3 tbsp melted butter
Filling
-
01
8 oz light cream cheese, softened
-
02
½ cup Greek yogurt
-
03
¼ cup maple syrup
-
04
1 tsp vanilla extract
-
05
1 tsp lemon zest
-
06
4 oz dark chocolate, melted (optional for topping)
Instructions
Place the crushed cookies in a bowl, pour melted butter over them, and stir until the crumbs are evenly coated.
Press the crumb mixture firmly into the bottoms of mini silicone liners or a muffin tin, creating an even base.
In a separate bowl, beat the softened cream cheese until smooth, then fold in Greek yogurt, maple syrup, vanilla, and lemon zest. cheesecake cups
Spoon the filling over each crust, smoothing the top with a spatula. Chill for at least 30 minutes.
Once set, drizzle melted dark chocolate over each bite or sprinkle with a pinch of cocoa powder. oreo balls
Notes & Tips
-
1
If the crust seems dry, add a splash more melted butter.
-
2
For extra tang, increase the lemon zest by half a teaspoon.
-
3
You can freeze the bites for up to a month; thaw briefly before serving.
 Sweet Treats
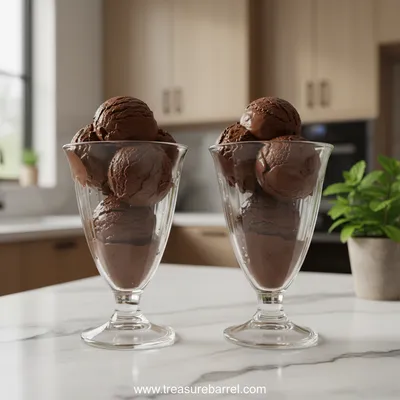
Duo of Chocolate Ice Cream Glasses
Elegant chocolate ice cream duo served in glasses – creamy, refreshing, and utterly satisfying.
Tools You'll Need
-
Food processor or zip‑top bag and rolling pin
-
Mini silicone liners or muffin tin
-
Mixing bowls
-
Hand mixer or sturdy spoon
-
Spatula
-
Microwave‑safe bowl for chocolate
Must-Know Tips
-
Do not over‑mix the filling; it can become watery.
-
Press the crust firmly for a solid base.
-
Taste the sweetener before adding more.
Professional Secrets
-
Chill the cream cheese beforehand for a smoother blend.
-
Use a cool butter to keep the crumb mixture from becoming soggy.
-
Let the chocolate set briefly before drizzling for a glossy finish.

Recipe by
Lila GraceLila creates magical desserts 🍫🧁, sprinkles joy 🌈✨, and shares sweet moments 🍬💖. Her kitchen is full of smiles 😄 and sugar-dusted memories 🍪🍯.
Get Delicious Recipes Weekly
Join 25,000+ home cooks getting our best recipes straight to their inbox.
Free forever • No spam • Unsubscribe anytime